Present Joys

“We thank the Lord of heaven and earth
who hath preserved us from our birth
for present joys, for blessings past,
and for the hope of heaven at last.”

Tag foyer

4 posts from August through September 2026

Schrocks installation, day 2

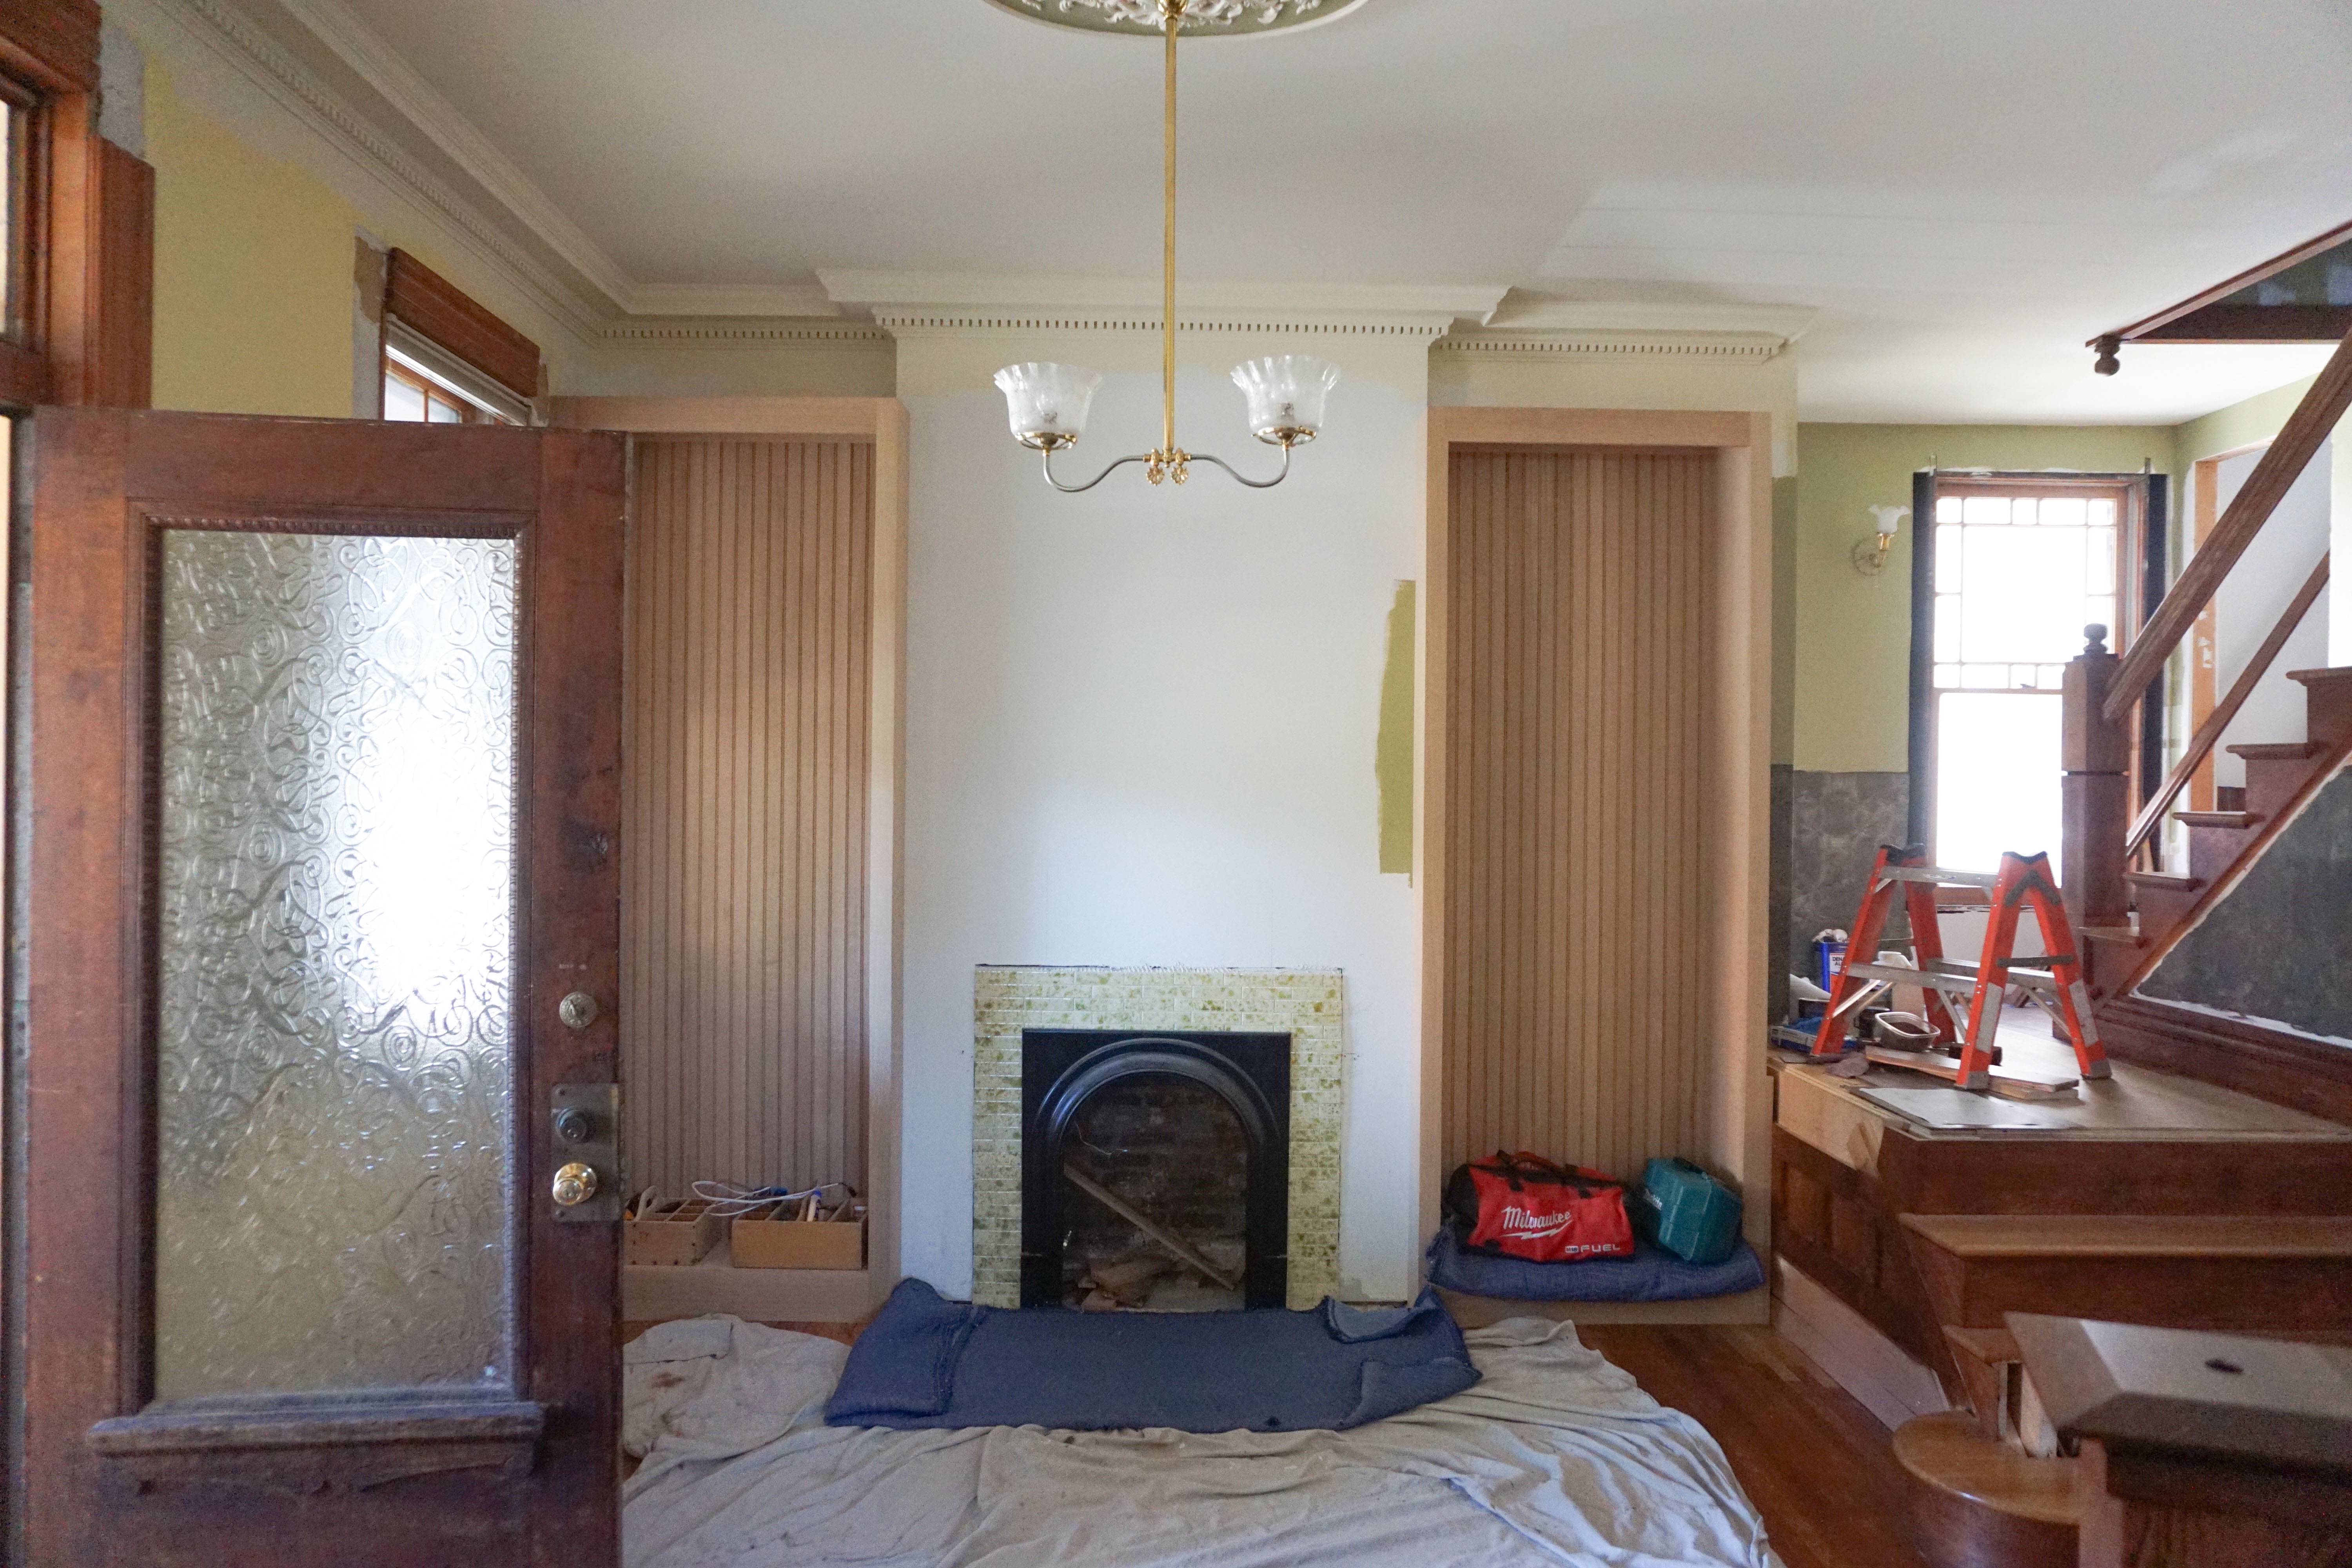
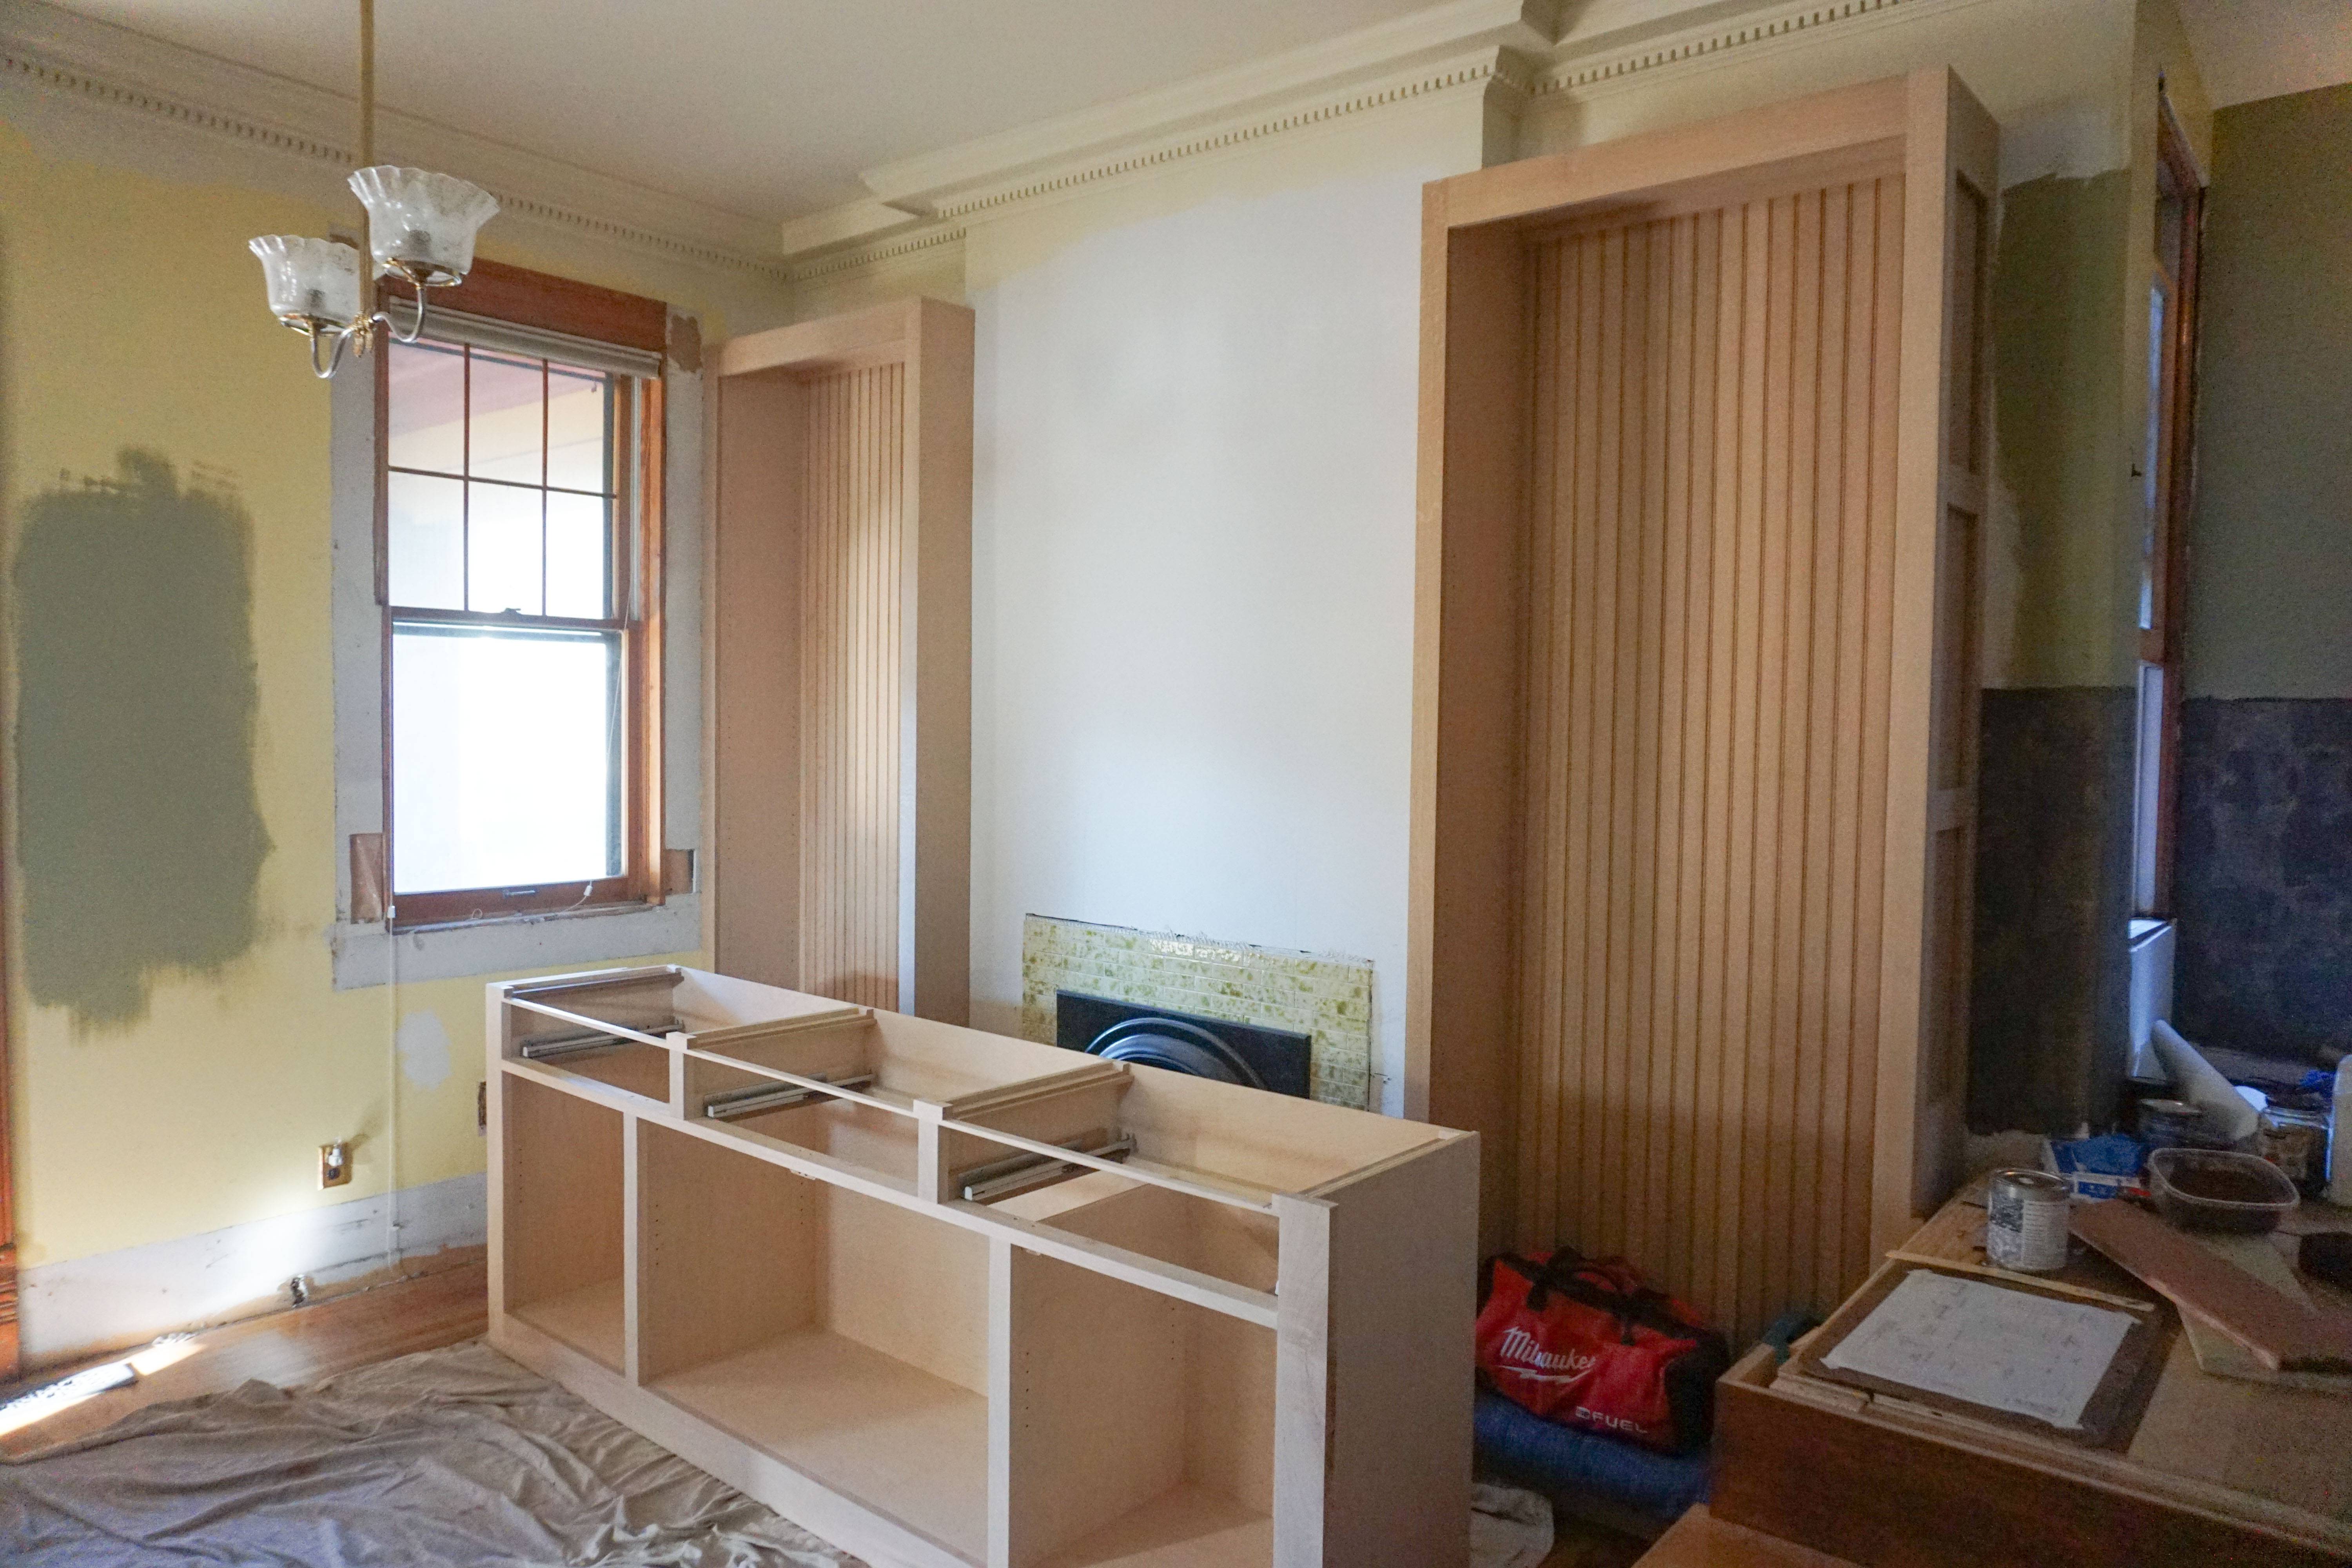
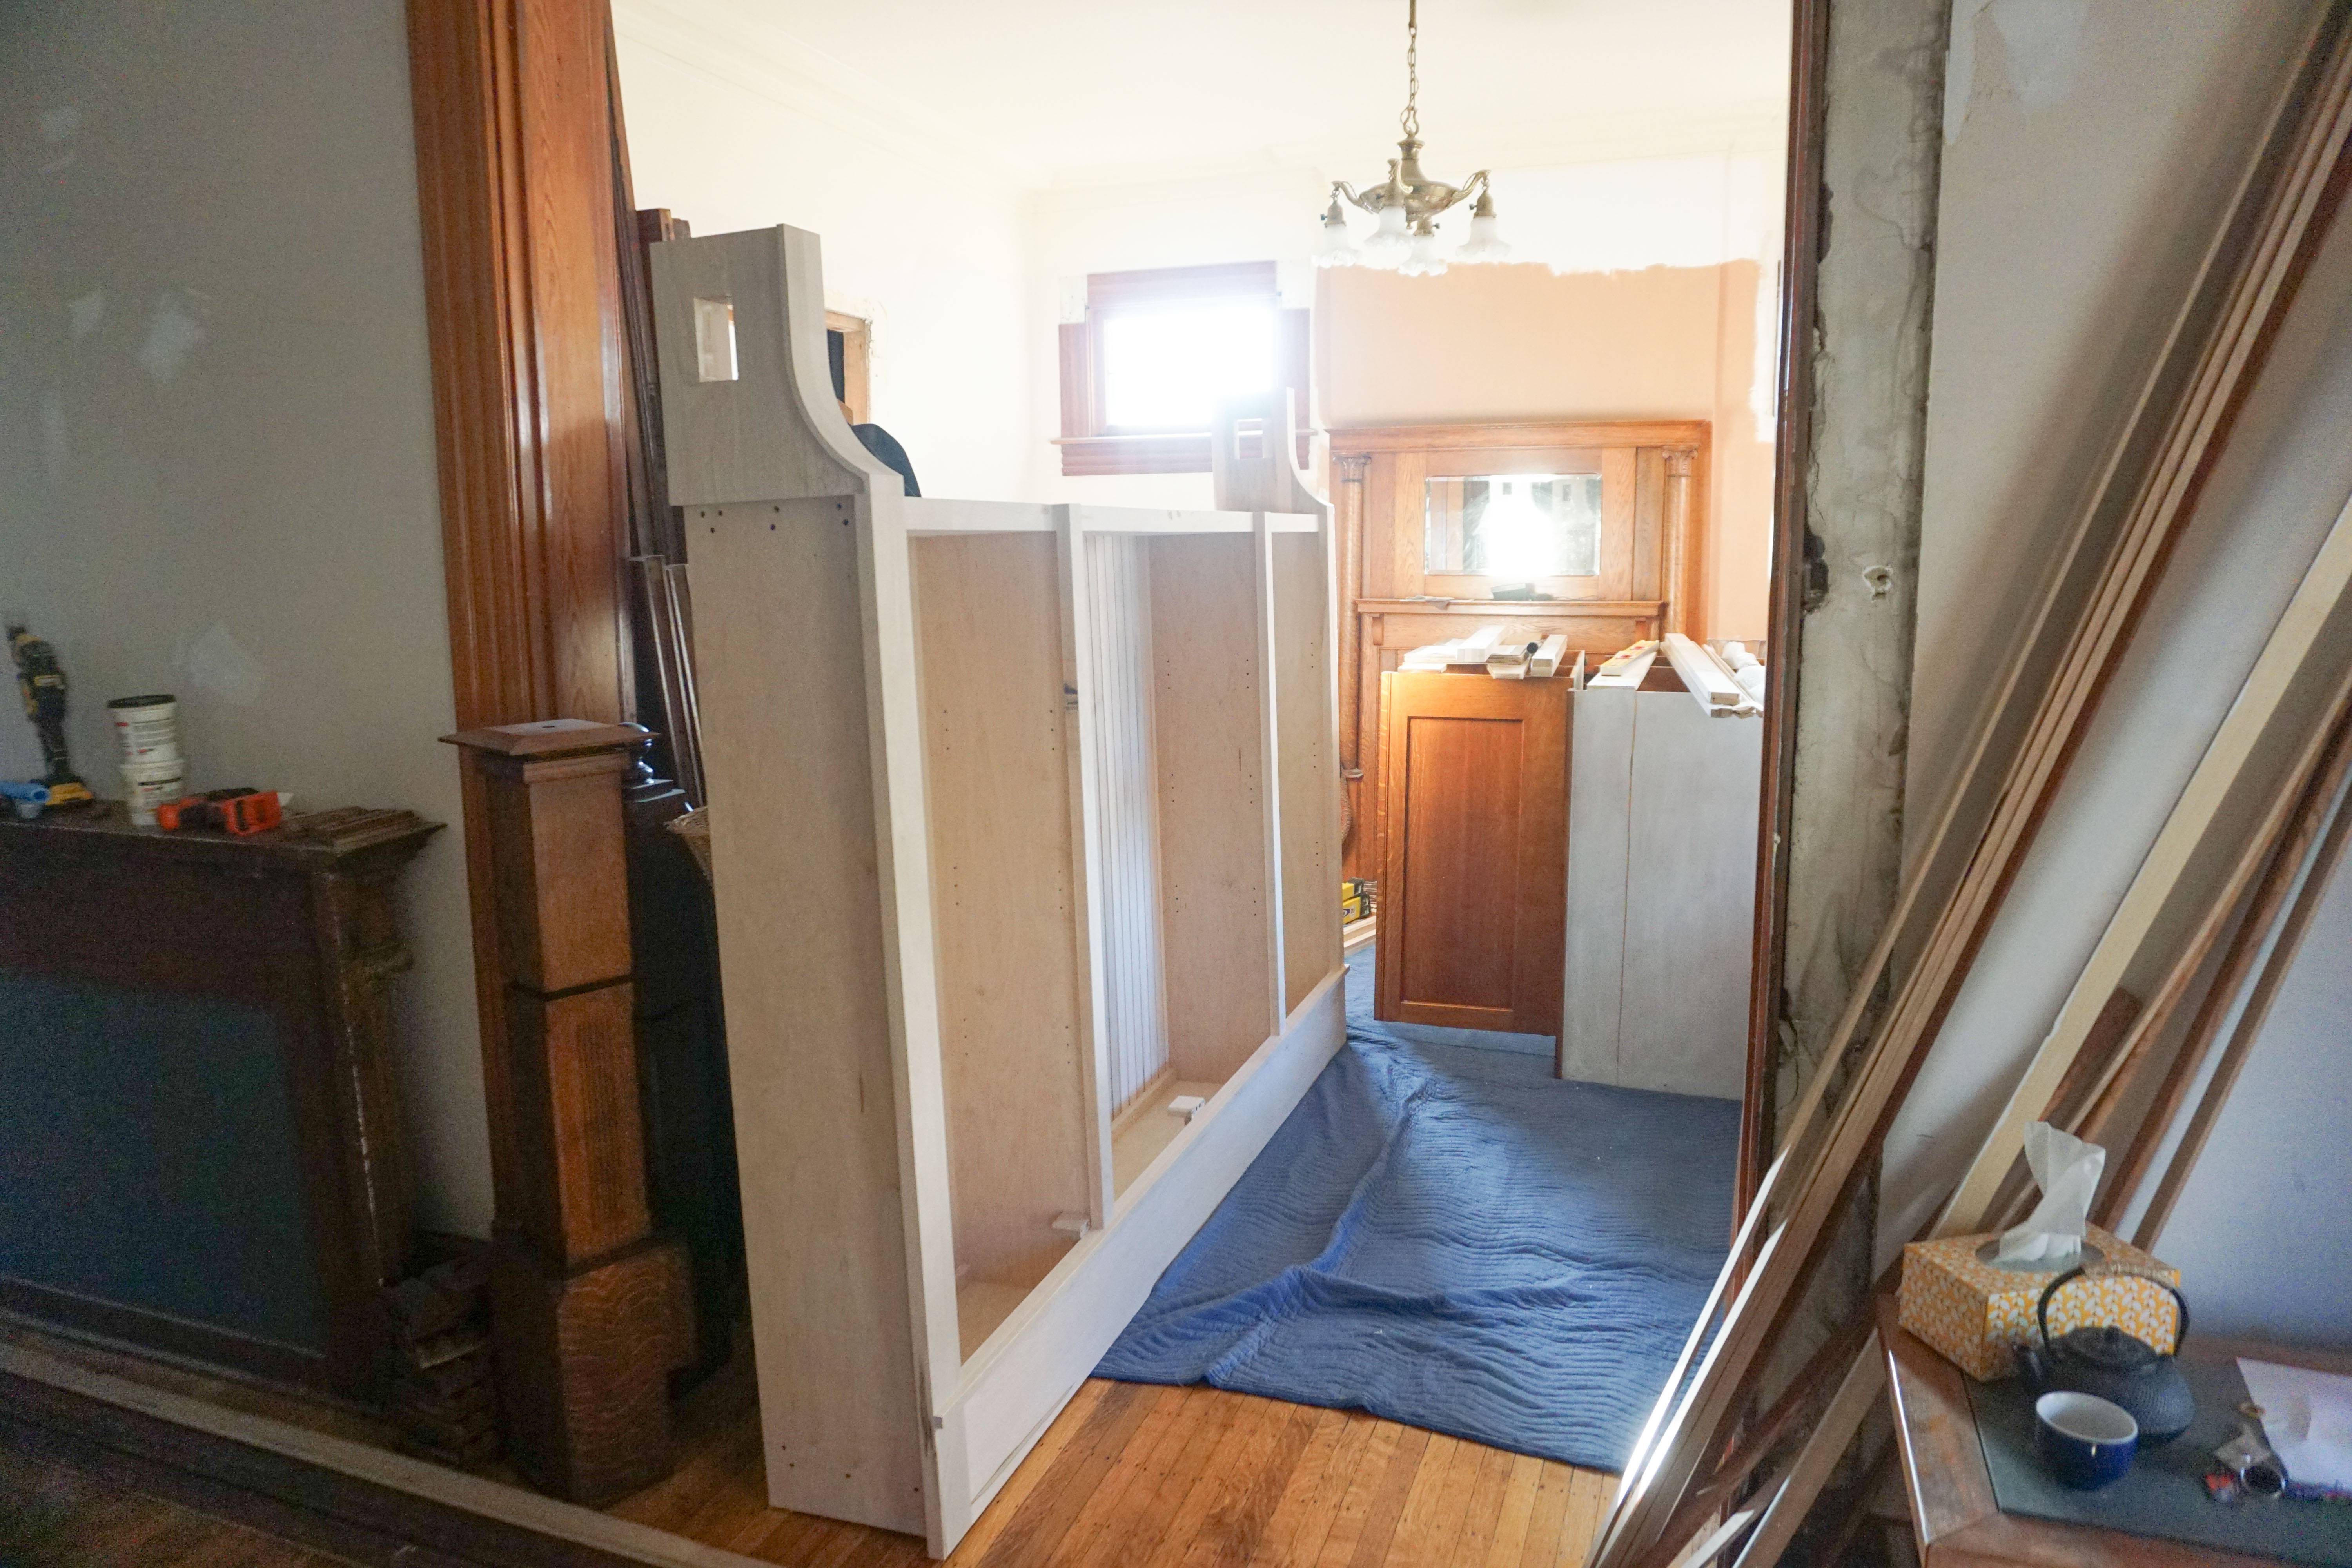
It took one full working day to get the foyer cabinets fit, but the guys did not fasten them in on Monday. They intended to fasten both of these big bookshelves to the wall, leaving only the cornice to finish later. The left shelf went in just fine. We ran into a hiccup with the right side. After poking around in the wall, we realized an electric box that needed to move a few inches (to work on the back of the bookshelf) had a lot of wires happening inside it. Electricity feeding our guest room and stair lights all passed through this receptacle, and there was not enough slack in the wires to move the box. This would need attention before we could cover up the wall. The installers propped up the bookshelf so I had room to access the wall and I told them I’d fix the problems after they left.
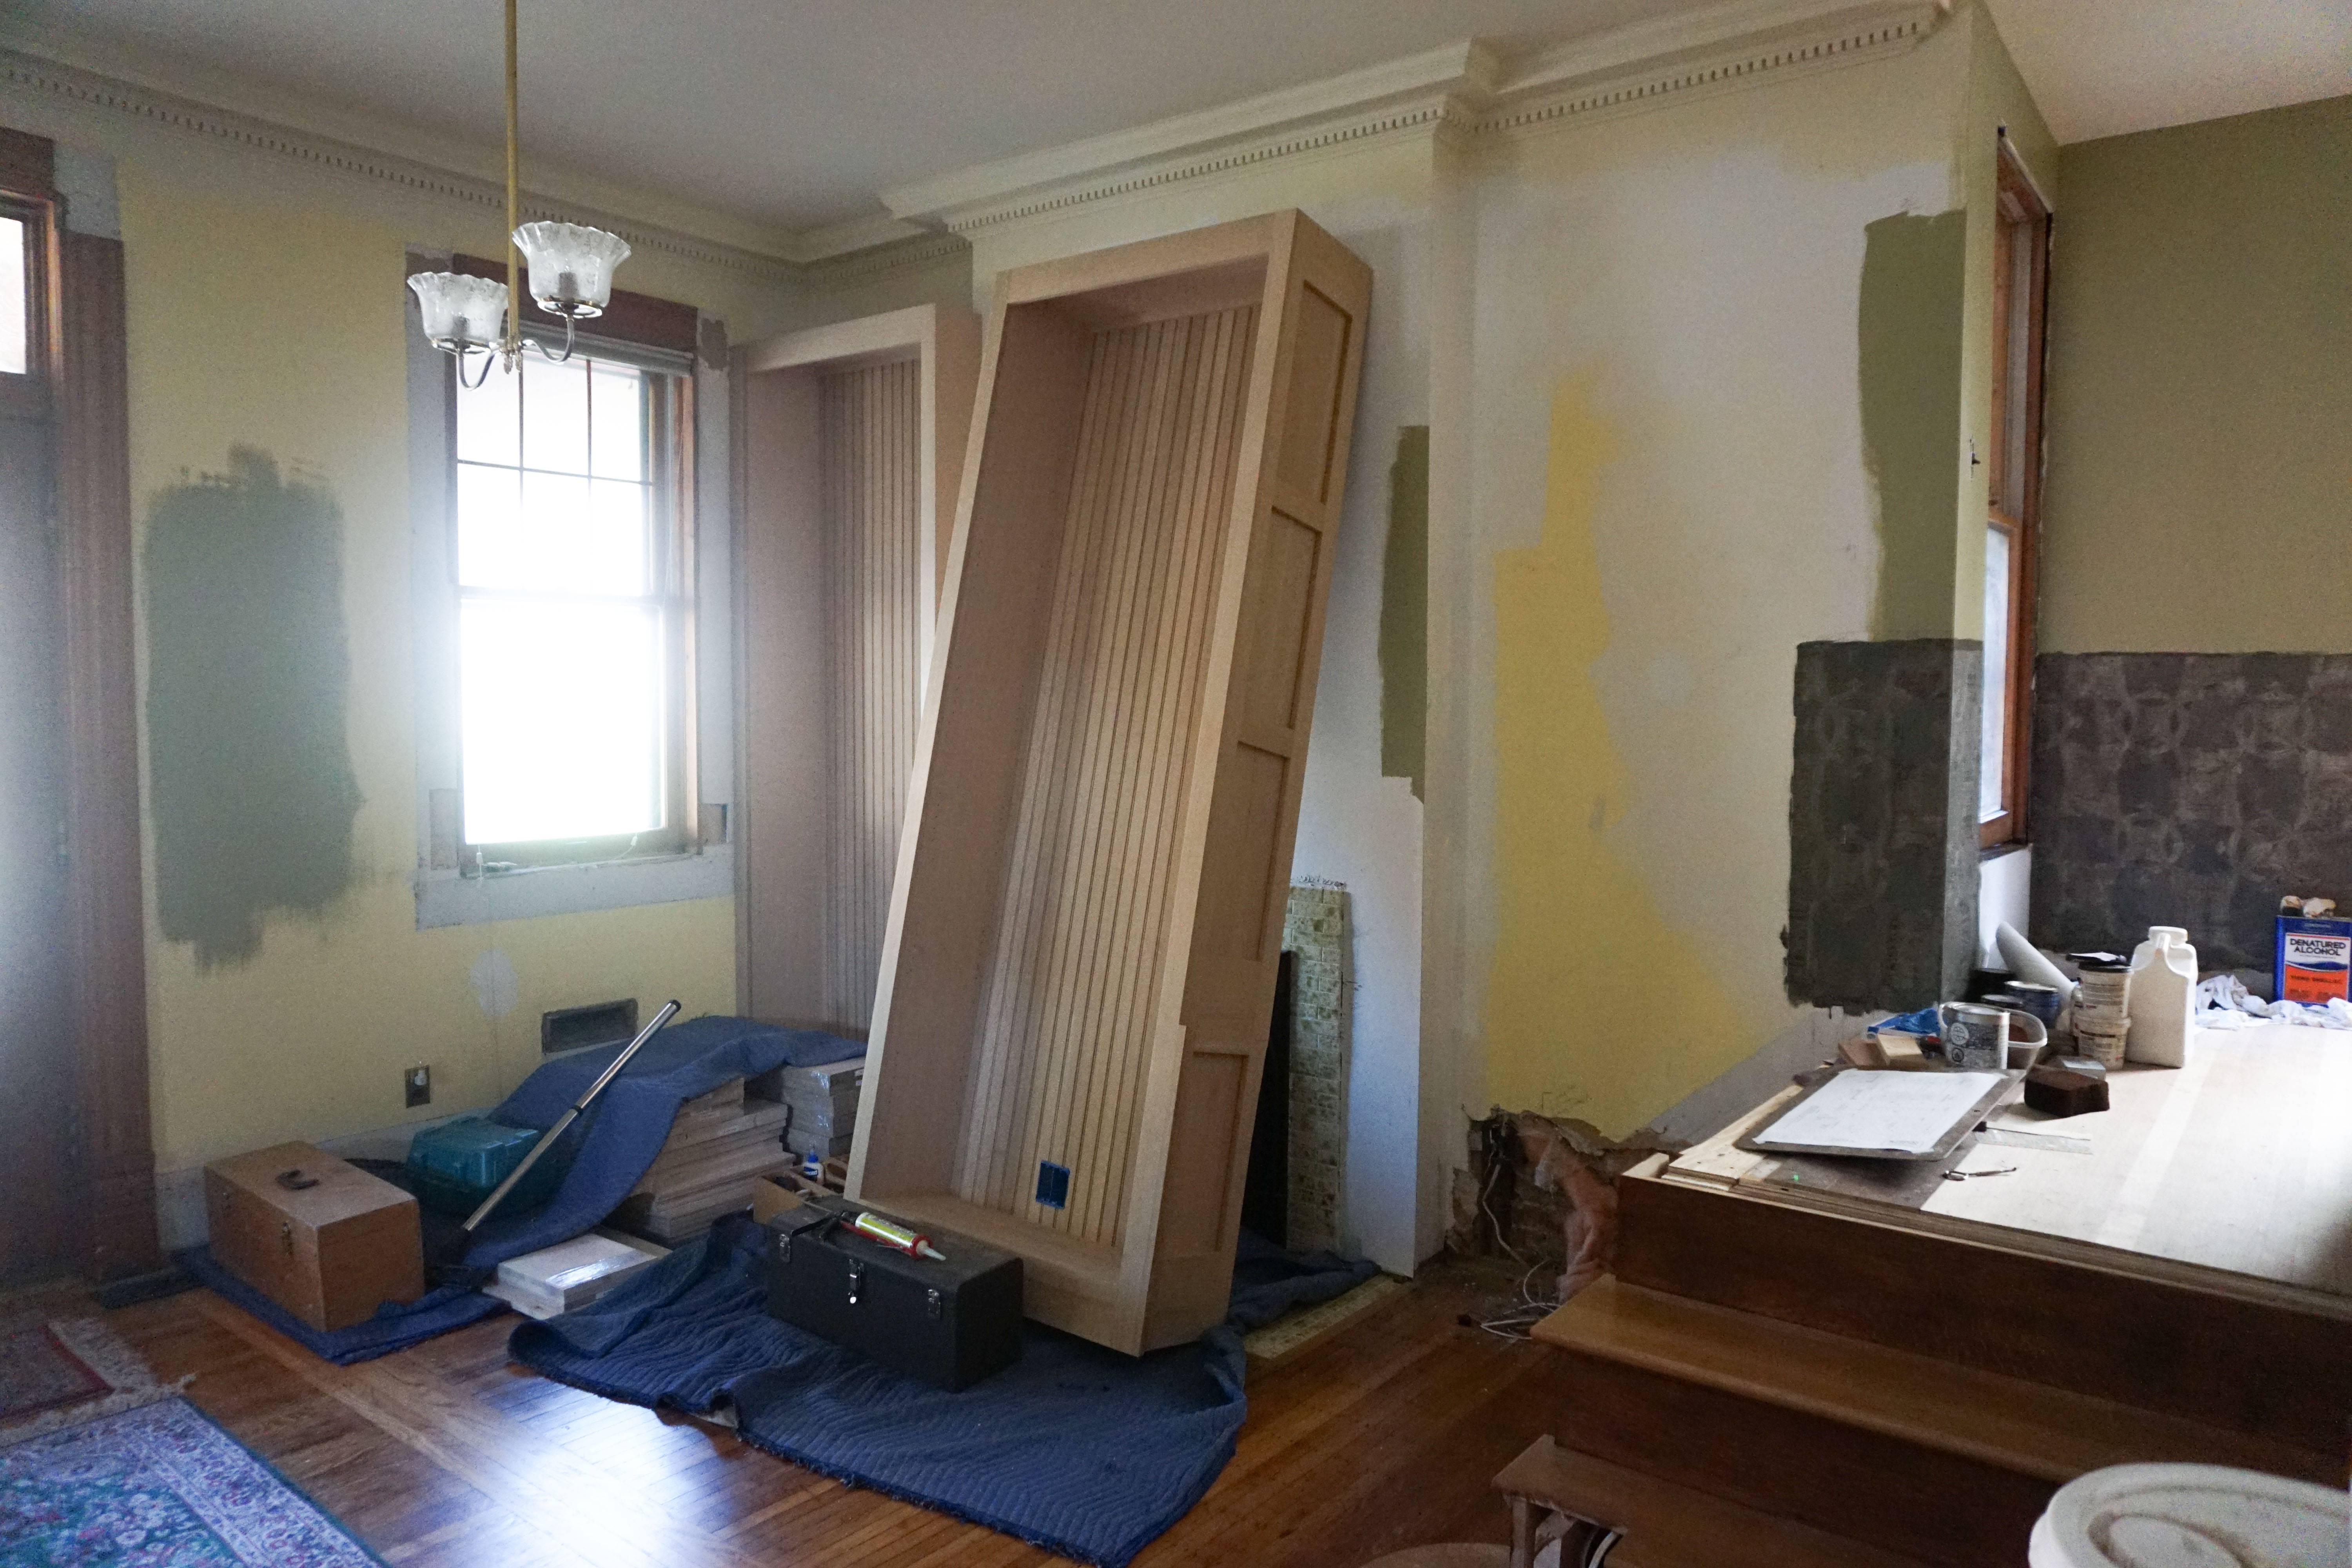
So they moved onto the dining room. It took almost all day to scribe and install the monumental piece that’s going in the dining room, beginning with the 36″ × 95″ × 20″ base cabinet and countertop, then the 60″ × 95″ × 12-1/2″ upper cabinet with brackets on each end. They said the upper cabinet was one of the largest single pieces they’ve ever handled. Once these went in, it immediately changed the feeling of the dining room. I’m anxious that the new base cabinet, although it only projects about 15″ into the room, will feel too crowded. I won’t know for sure until we have the furniture back in place. Besides that one concern, I’m so excited to see my dream start becoming reality.
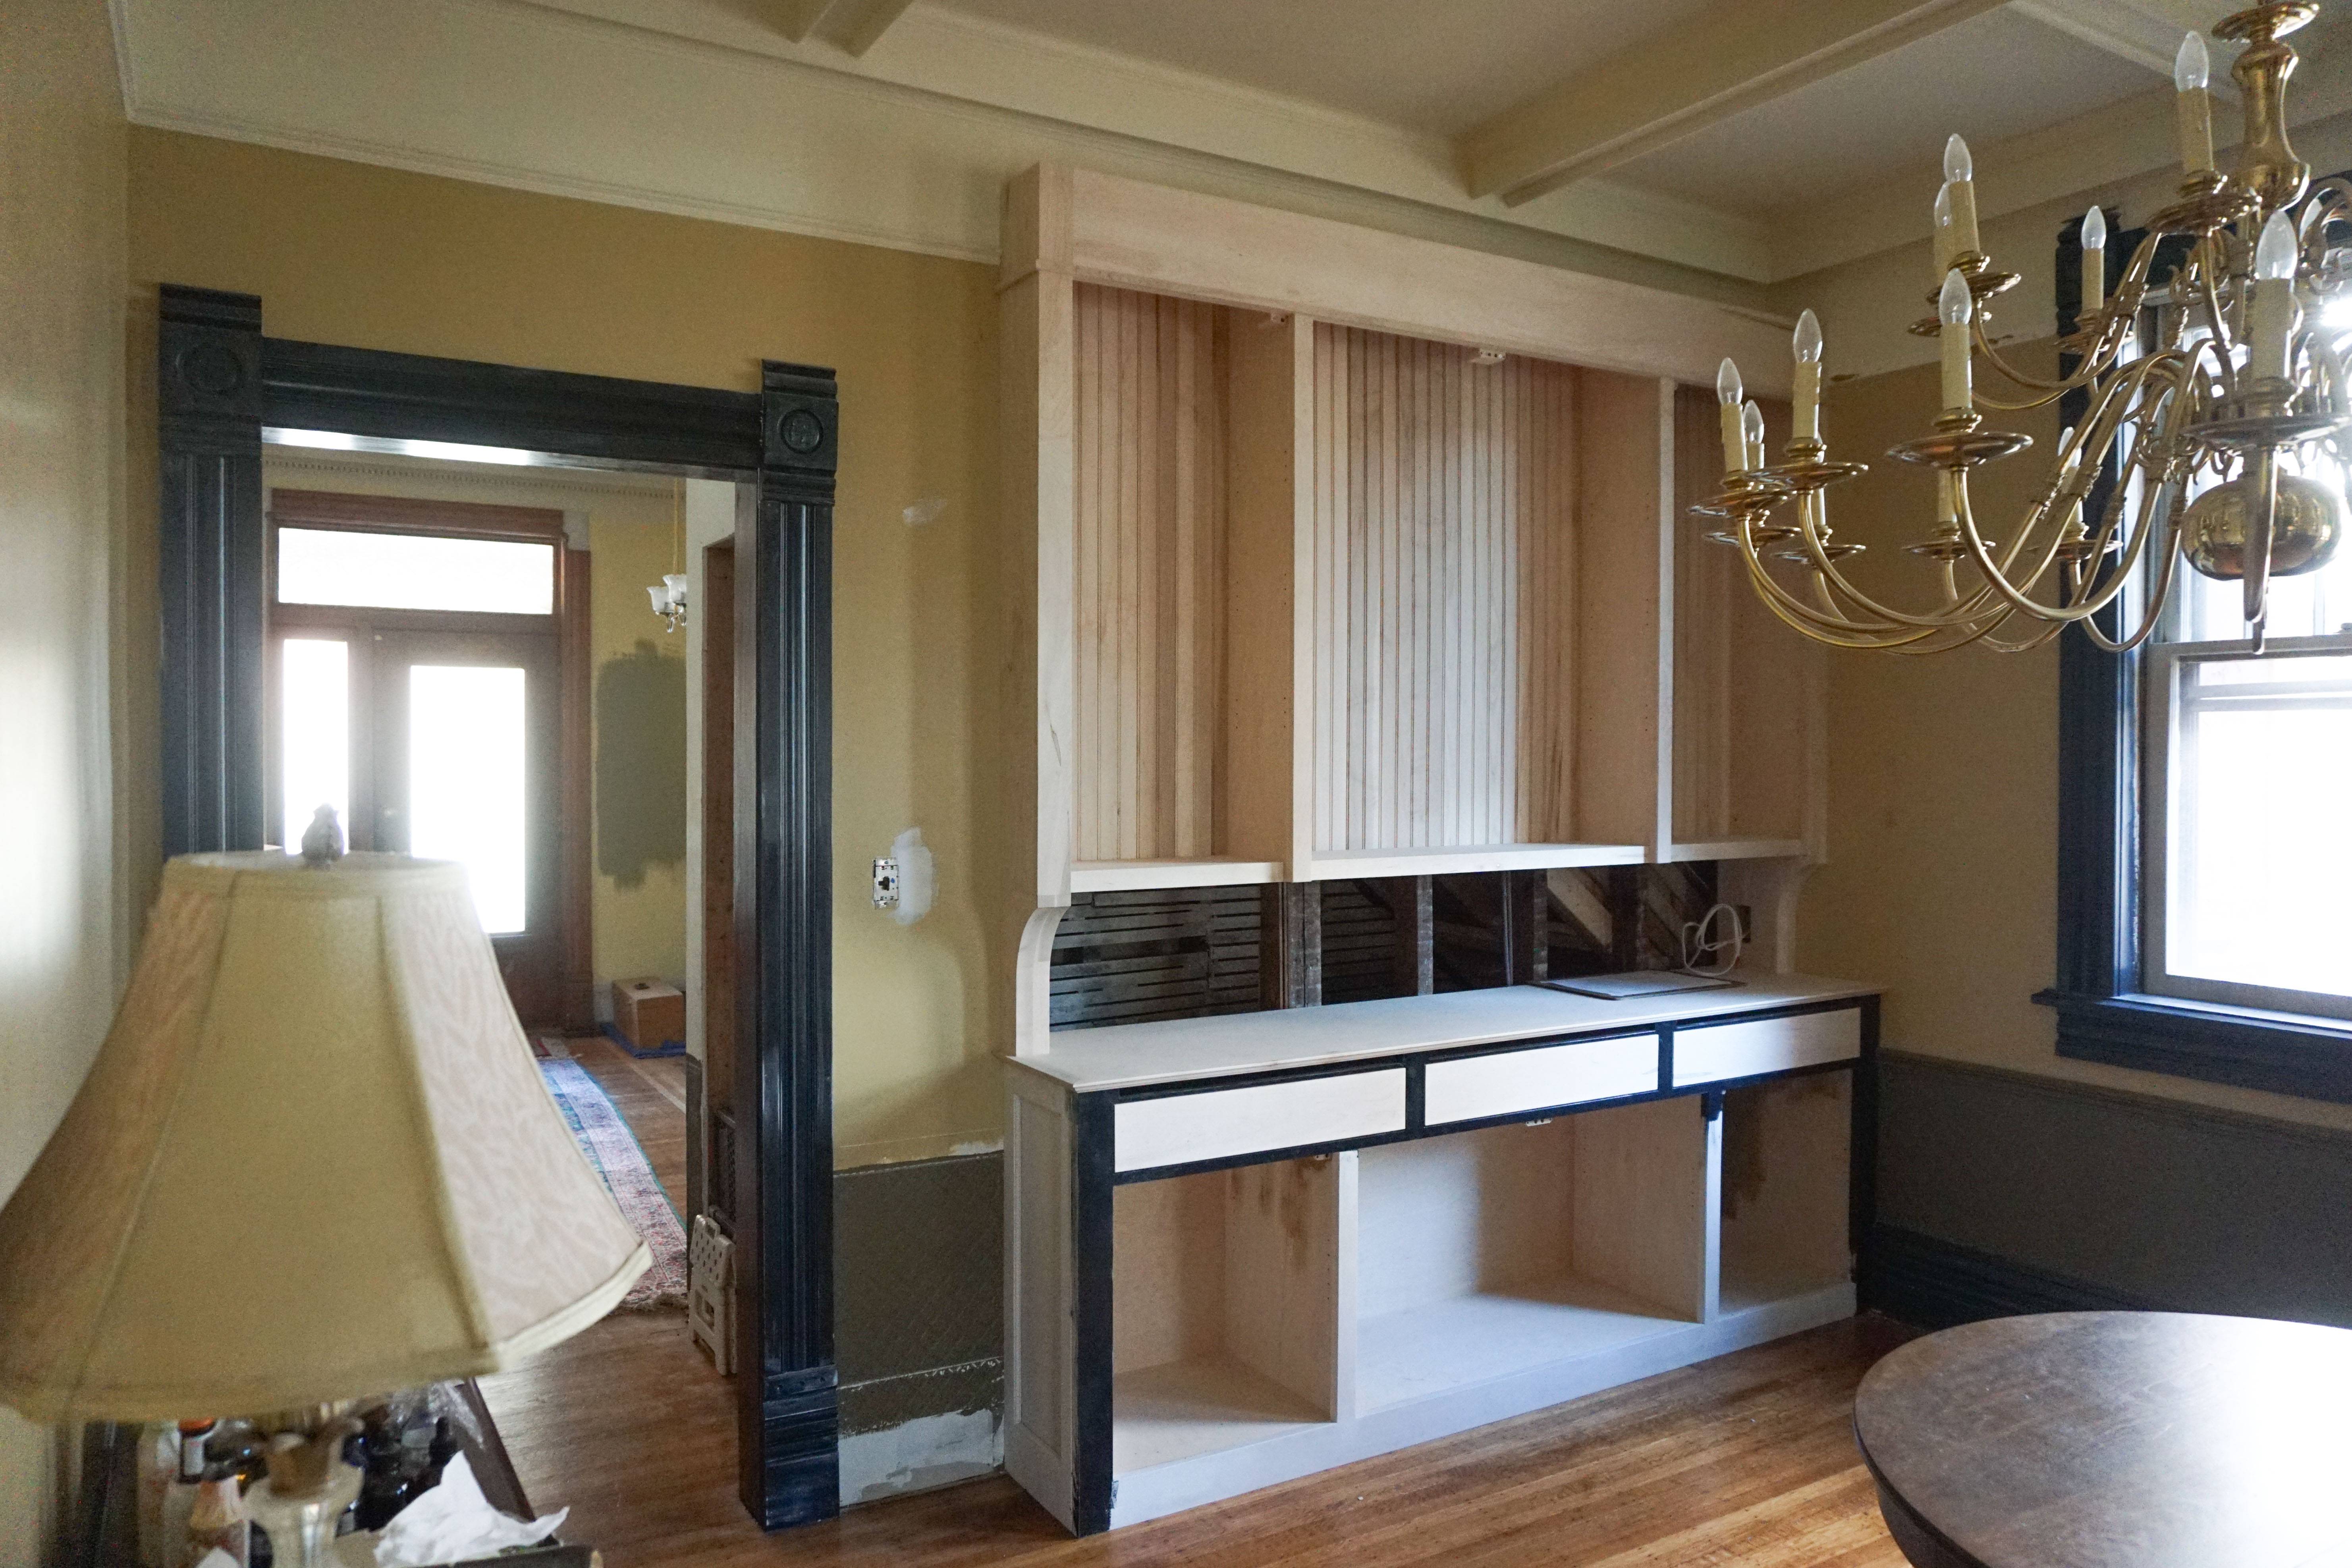
After the guys left, I immediately set to work trying to find slack in the wires. I tore open the wall (thankfully, behind where the bookshelf would cover it) and found enough slack in one wire to work. I had to rerun another two wires from scratch. It went surprisingly quick considering

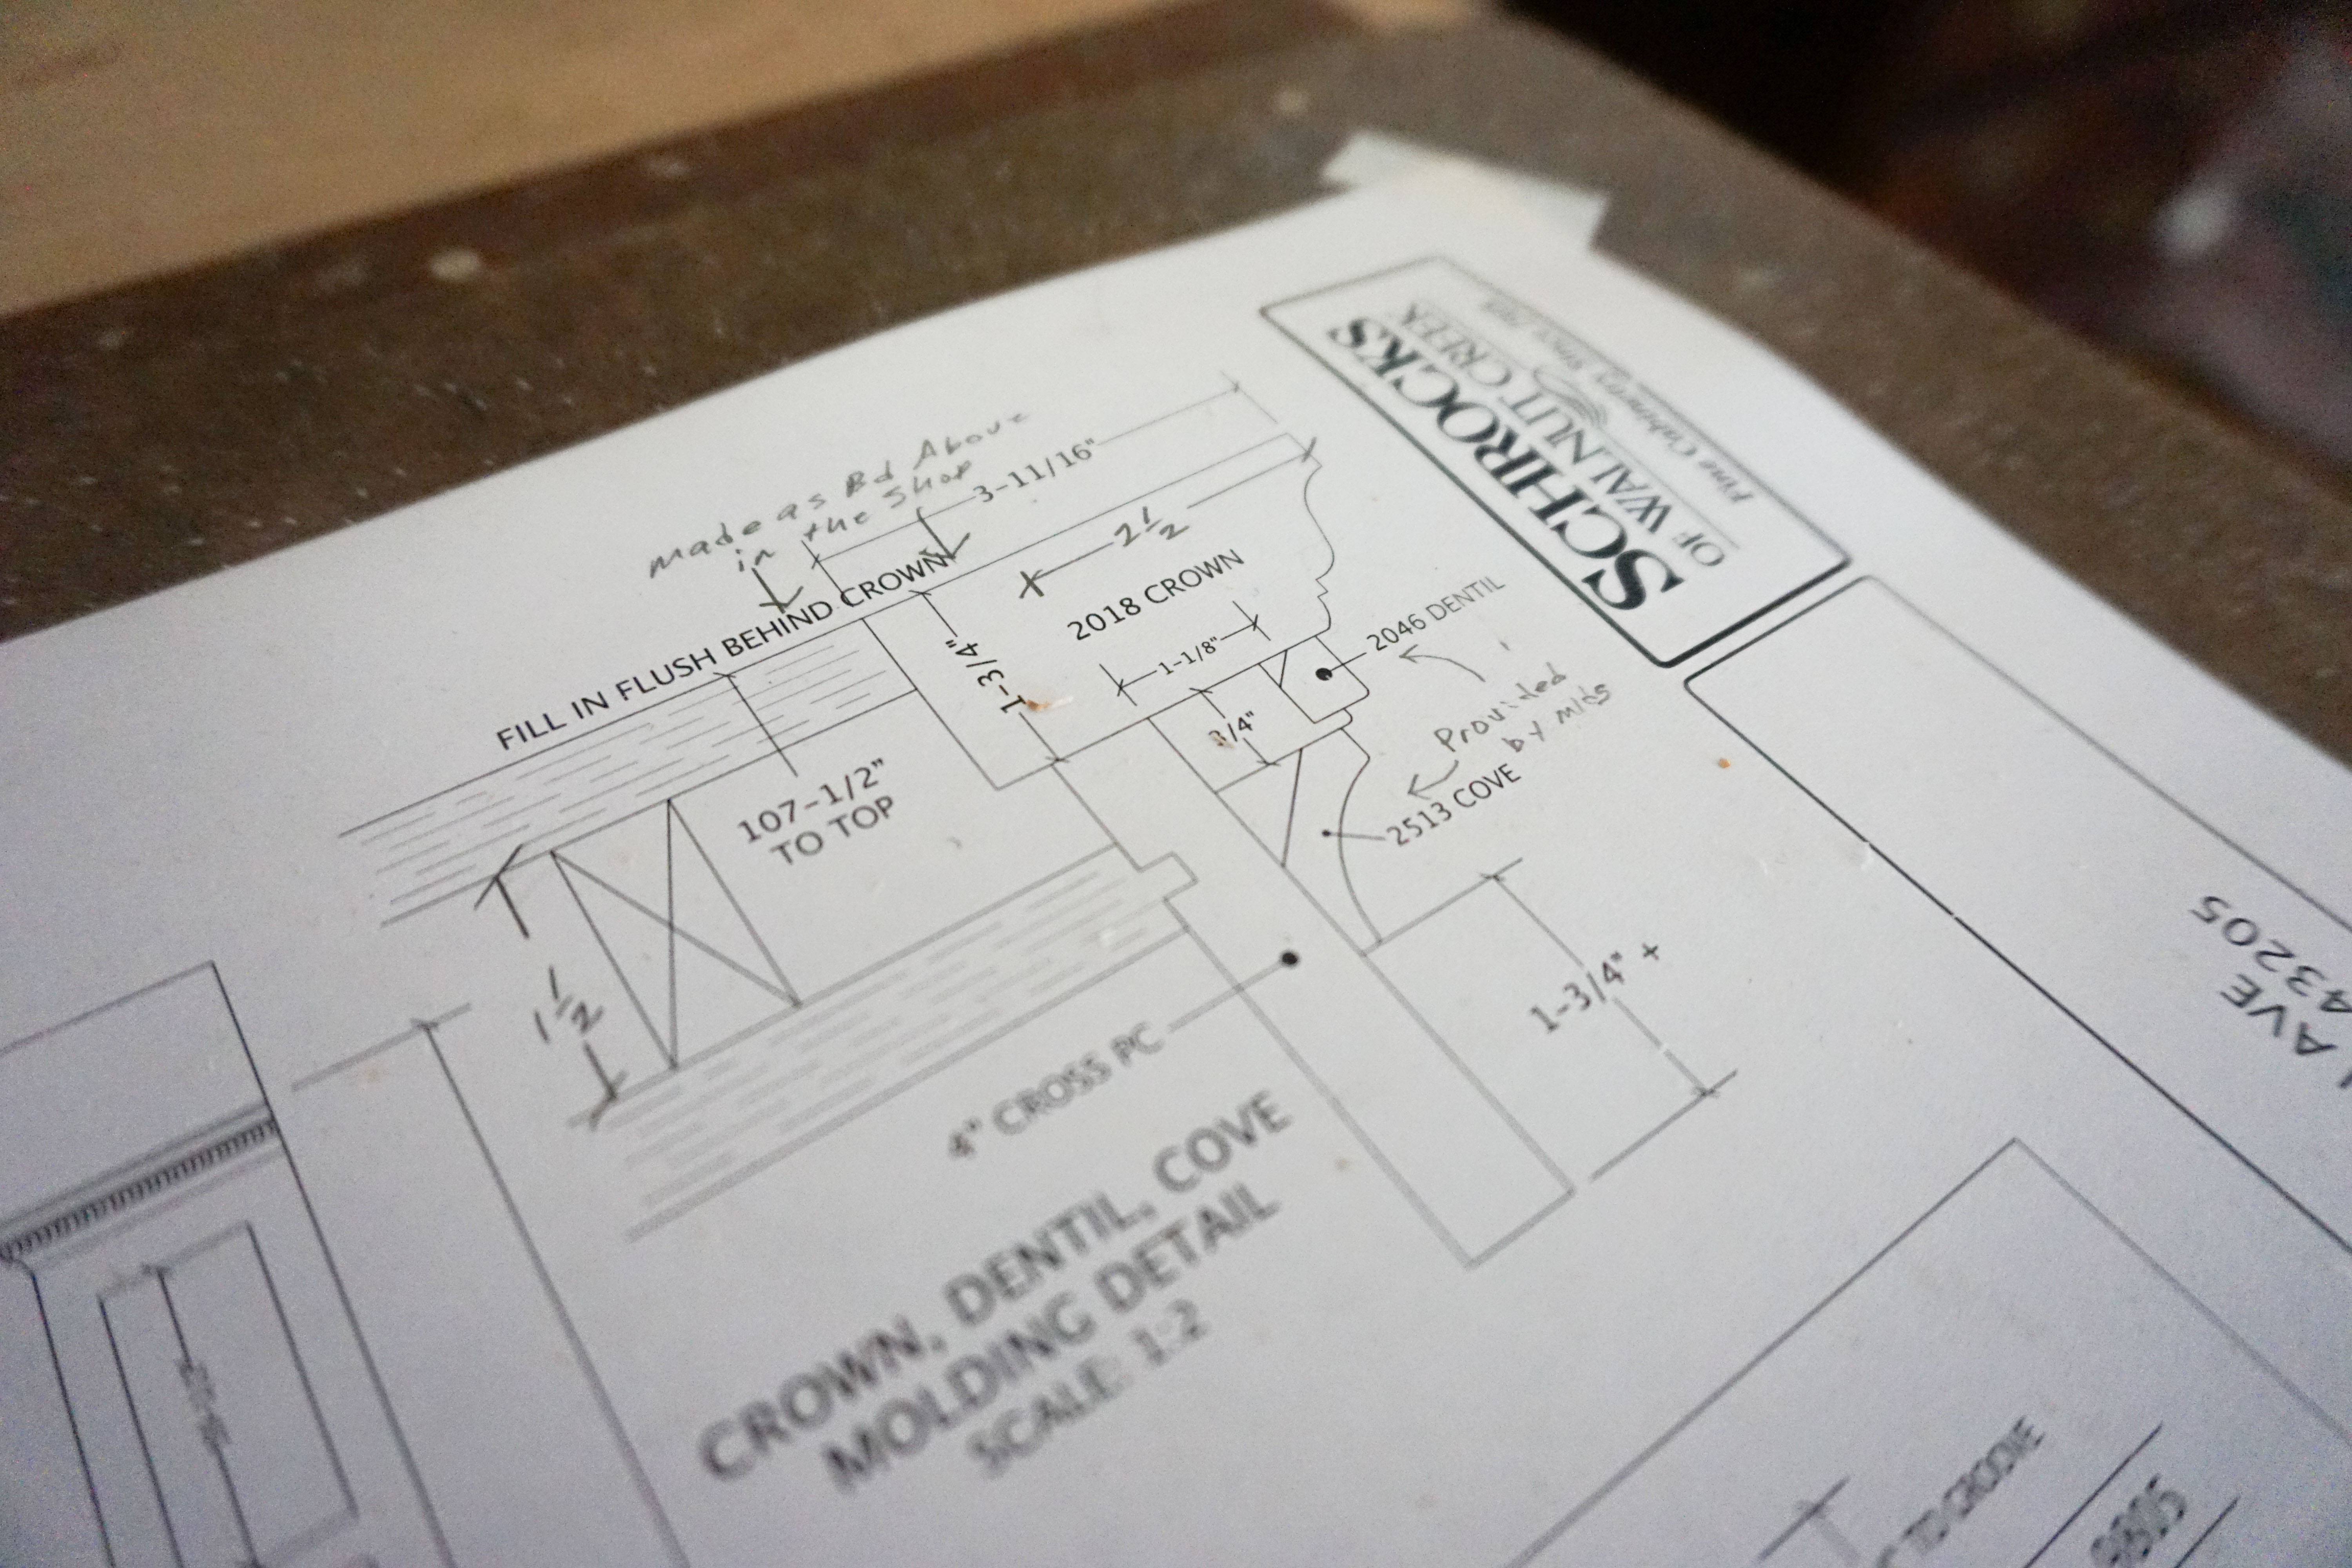
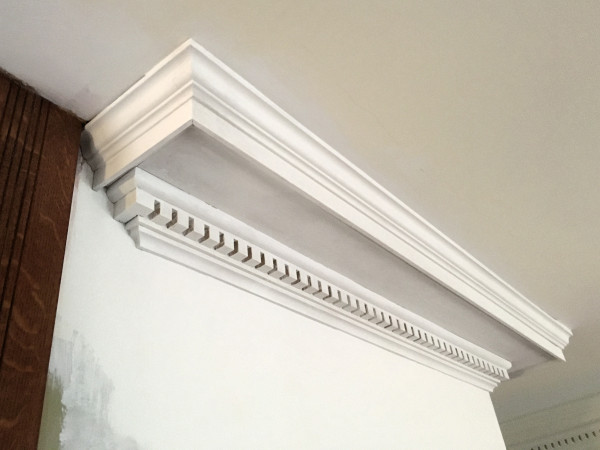
A lot of the large pieces are now either installed or ready to be installed, but a lot of small work remains. The dining room backsplash and crown still need to be installed, as does the built-up crown molding on the foyer. And they haven’t done anything with the front parlor yet. Theoretically this will all get done tomorrow. I’m excited to see if that’s what will happen!
Schrocks installation, day 1

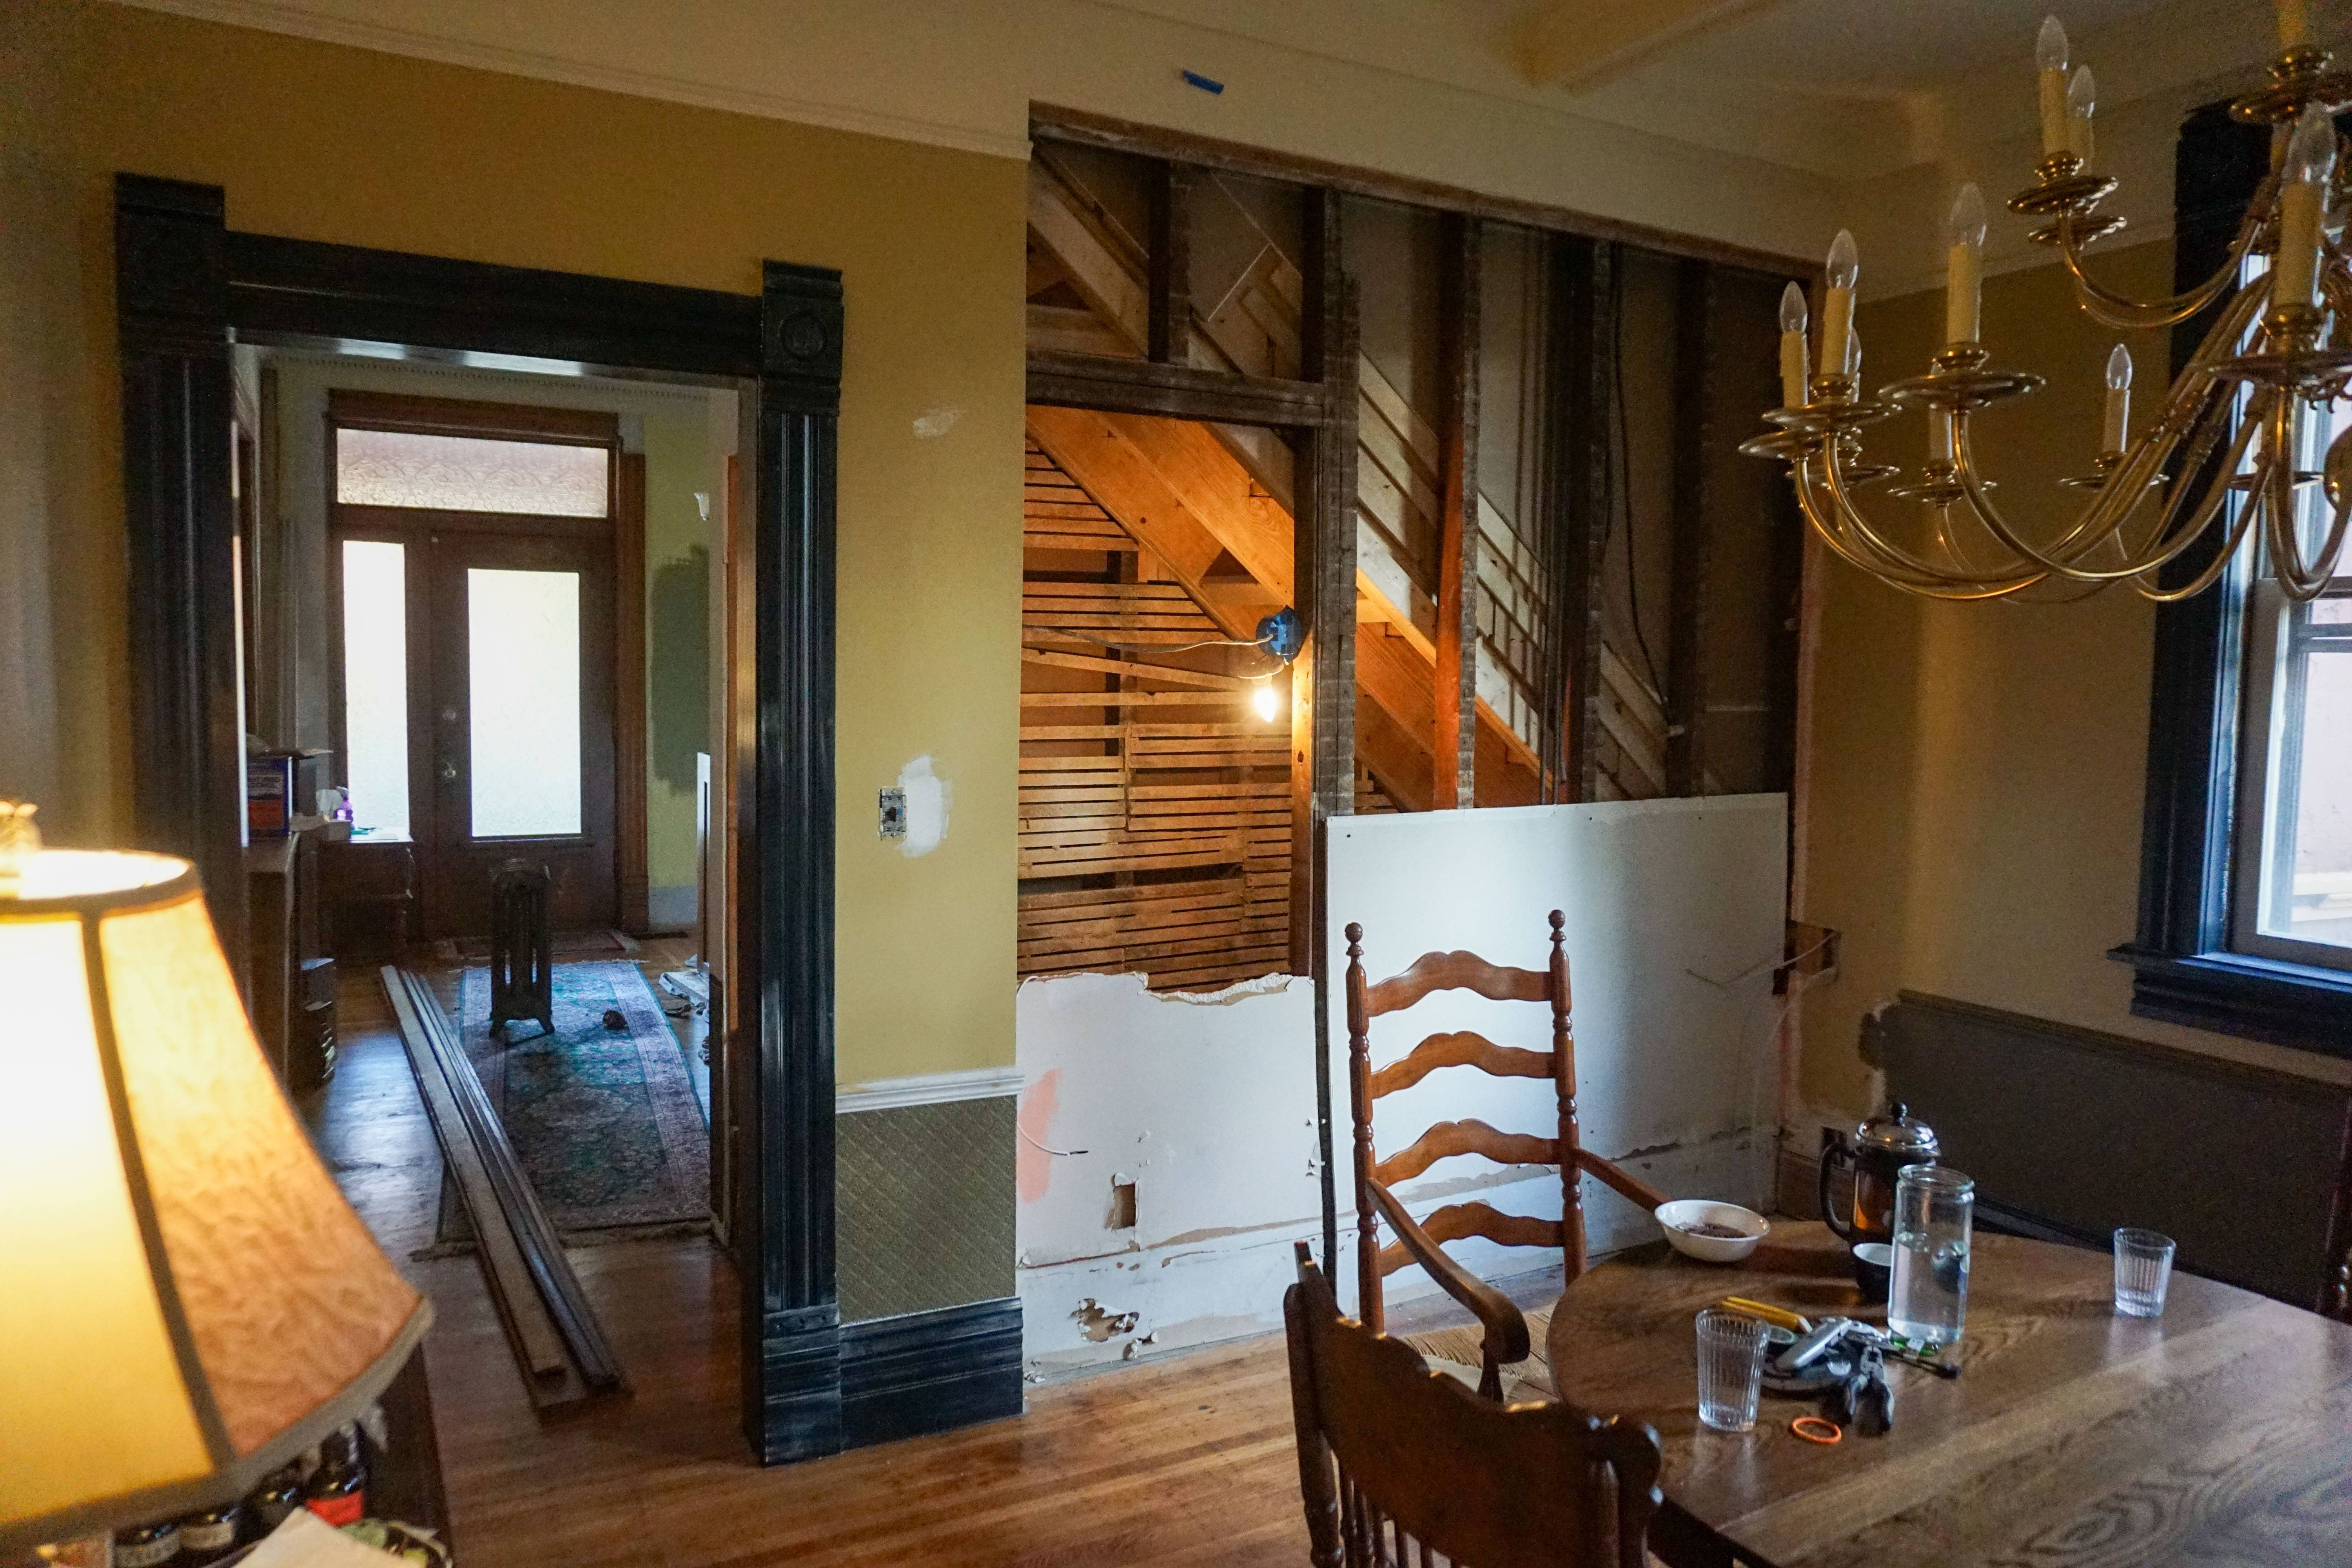
As I mentioned, this week we’re having built-in cabinets being installed in three rooms here at Bonebrake: two tall white oak bookshelves in the foyer, two base cabinets with doors in the front parlor, and a monumental sideboard-style piece in the dining room. I’ve been designing these pieces for over a year and also slowly getting these areas ready. We’ve been living with partially finished electric, portions of removed walls—it’s been ugly.

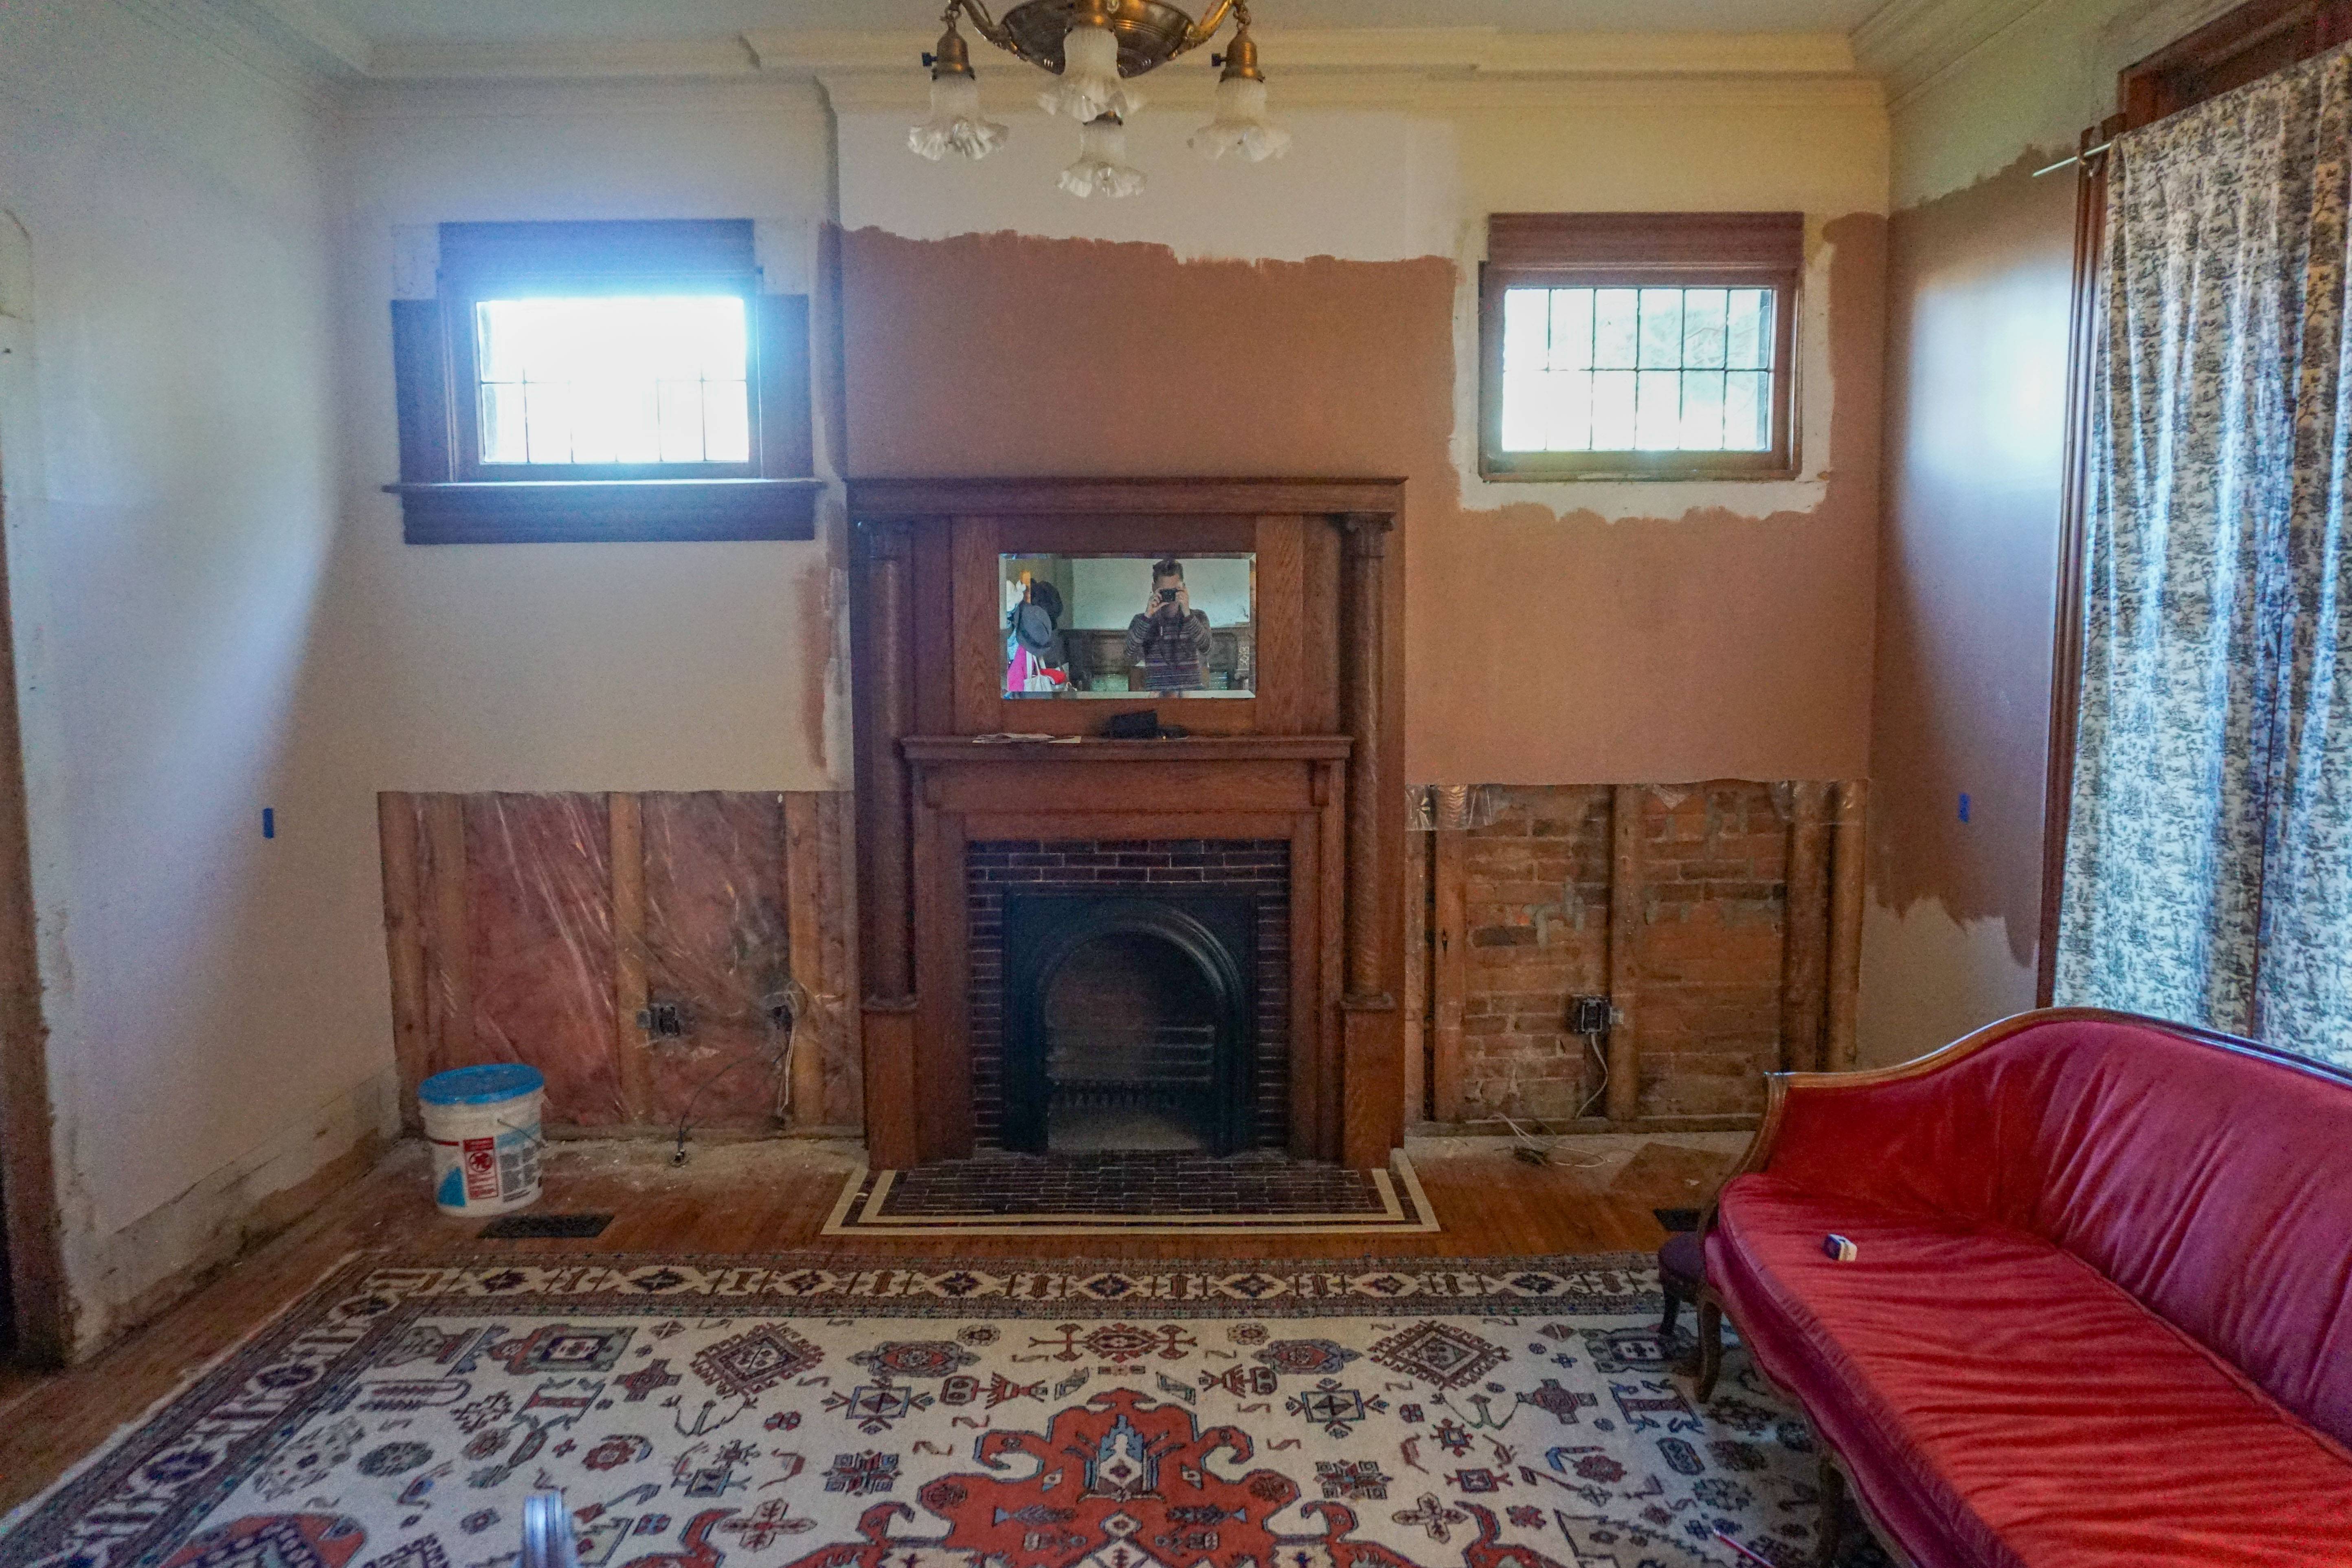
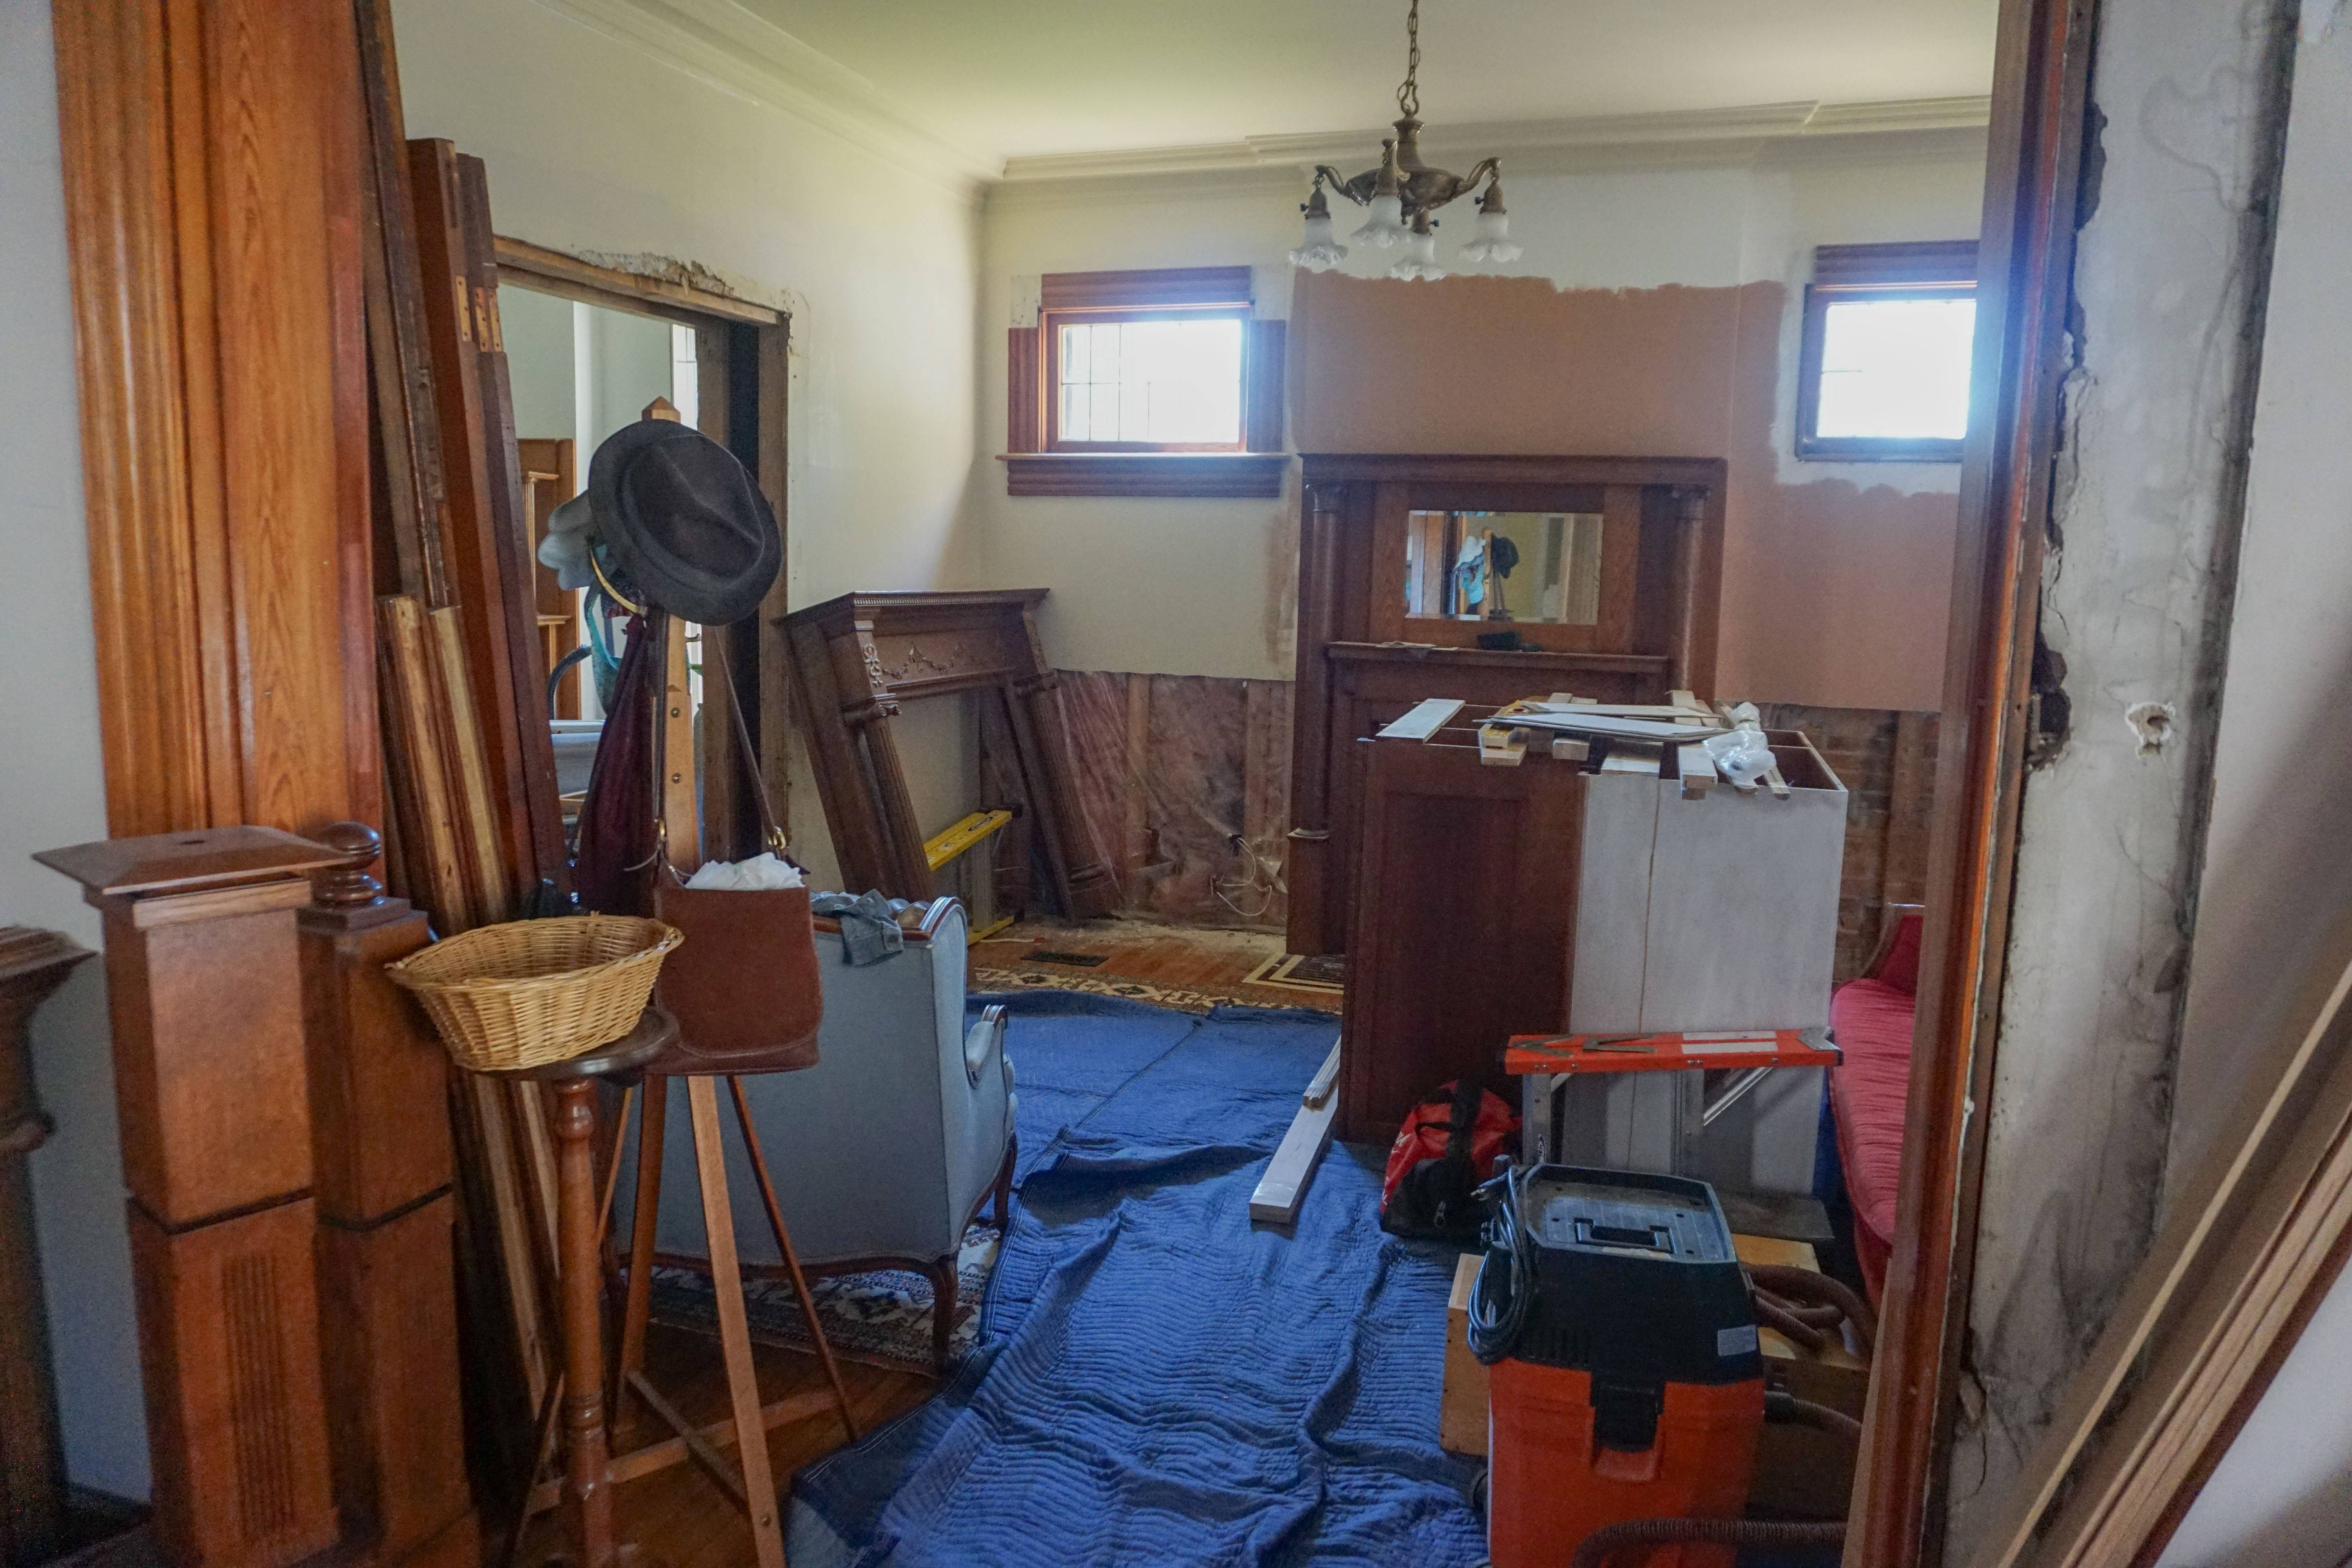
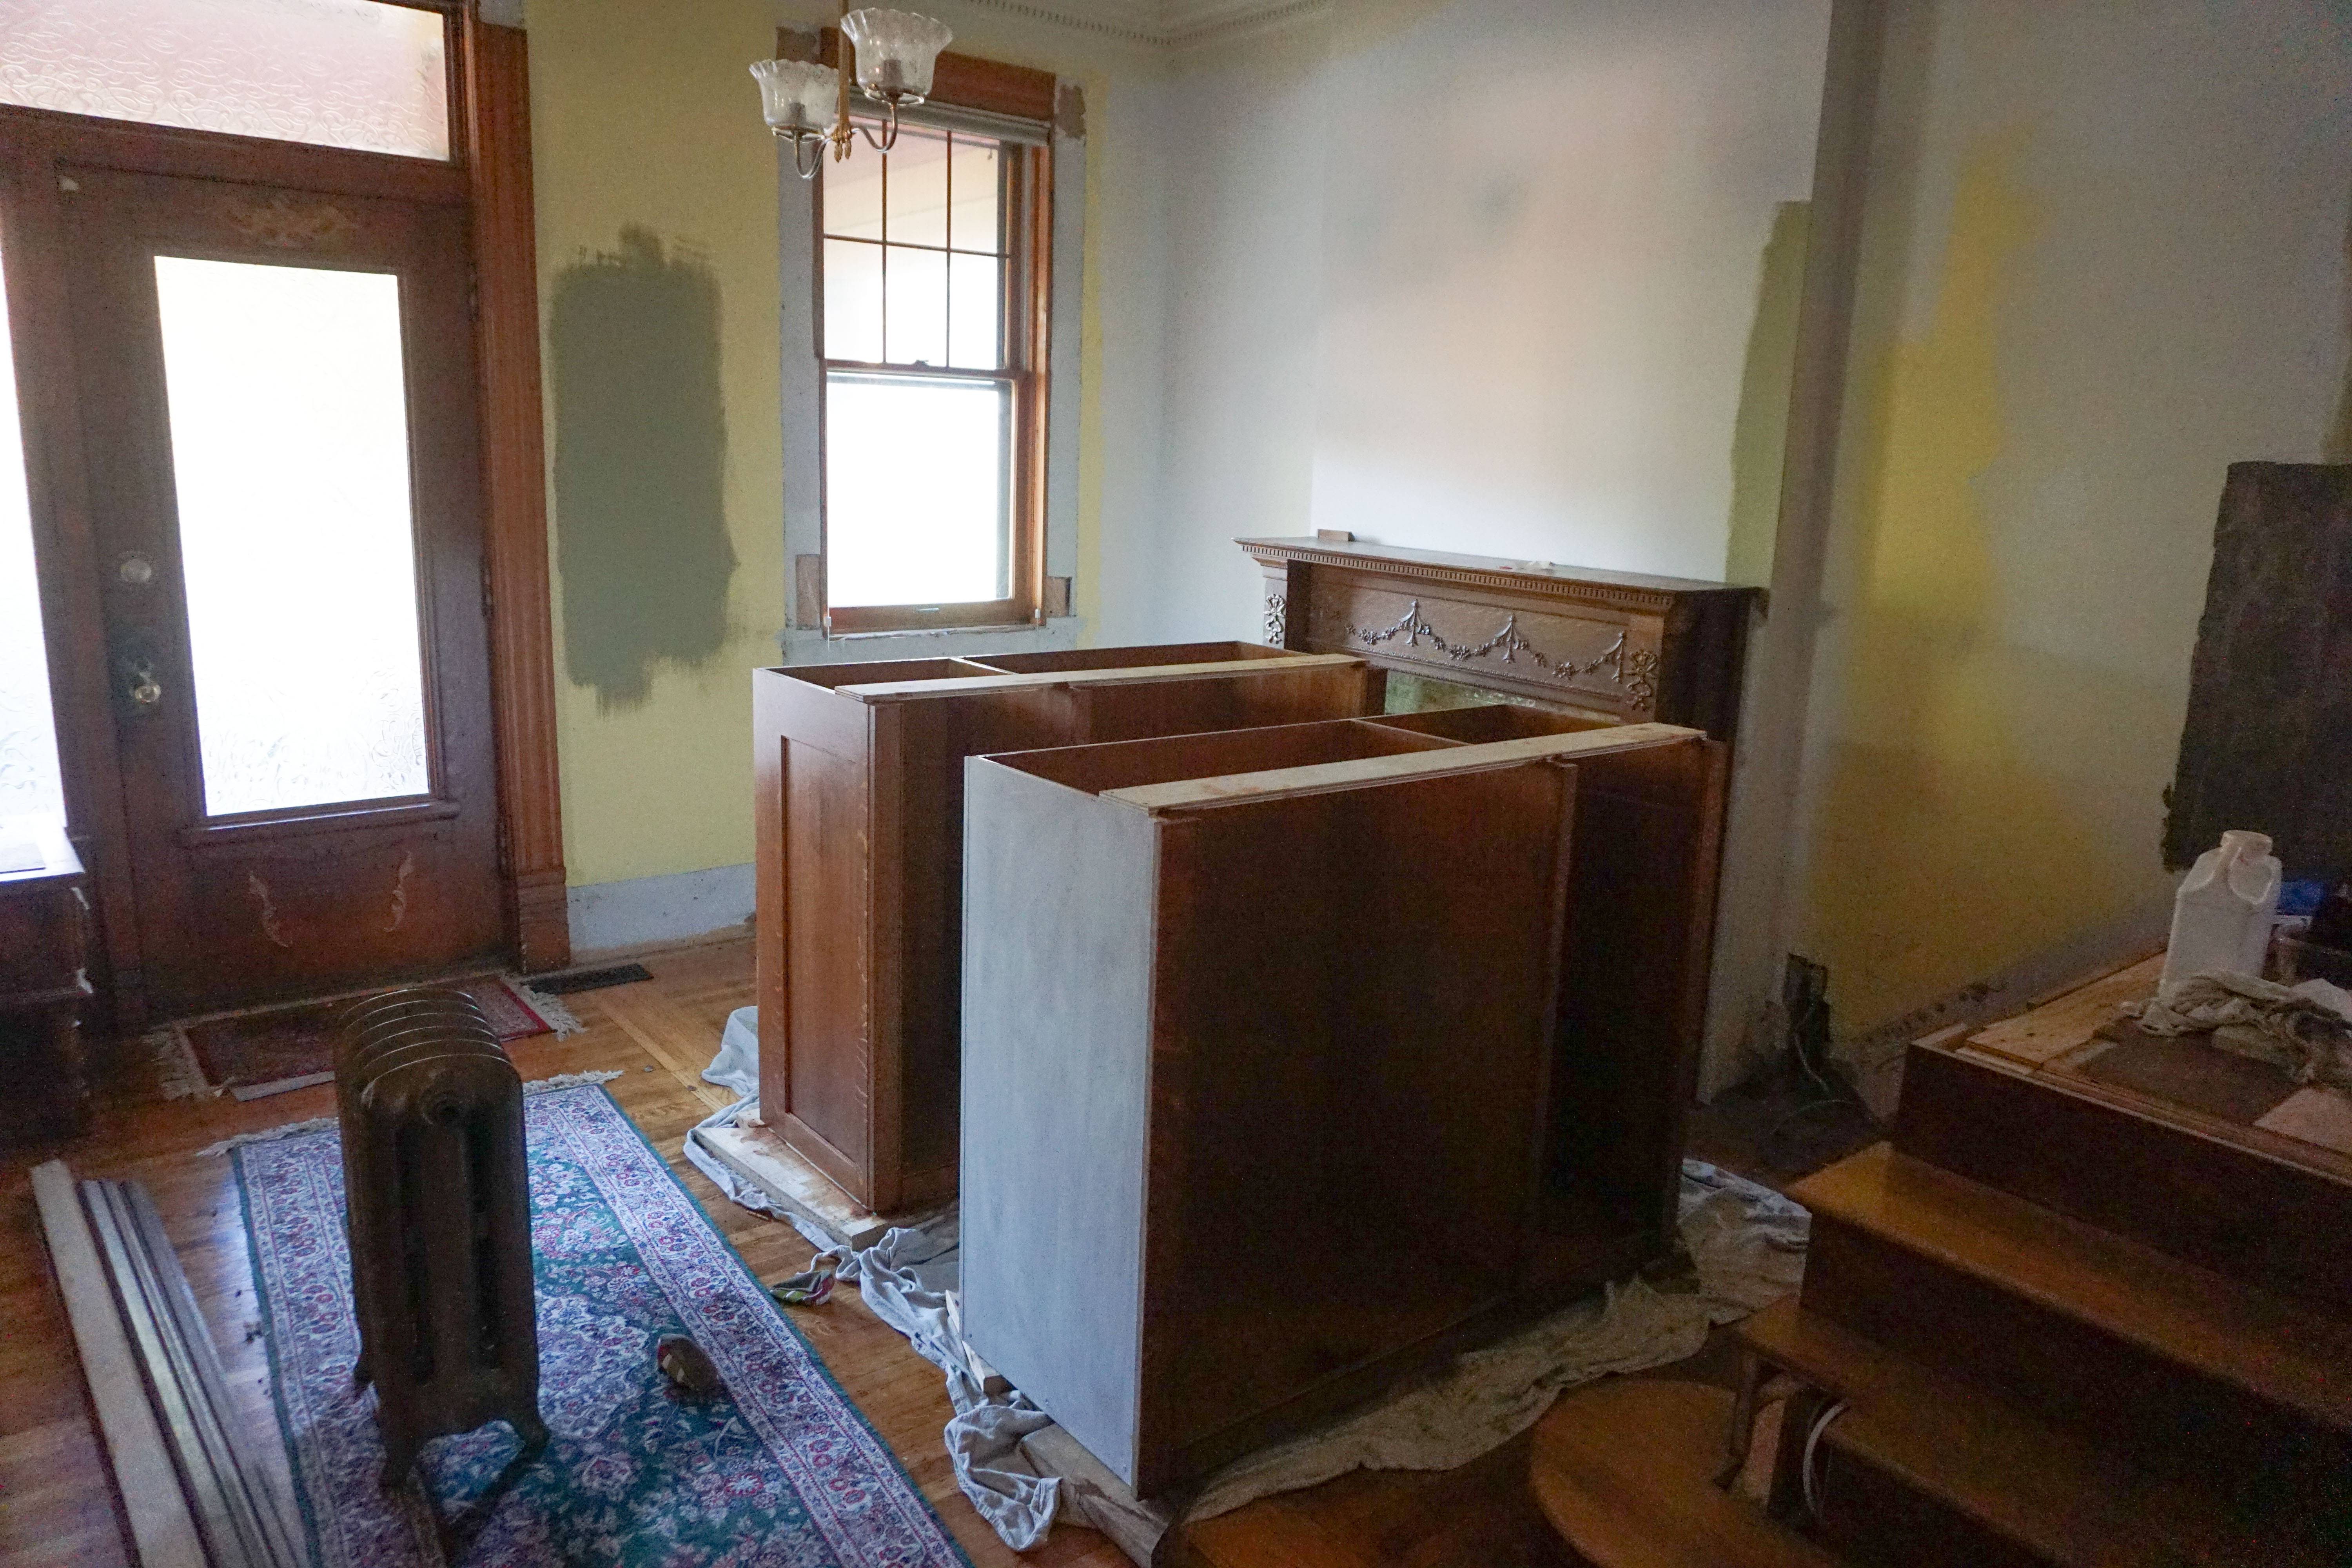
The front parlor cabinets that’d already been delivered were already sitting in my foyer, which sort of ruins the “before and after” image, but here’s what things looked like this morning:

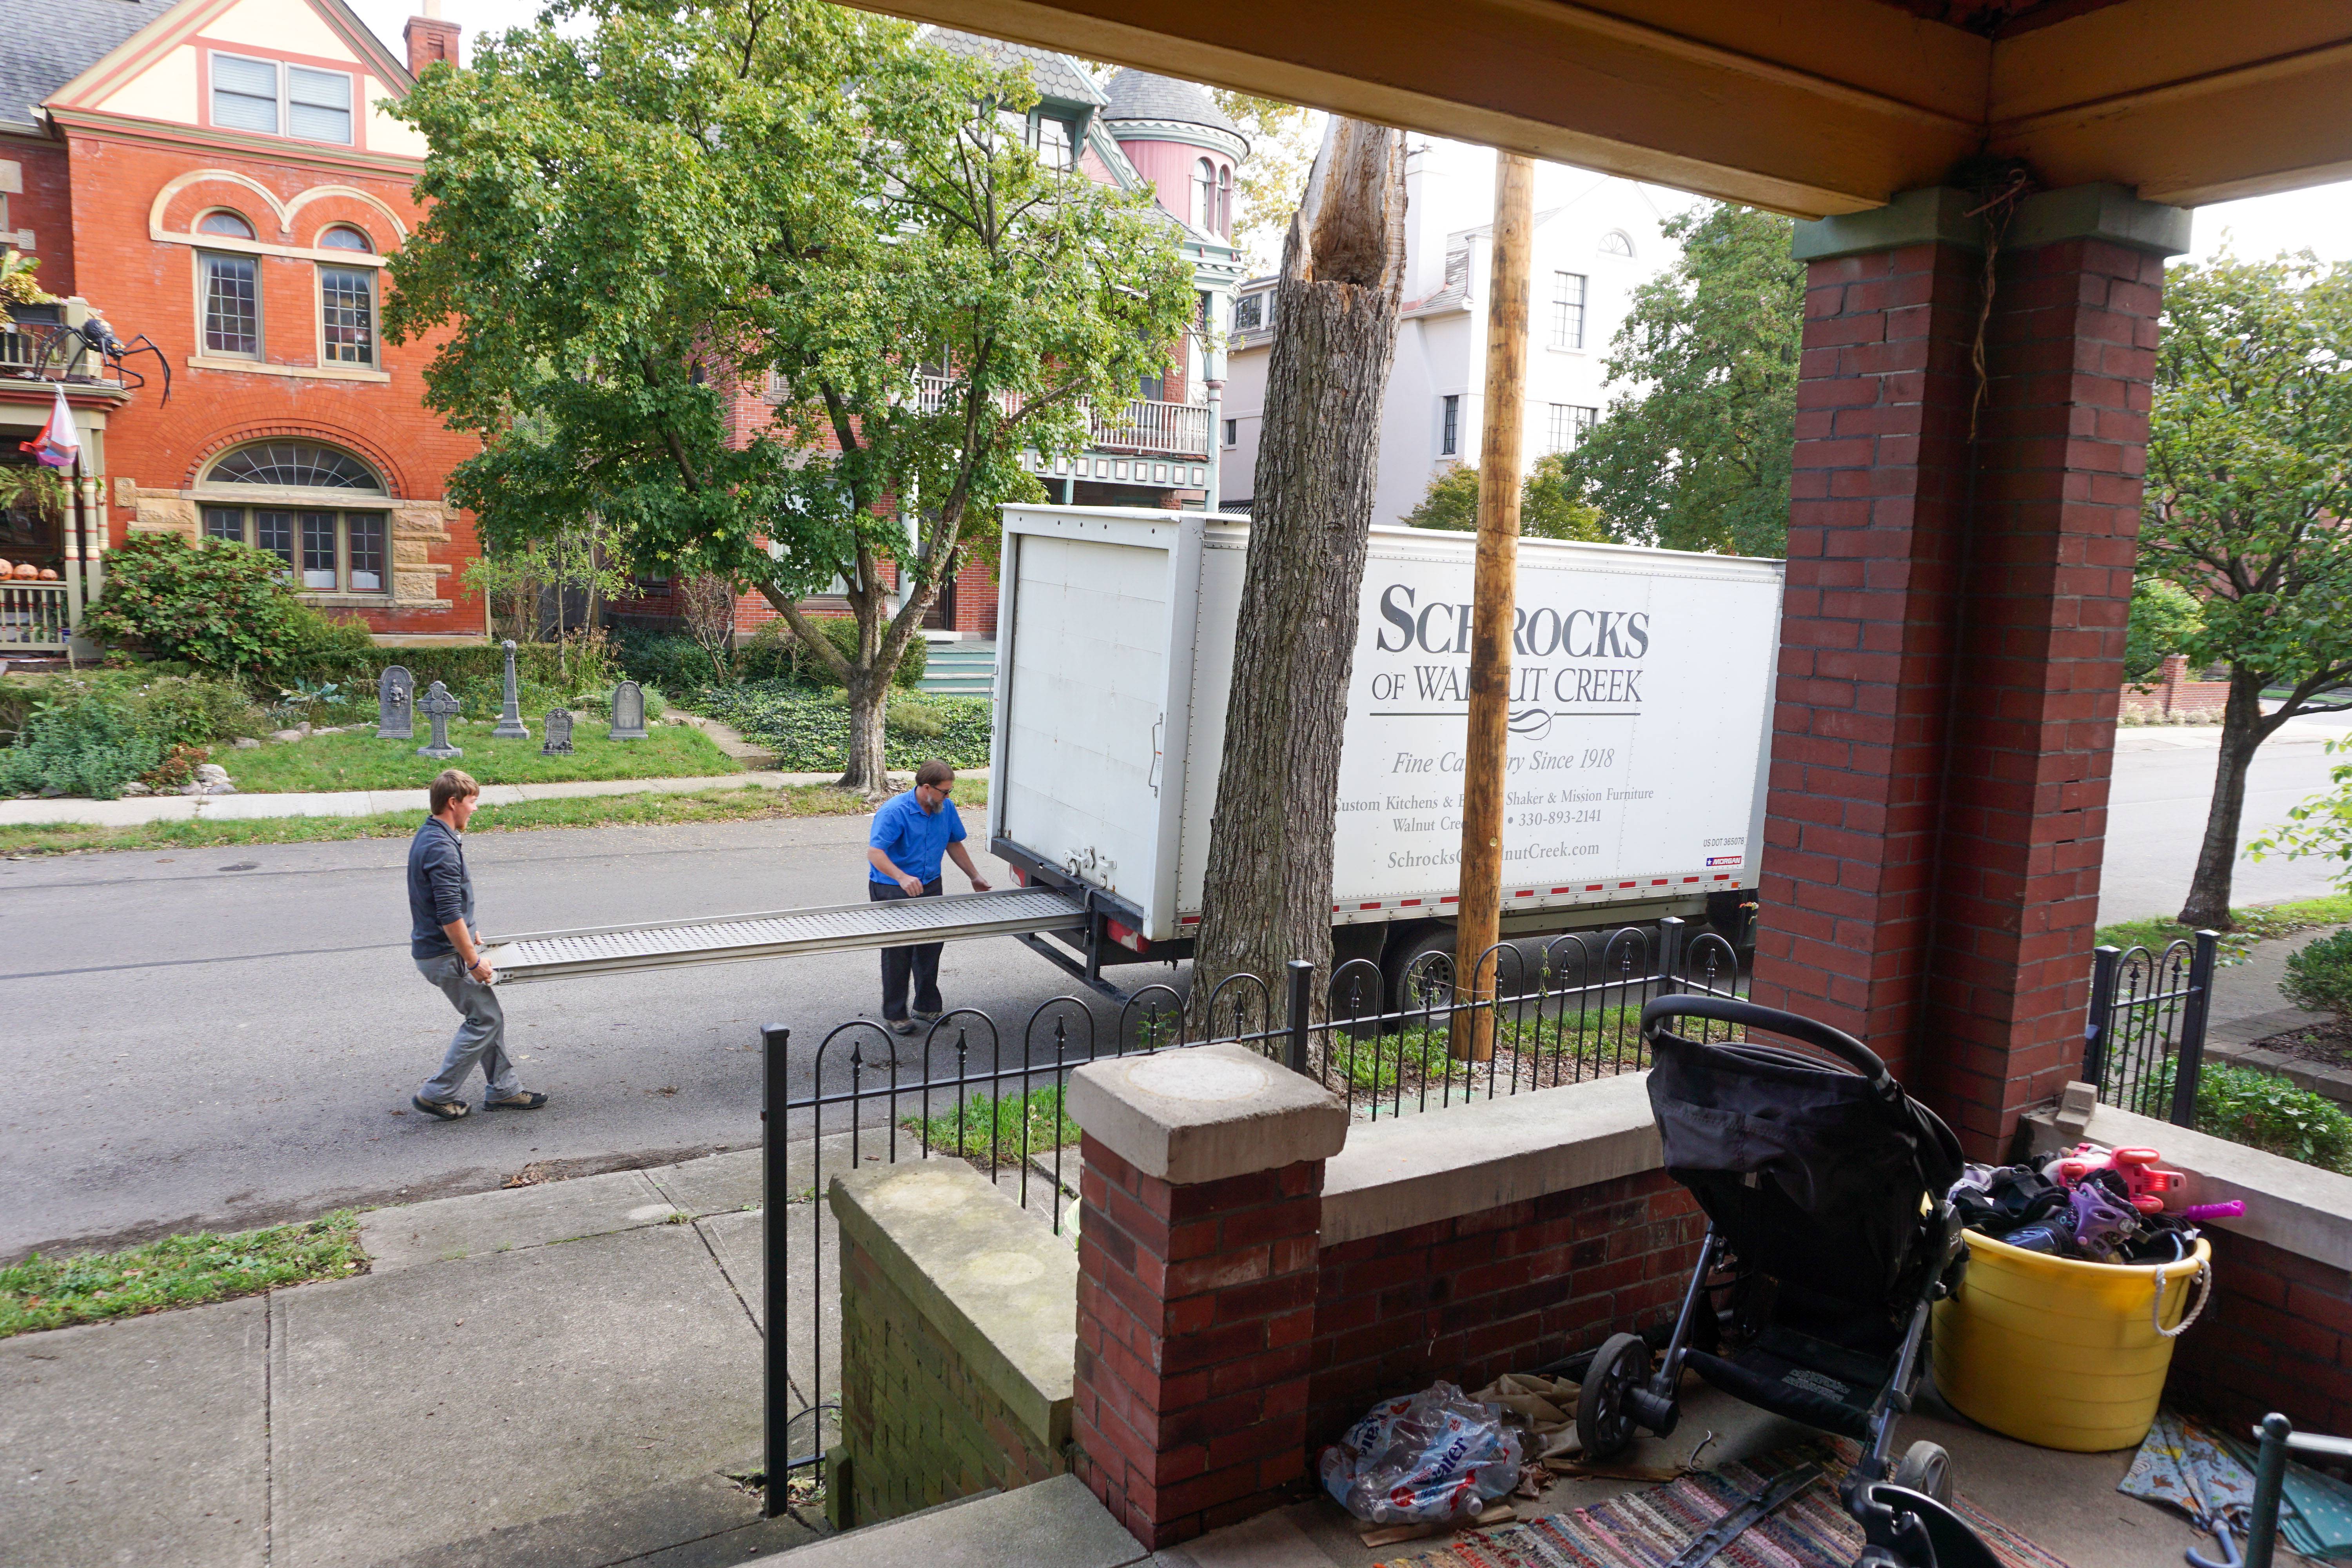
The installers—two Amish guys, not including a driver, who helps load and unload but does not install the cabinets—only ended up working about five hours today. Most of this time was spent making the two foyer bookcases fit. I don’t think they used many tools beyond measuring tape, planer, and sander.

Before they left for the day, they brought inside additional cabinet boxes for the rooms they hadn’t got to yet. So now we can barely navigate through the front two rooms of our house—especially since we still have a handful of loose stair parts around, too! I have a decent list of things to do before these guys come back tomorrow. I need to pull some new electrical wires and conduit in the front parlor and I need to get some primer and paint on the dining room built-ins during this limited window before things are fastened together for good.

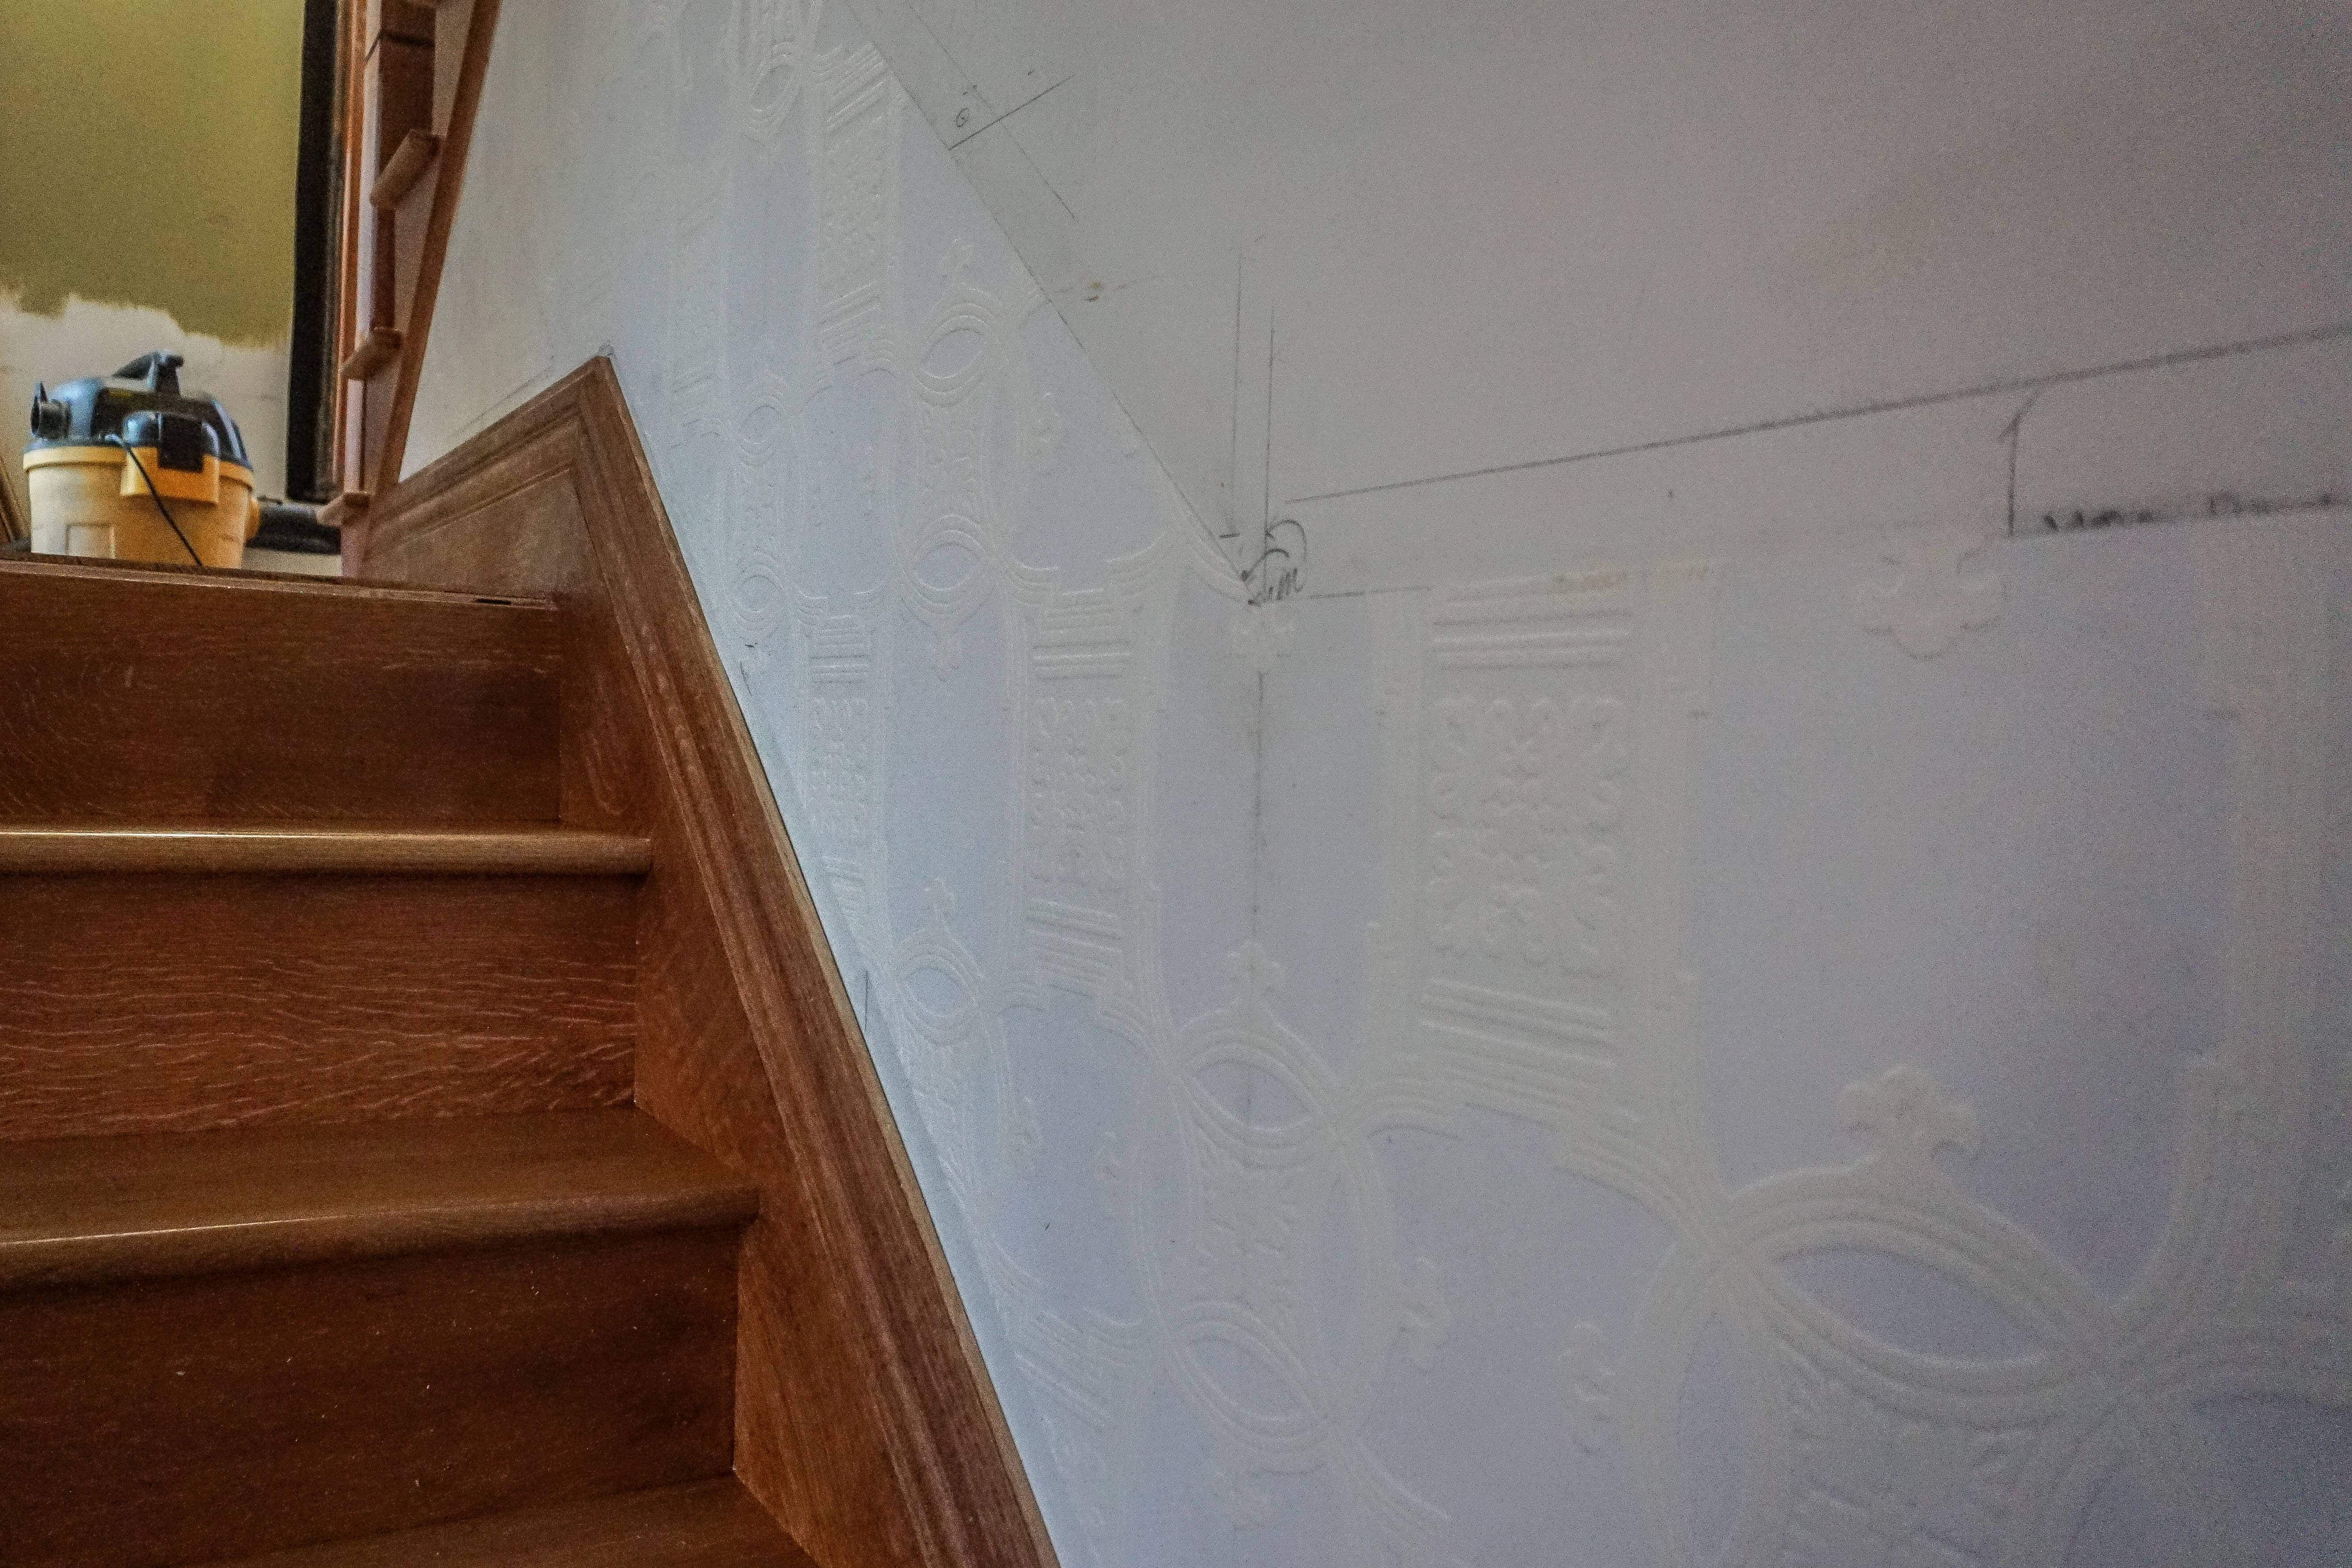
Installing Anaglypta in the foyer

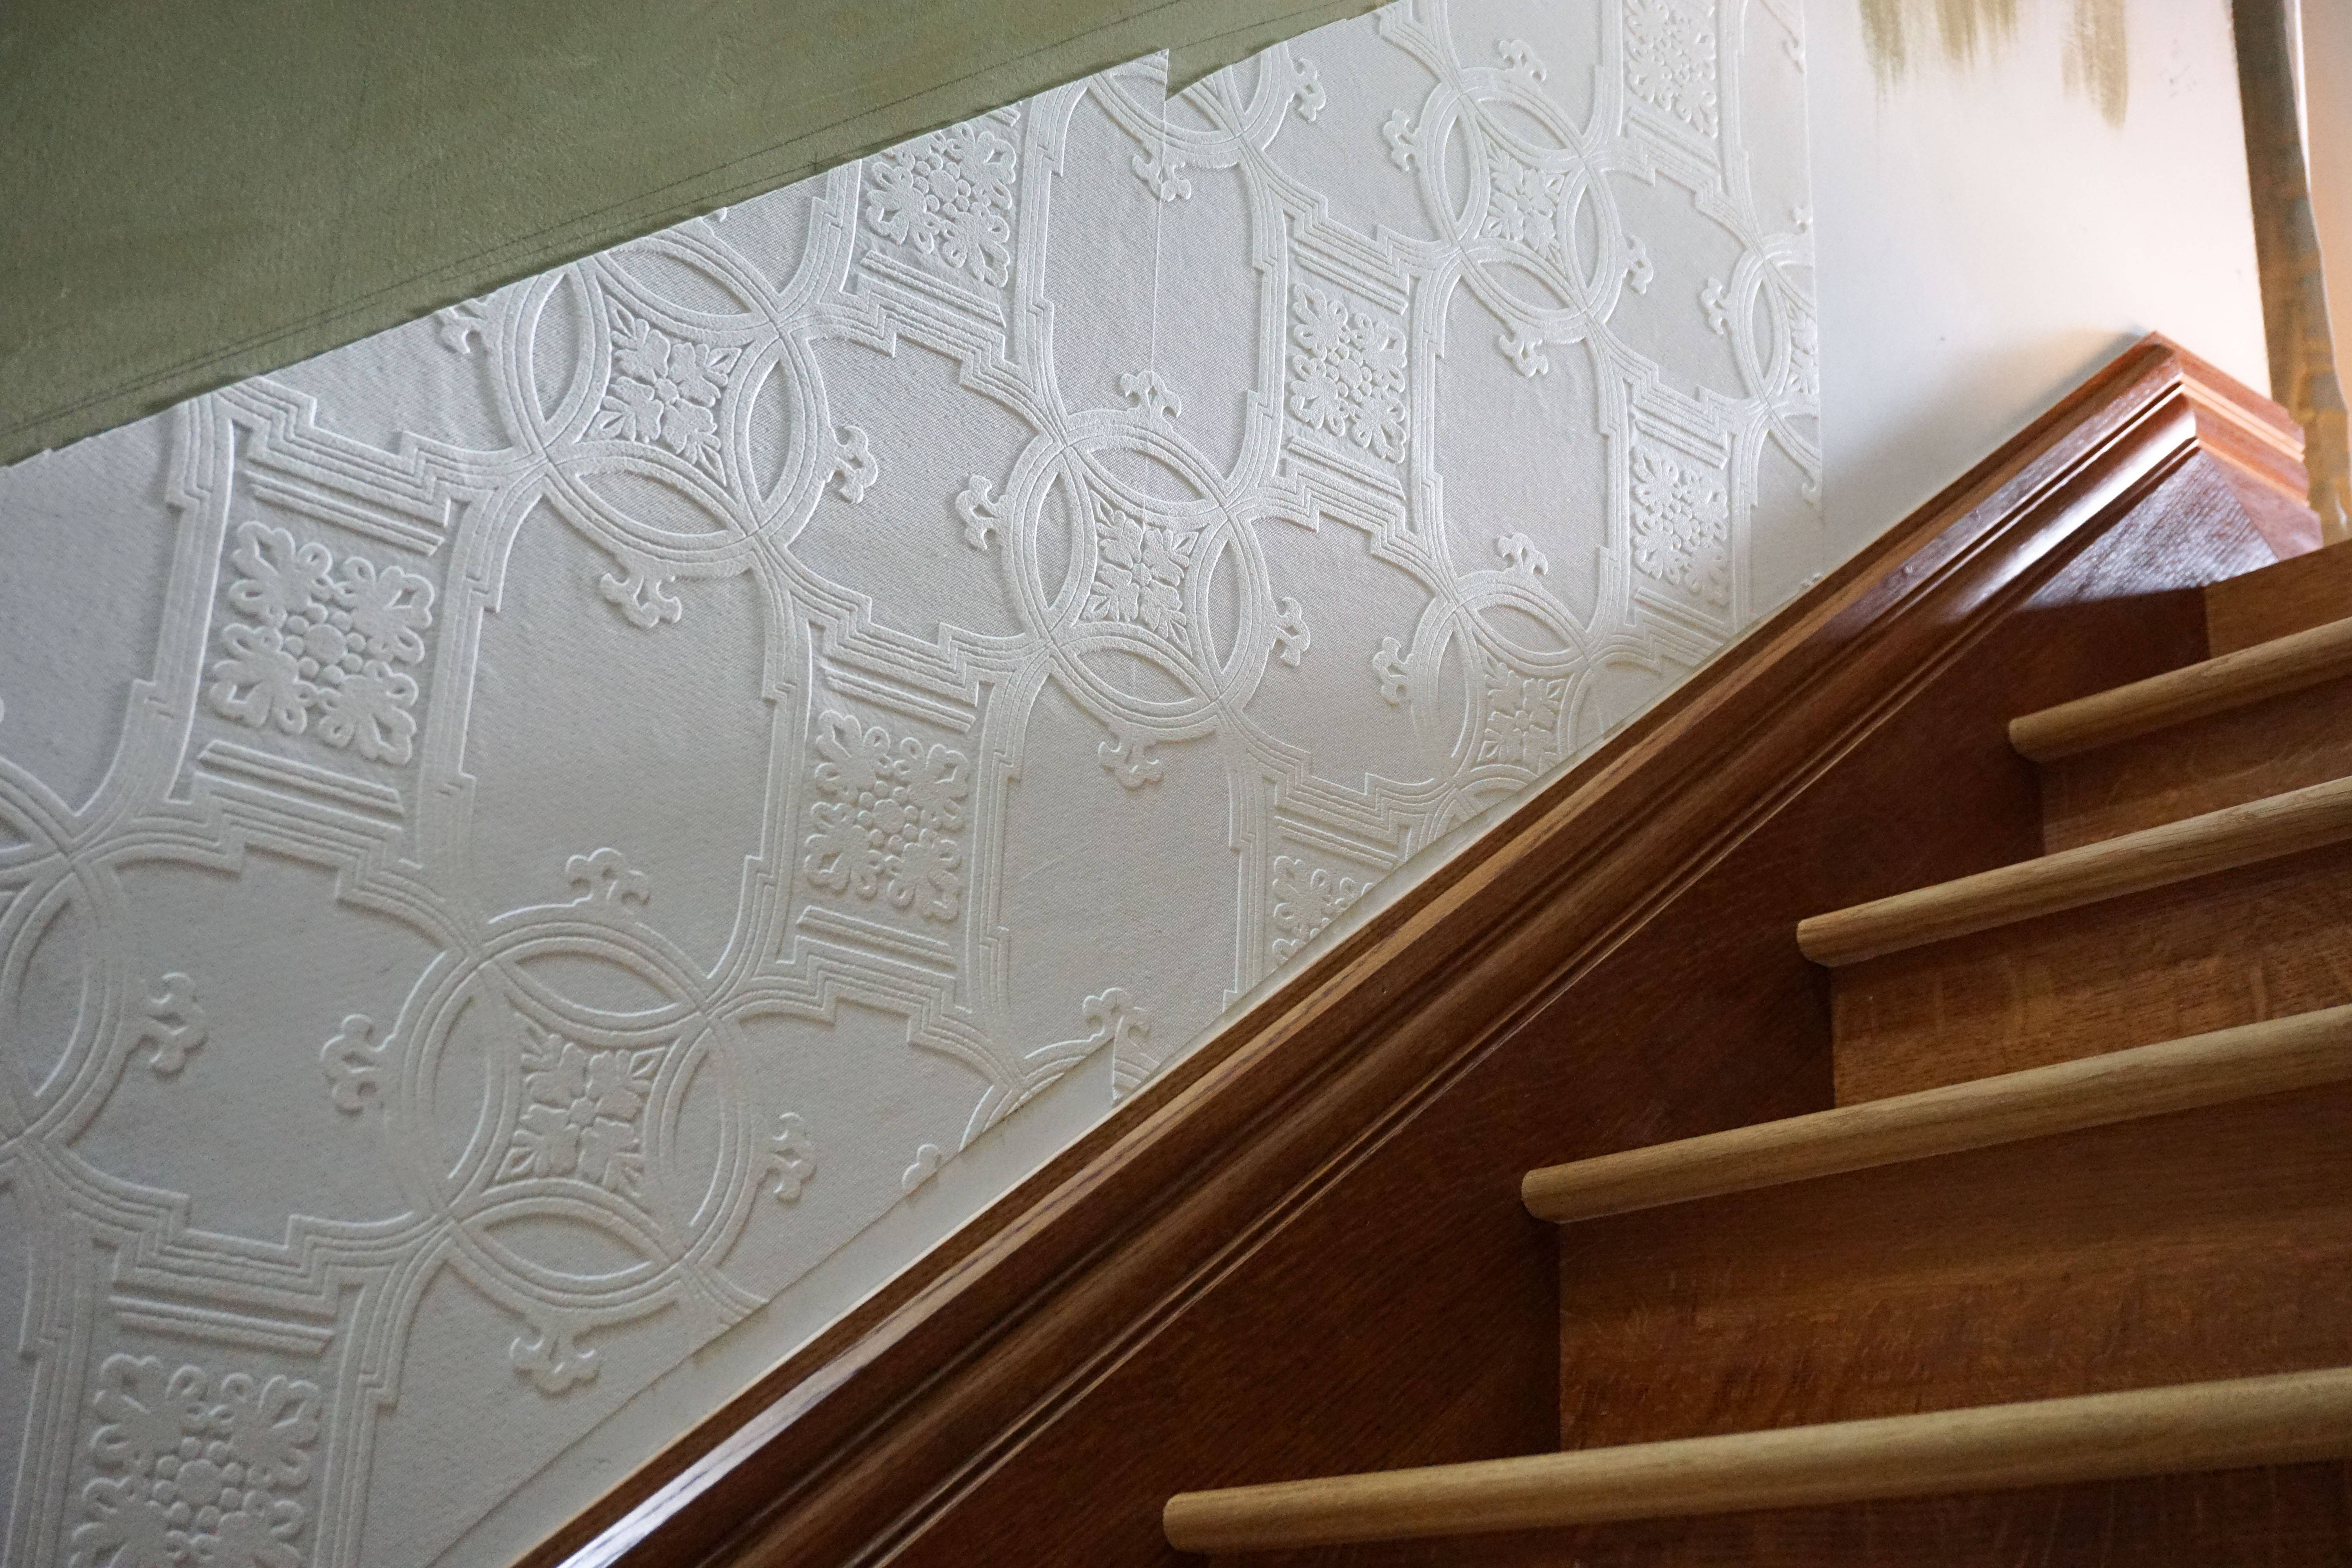
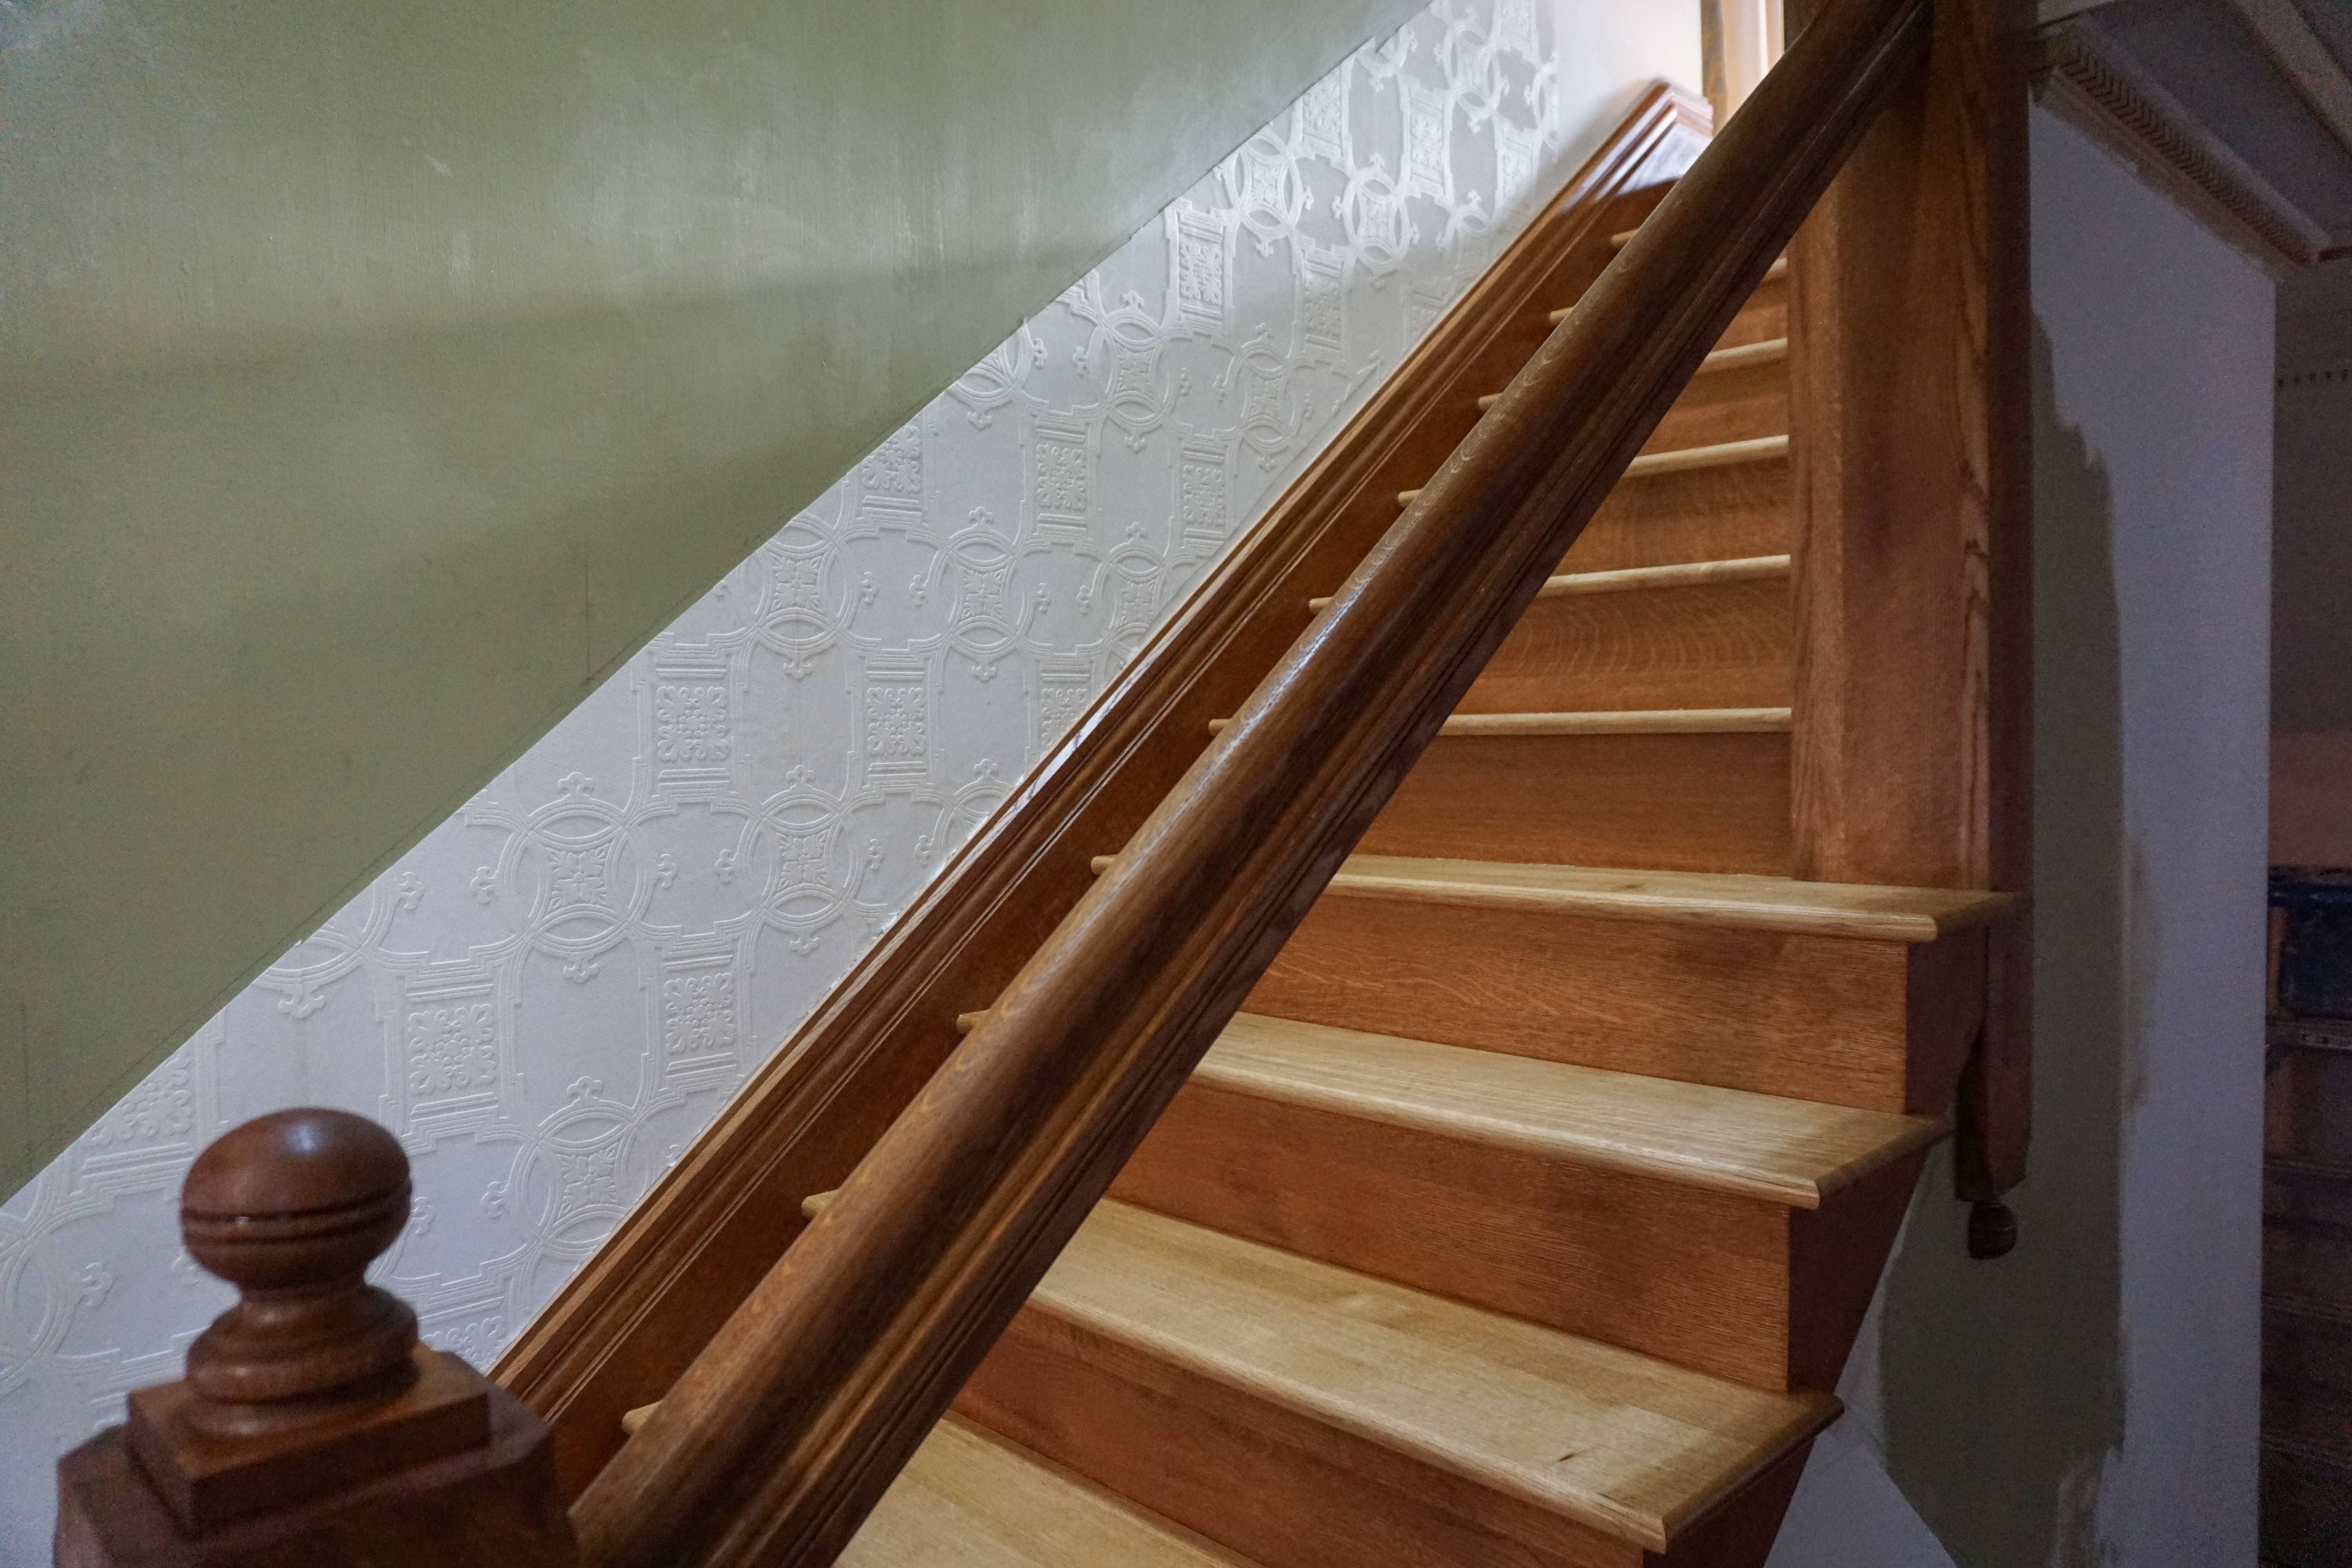
I’ve wanted to use a textured wall covering on my stairs ever since seeing it (in person) in another house in the neighborhood a few years ago. It’s not uncommon to see this photos of Victorian houses, but something about seeing the texture in person—and realizing how long it had been there—really stuck with me. Textured wallpaper is just one entry on the long list of “authentically Victorian interior design elements that seem trashy at first to moderns but can actually look fantastic when correctly executed”. The foyer will have a low dado (or wainscot, if you prefer) about 29″ high all around the room, with textured wallpaper applied to that section. Where the stairs go up, the dado rail and textured wallpaper will follow the line of the handrail—up to the platform, then up the second longer run of stairs all the way to the small hallway at the top of the stairs.

For those uninitiated, there are two UK-based companies producing textured wall coverings whose founding dates back to the Victorian era. Both companies are still in business and still producing many patterns designed over a hundred years ago. Lincrusta, is the gold standard, because their products are made from pure linoleum, but the materials themselves are exorbitantly expensive, difficult to source, and complex to install correctly. Lincrusta is almost certainly what I saw in that link above, but I can’t let myself contemplate it for a new installation. So I’m going with an equally pedigreed second-place option, Anaglypta, whose products are made either from paper, PVC, or a combination of the two.

I’d already installed Anaglypta in my dining room (I will get around to posting about that some day), but in that room, I chose a patterns with smaller scales that were easier to match and hang. For the stairs, I wanted a more dramatic pattern with a larger scale. I settled on the puzzlingly named Early Victorian (it was first produced in 1897).

I got three rolls of “Early Victorian” in the mail on Friday (pro tip: order from UK-based sellers on eBay) and eagerly started planning out my installation on Saturday. It’s harder than it may sound, because I wanted to align the pattern at an attractive place for the horizontal runs (in the main part of the room and also on the platform), then maintain a consistent pattern from there going up the stairs. It’s difficult to get clean seams, all the more so when you’re working up stairs with pieces cut at a 41° slope and trying to keep things plumb, but I’ve learned that paint blunts fine details in the paper—and also marginally overlapping seams.

Right now everything looks pretty sloppy (I know I sound like a broken record) because the unpainted paper discolors and attracts grime like crazy. I also haven’t installed base cap or dado rail moldings, so there are a lot of junky looking raw edges. But it’s a start, and it looks a whole lot better than it did before. Onward!