Saturday progress on stairs
Jordan is finished up with “phase 1” of his work, and he took all his tools yesterday, which freed up a lot of space for me to bring all my tools back up from their basement dungeon. I focused on three things today:
Panel detail on platform
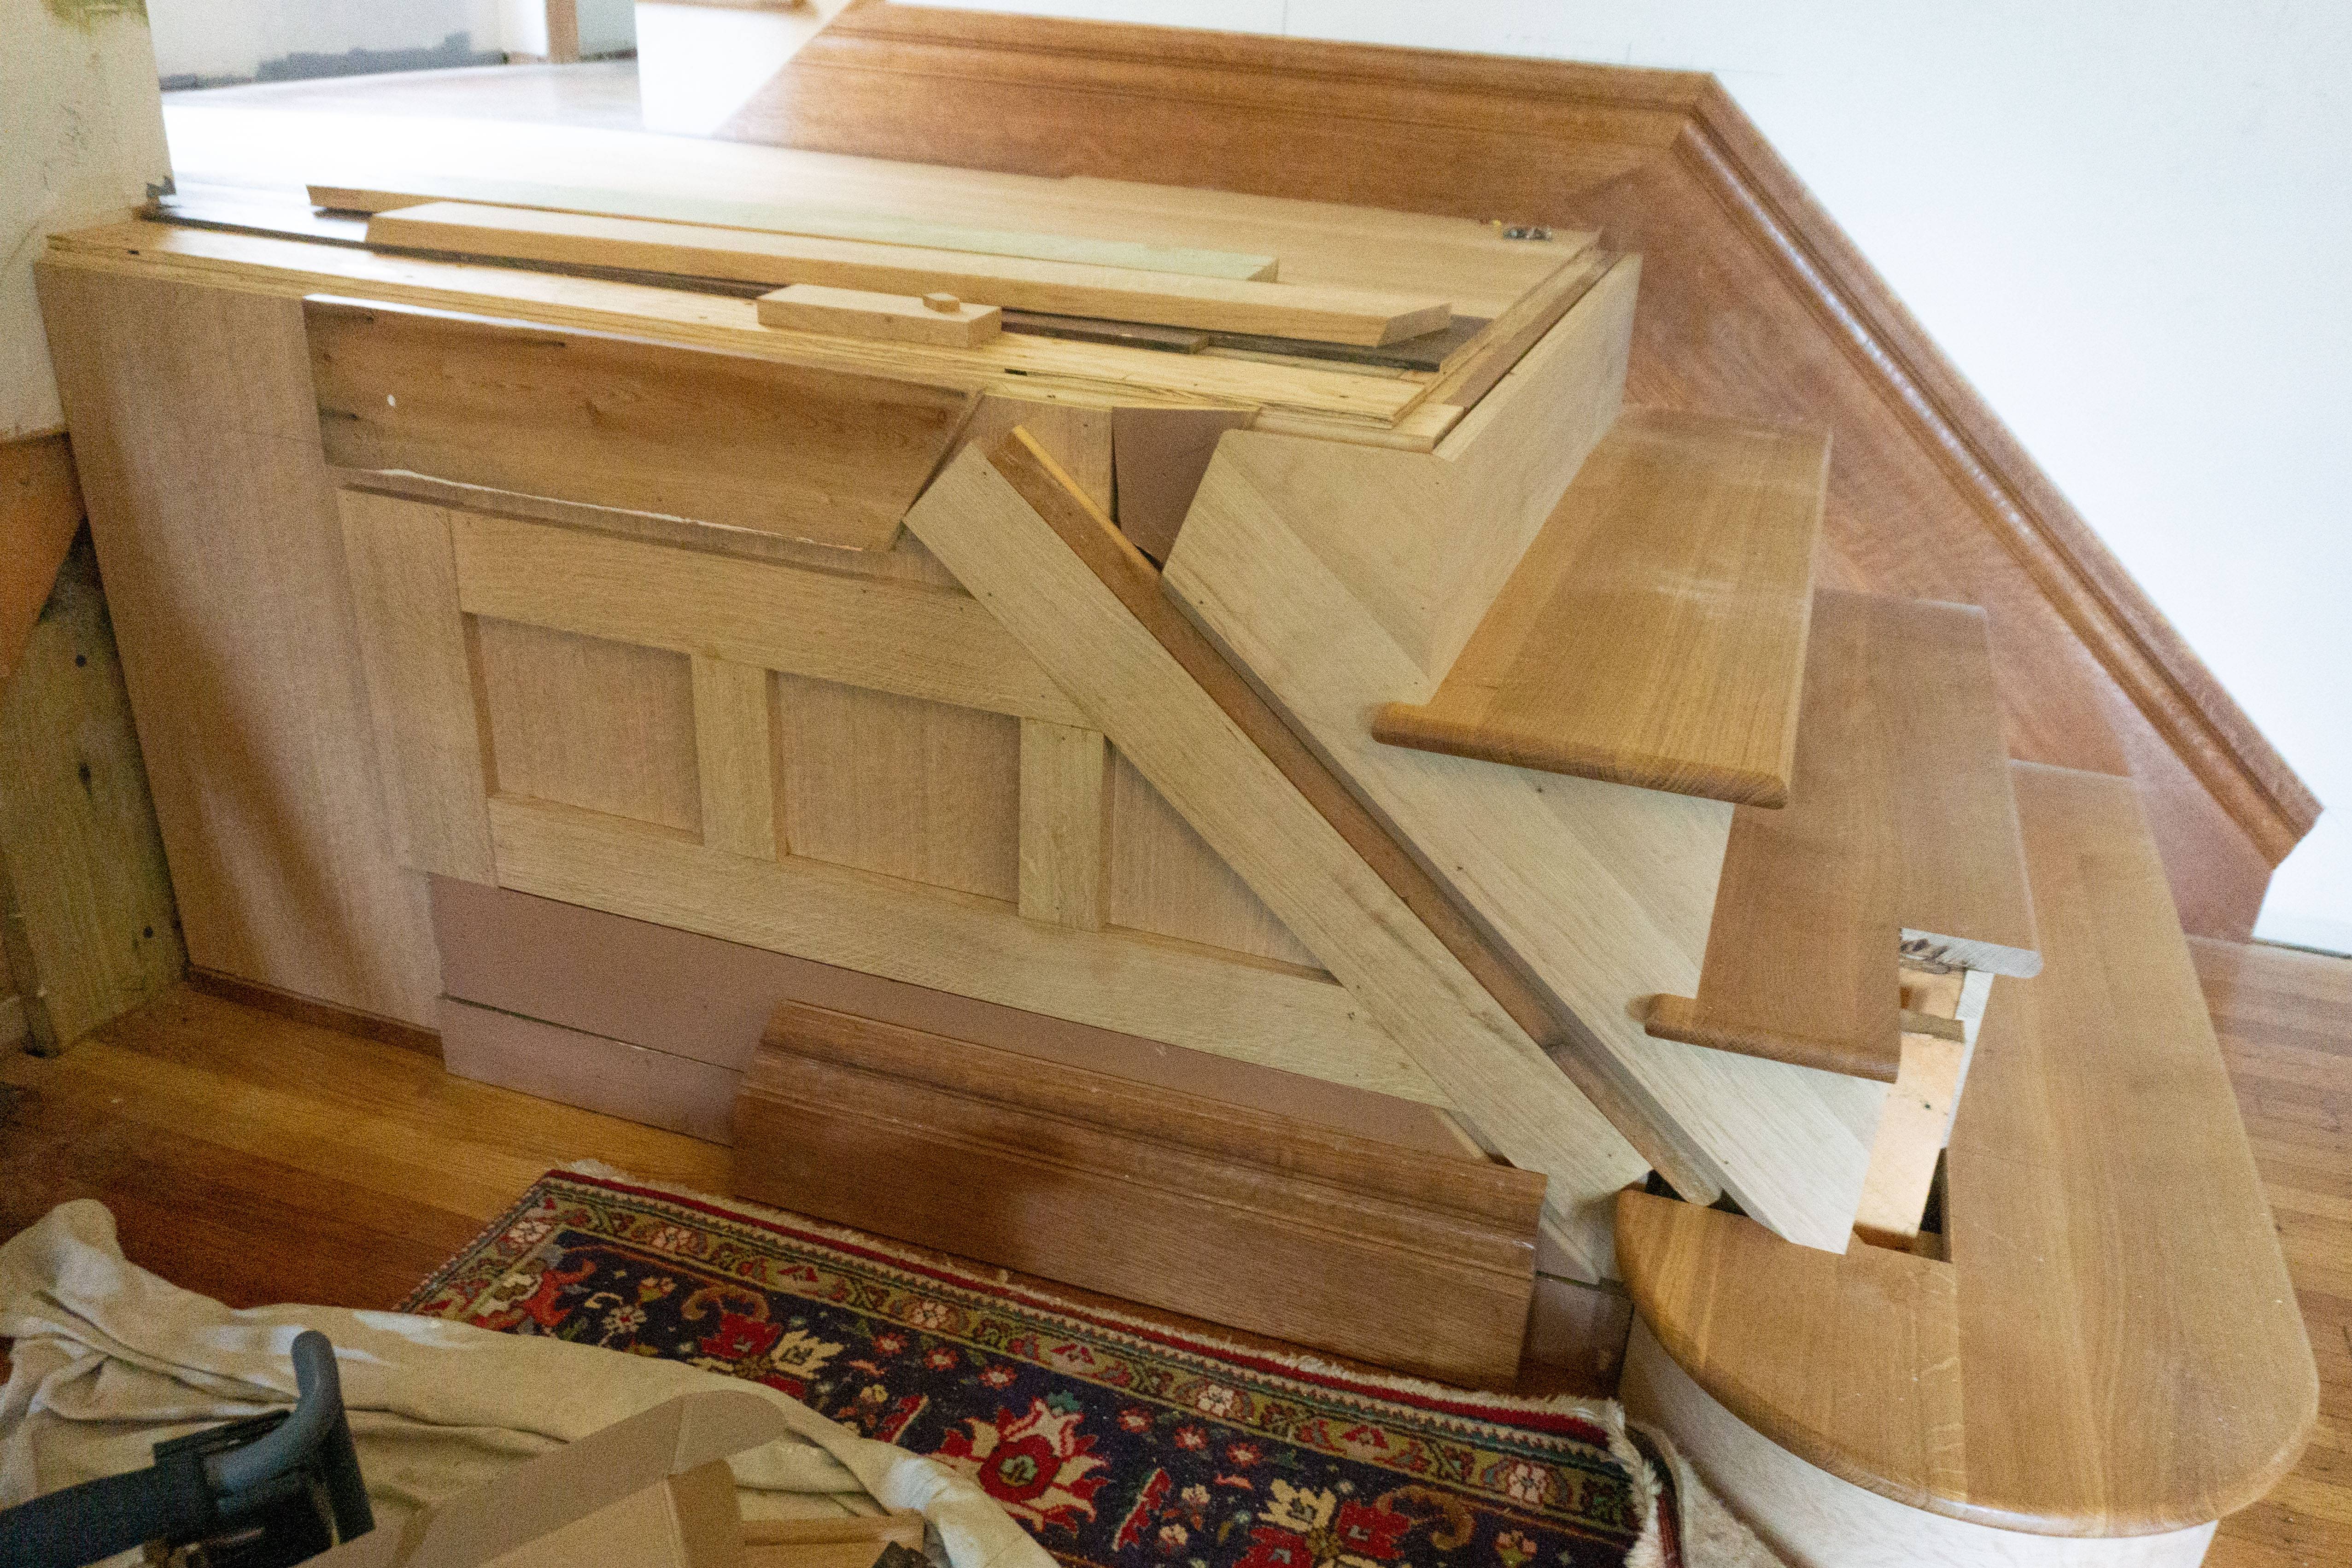
I know it’s not much to look at, but it took a lot of calculations and drawings to get all these pieces of wood in the right place. I skinned the side of the platform with some leftover q/s white oak plywood, plotted out the placement of the apron and baseboard (so I could install blocking at the appropriate depth), then installed q/s white oak rails and stiles for a panel detail. It looks bad right now because it’s missing apron, baseboard, several pieces of base cap, and the little panel molding that will go inside each of the three panels. But it’s a start!
Ceiling molding and pendant
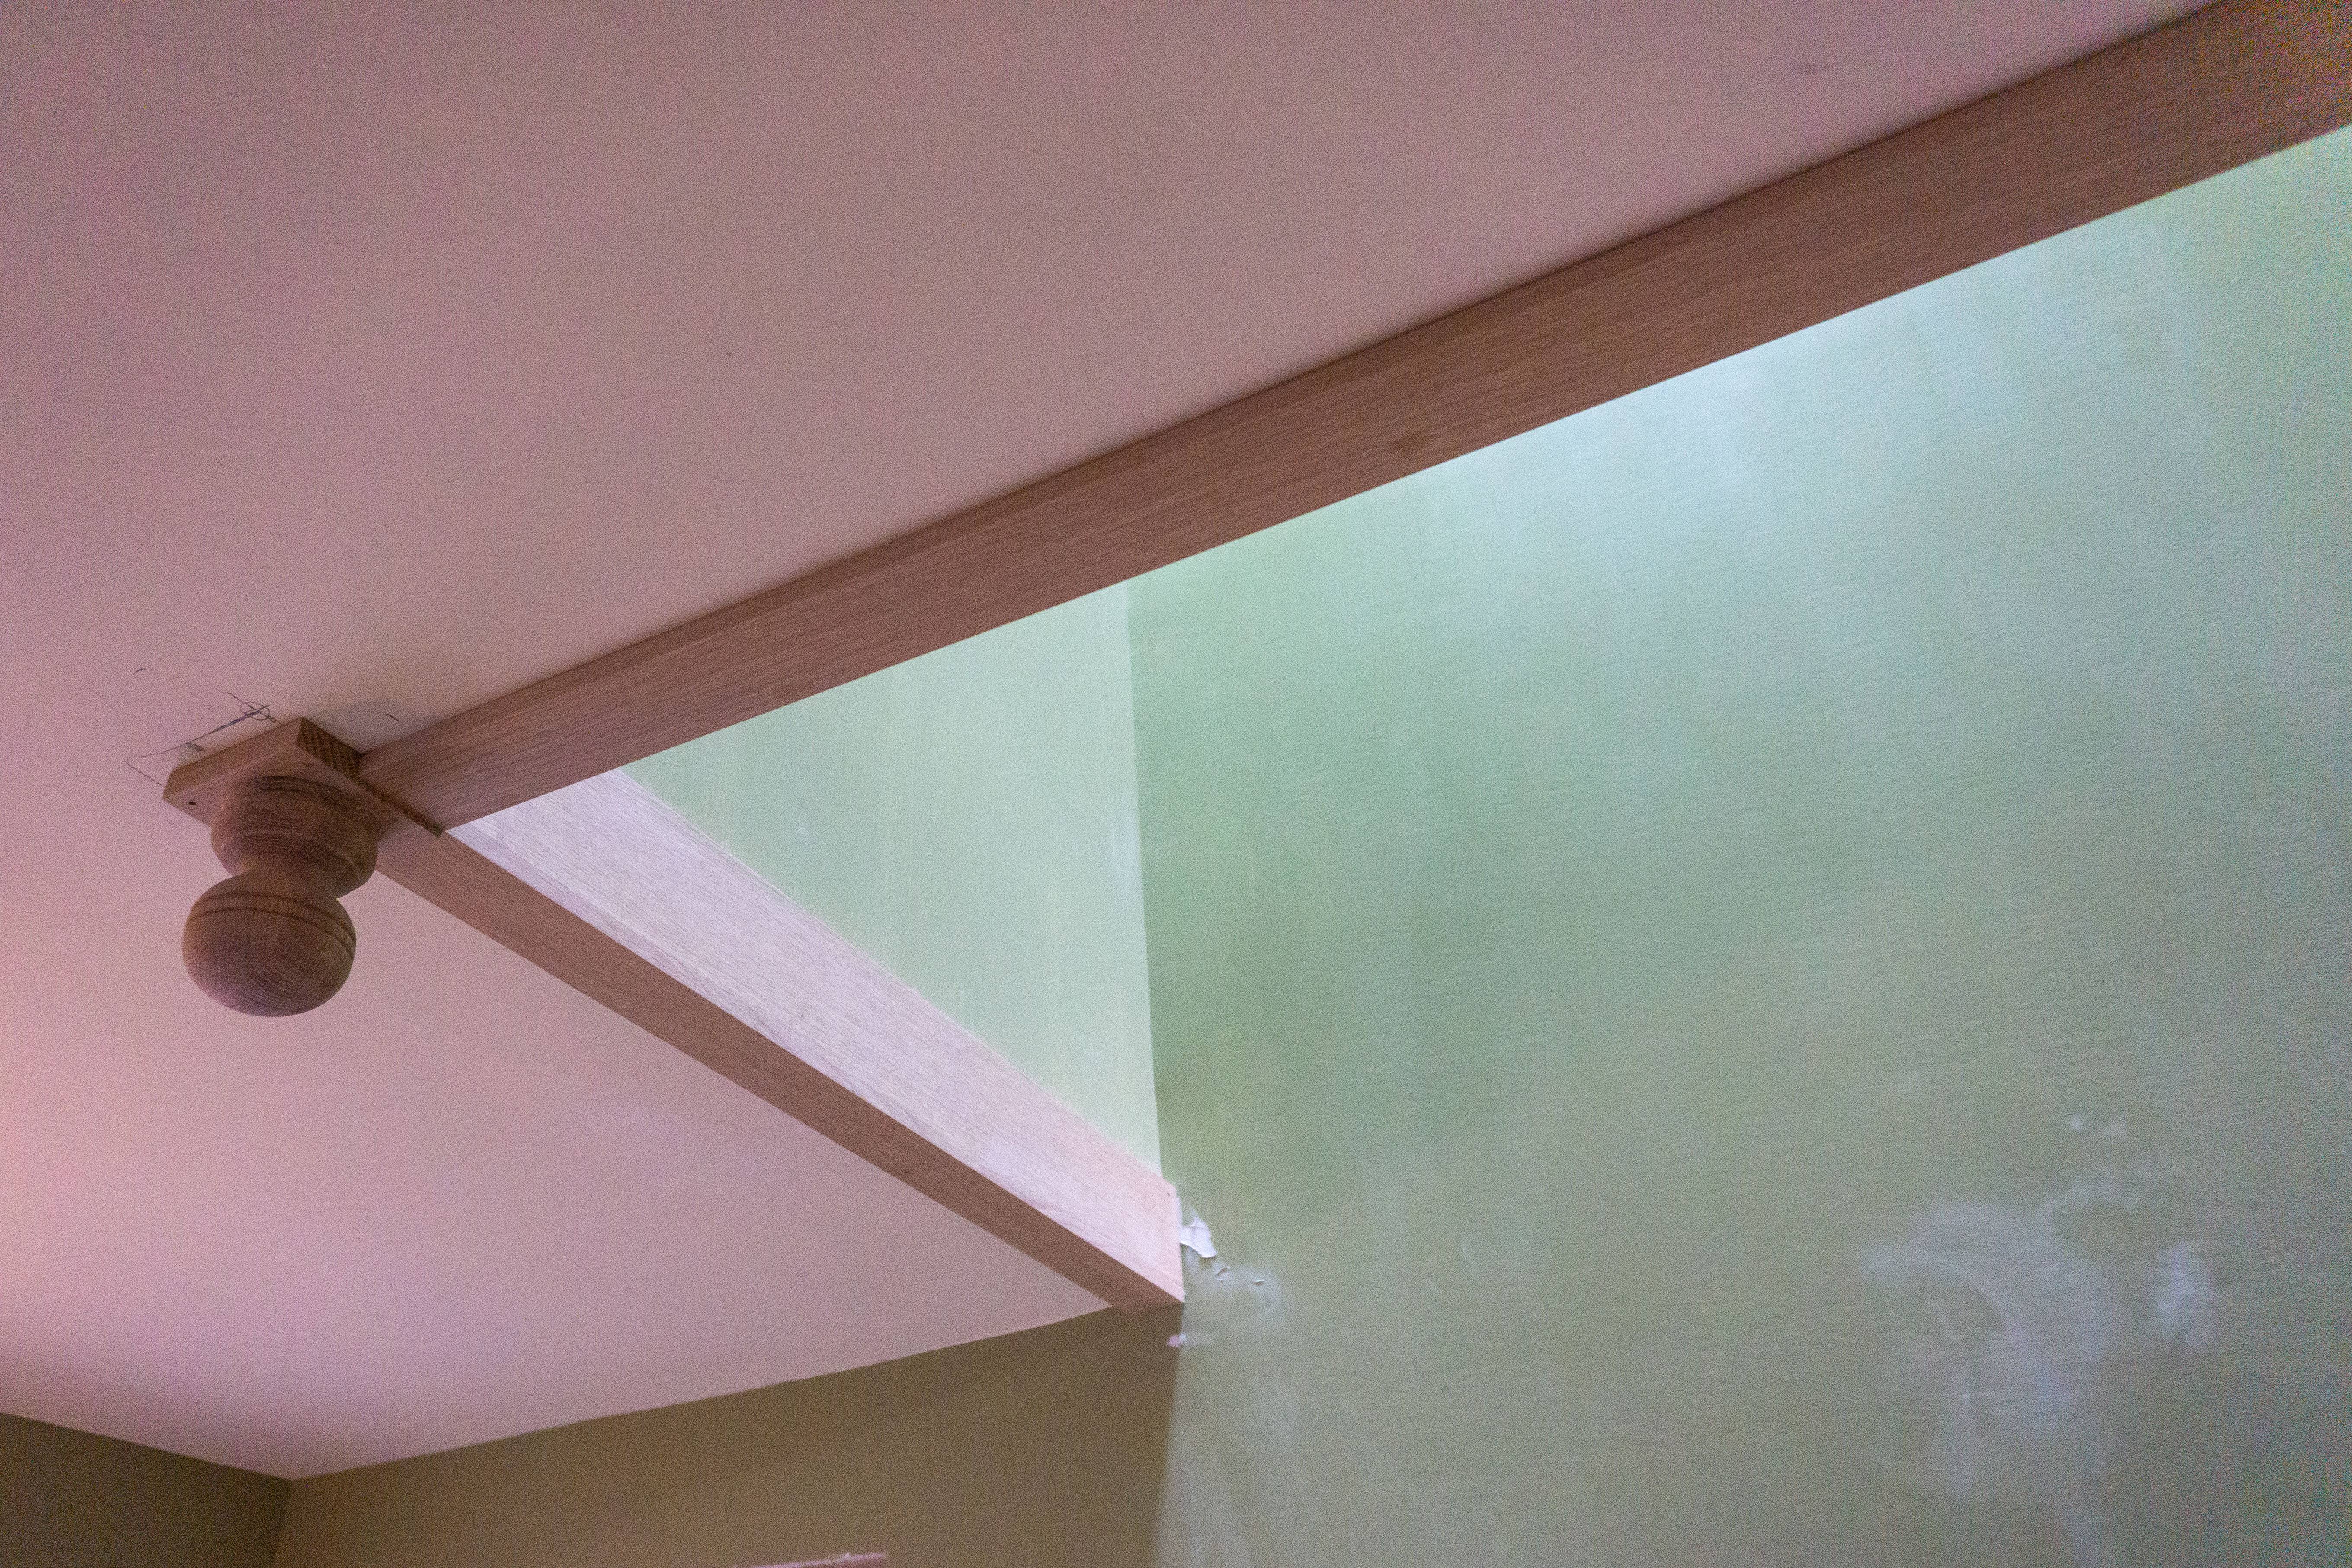
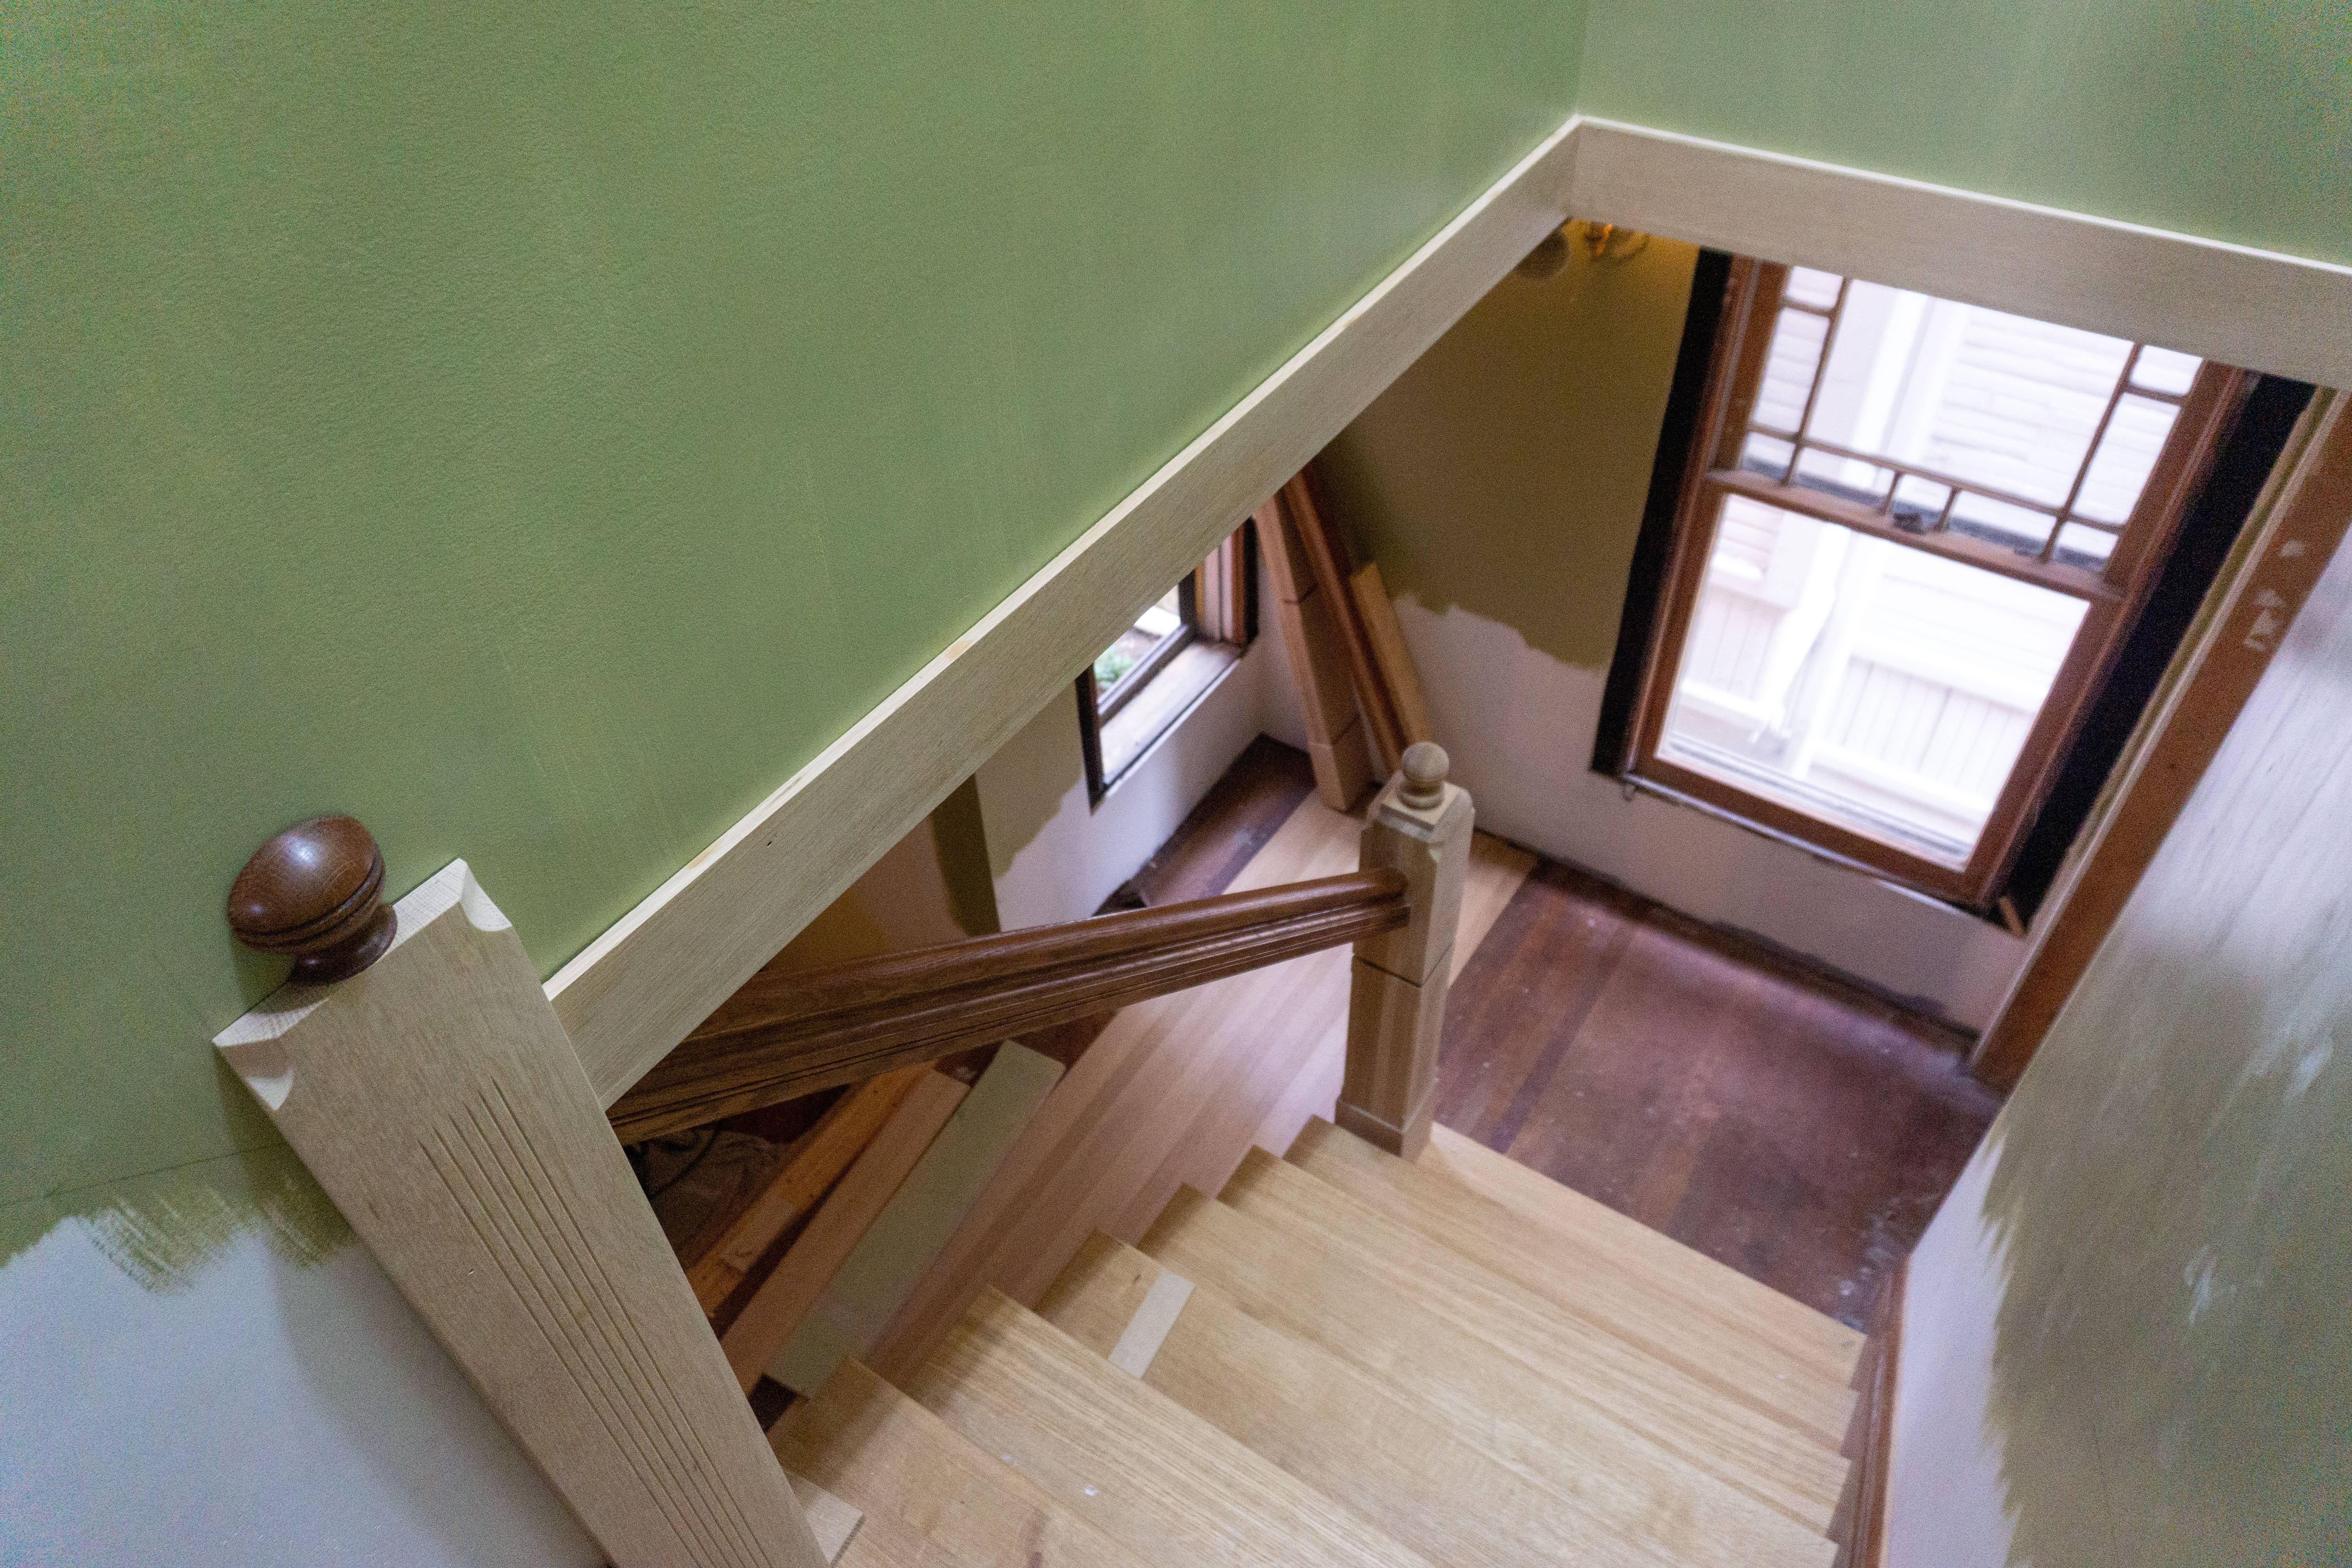
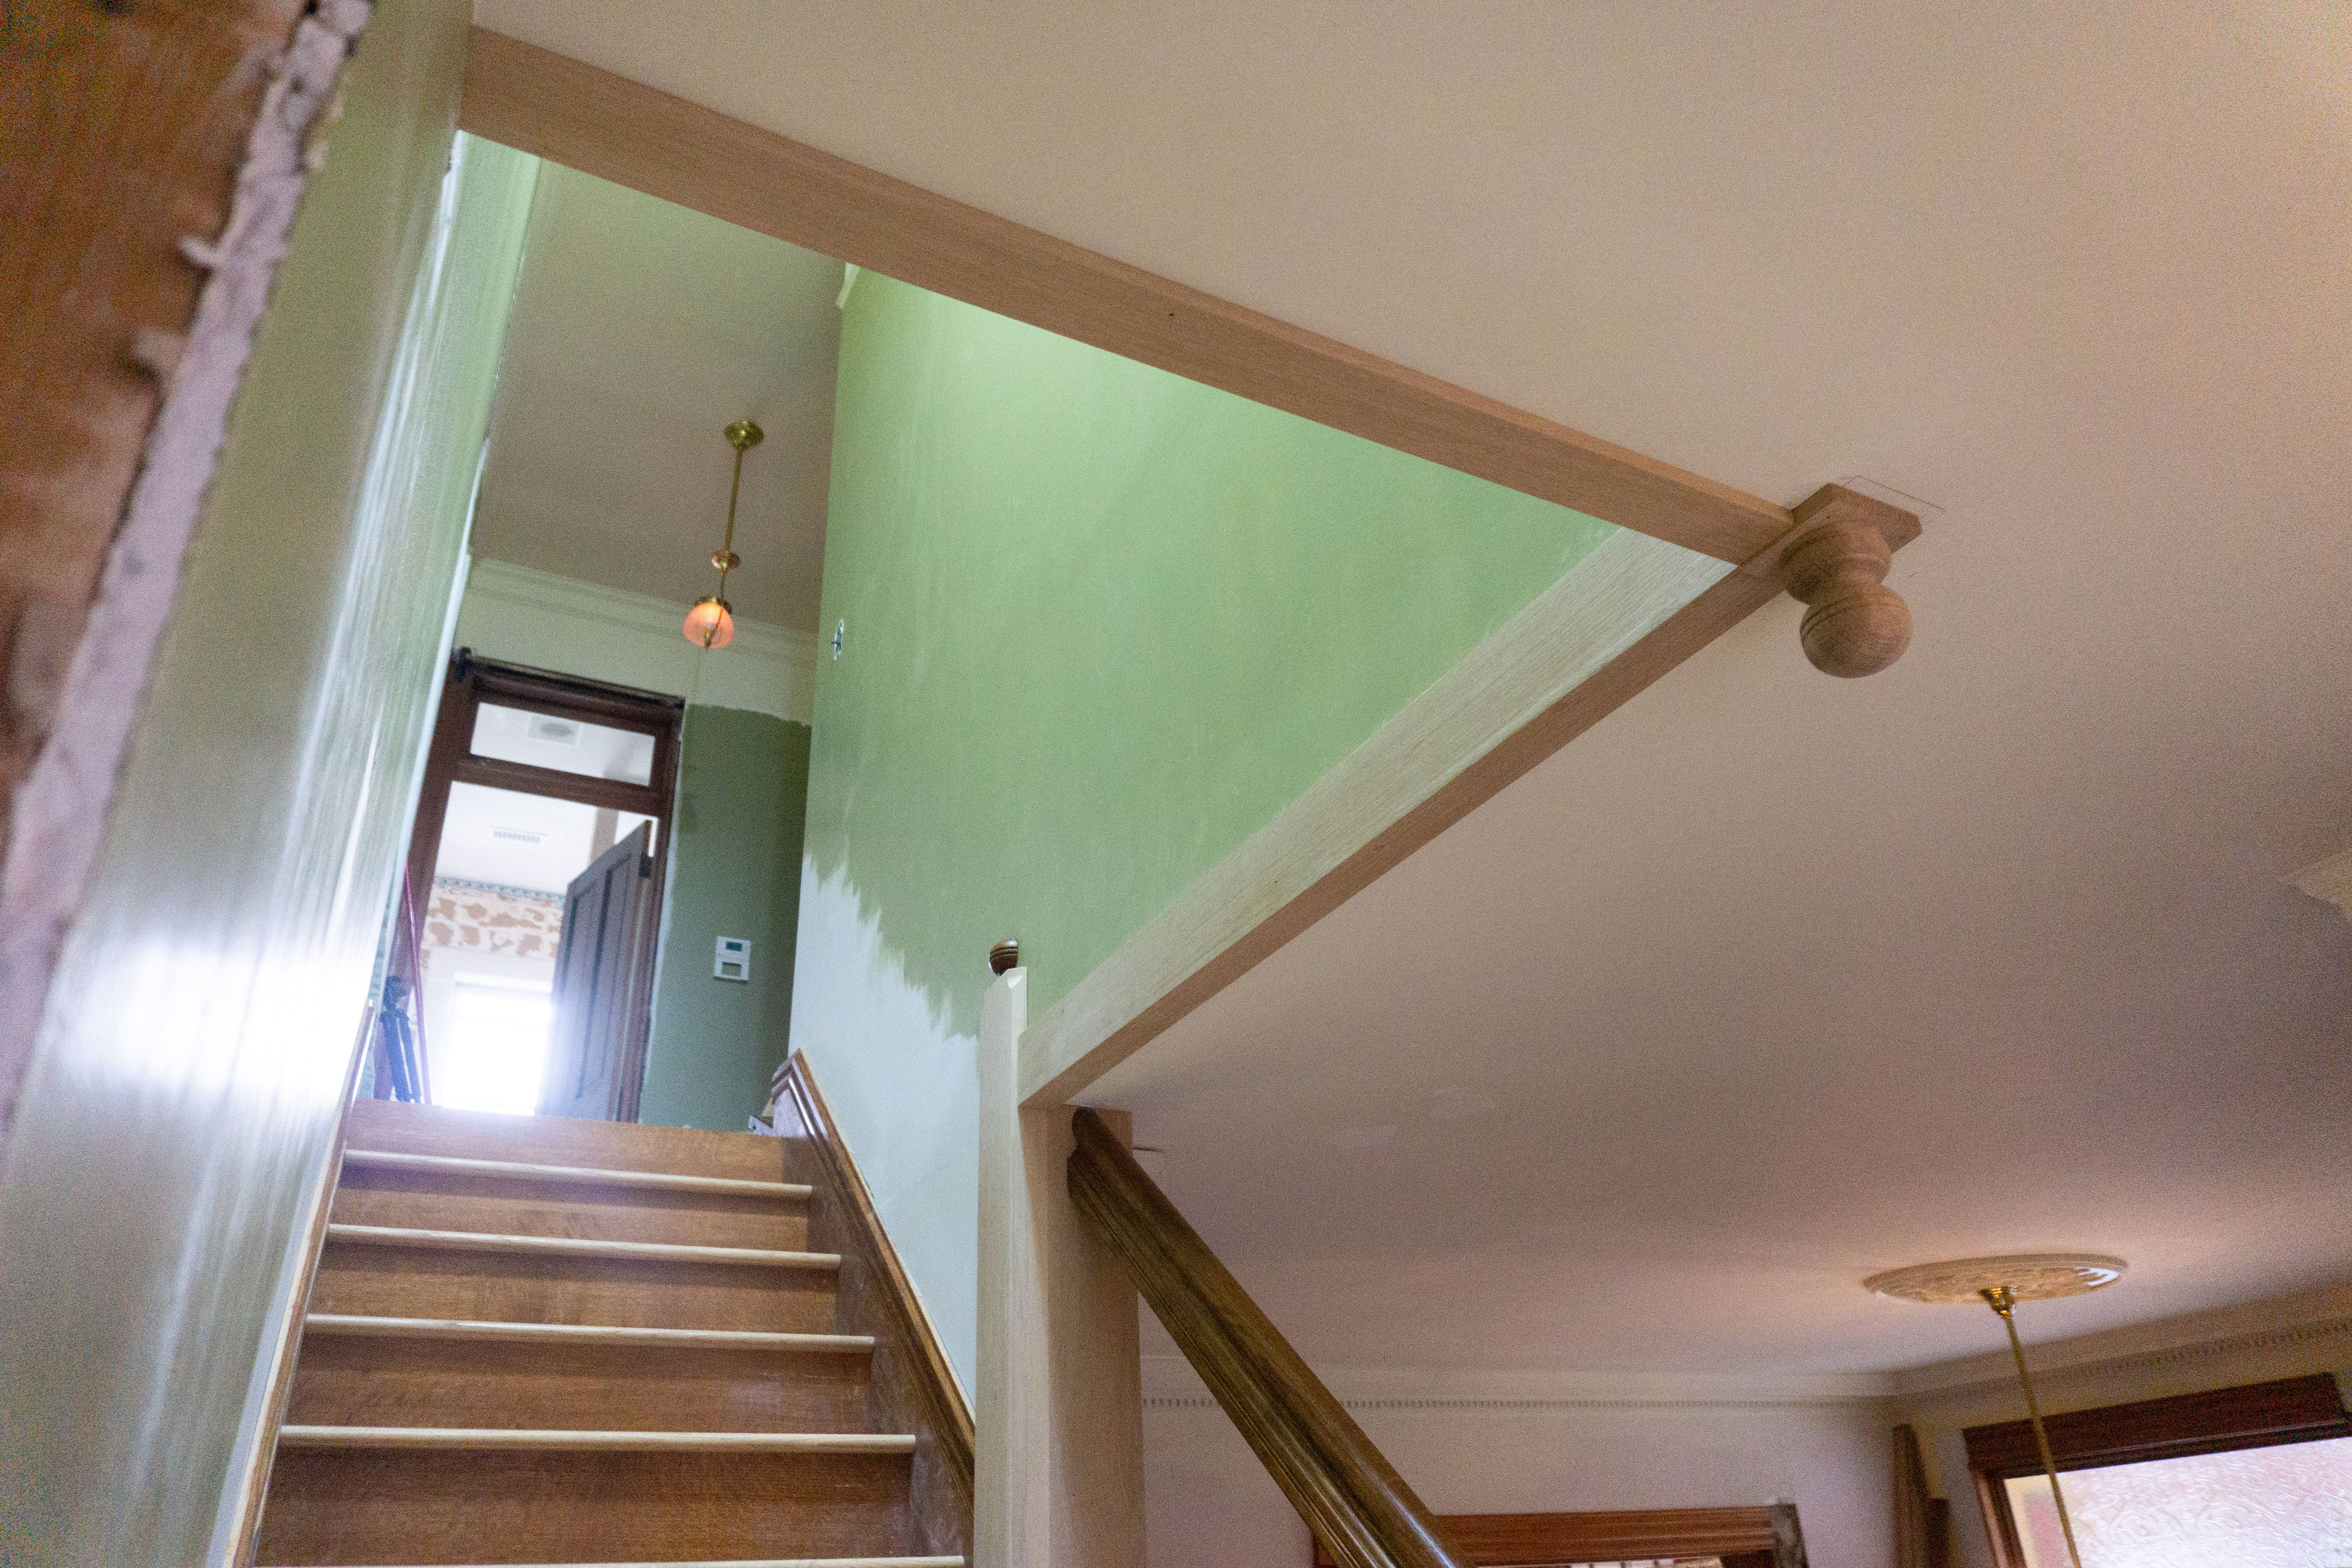
I cut and installed a q/s white oak molding that wraps around the wall–ceiling joint where the staircase opens up. The corner features a cute little turned knob that matches the newels. I dinged up the drywall getting the wood in, but the moldings themselves turned out great. More to stain and finish later.
Finishing up the cornice
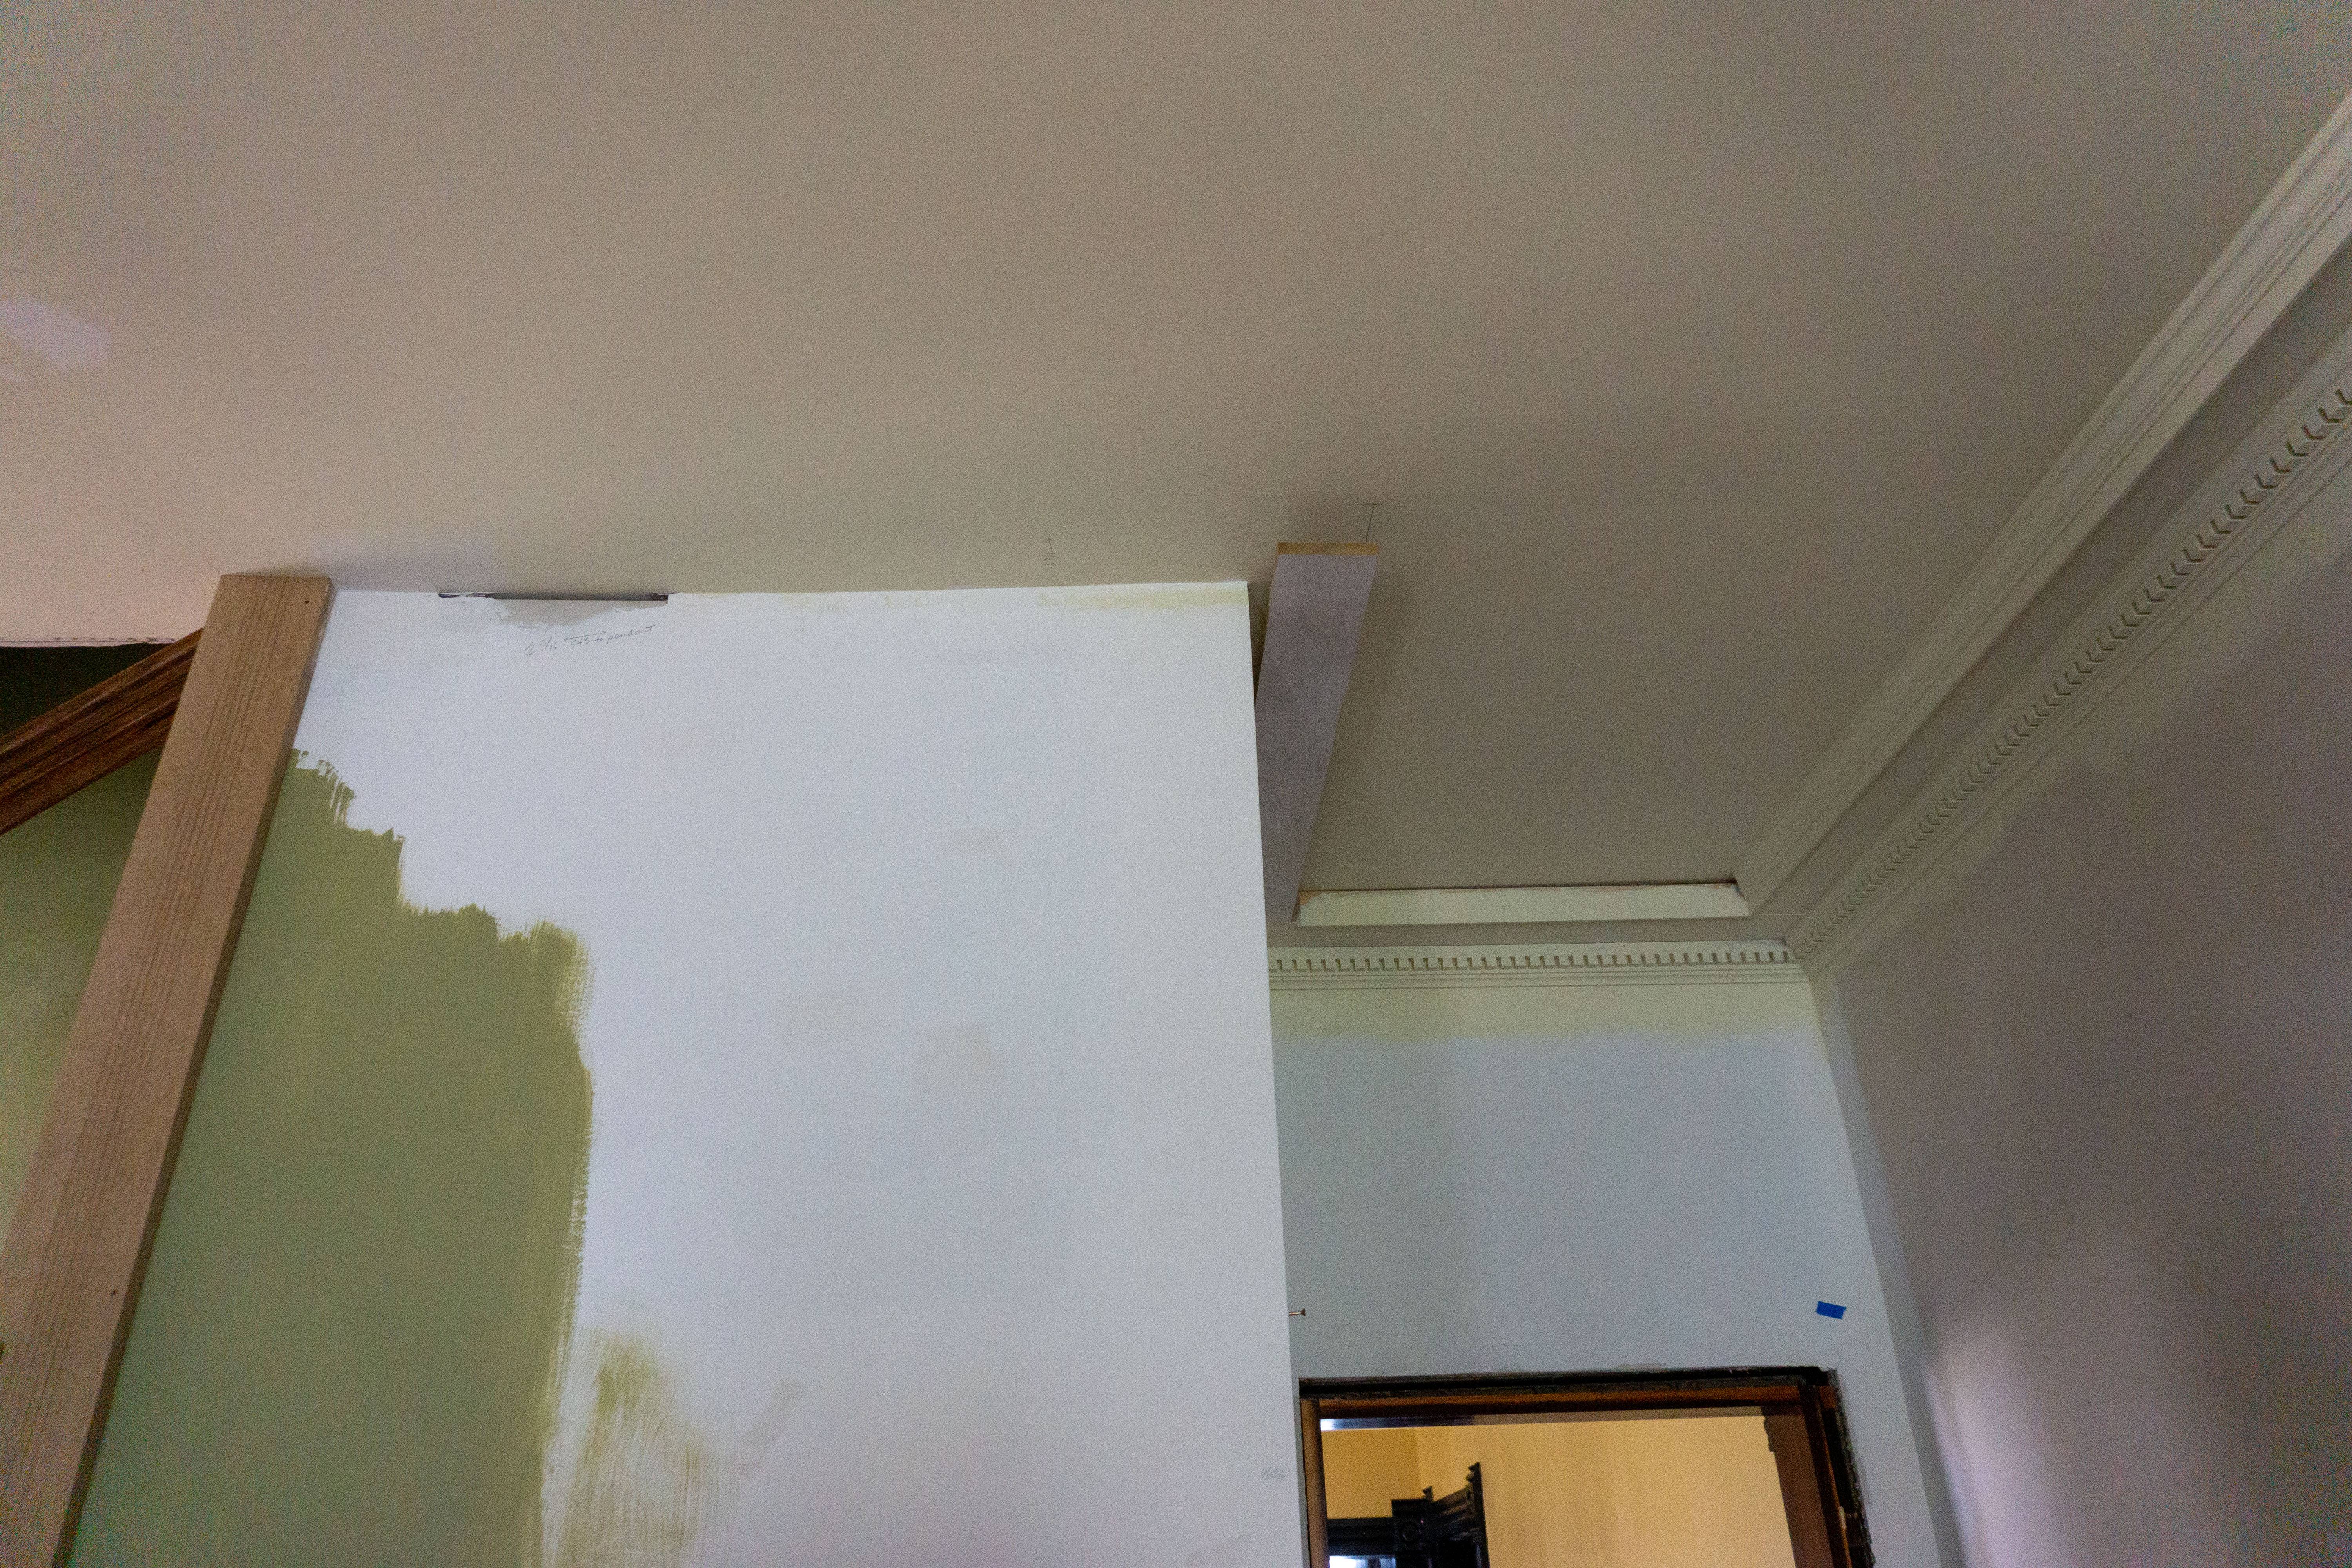
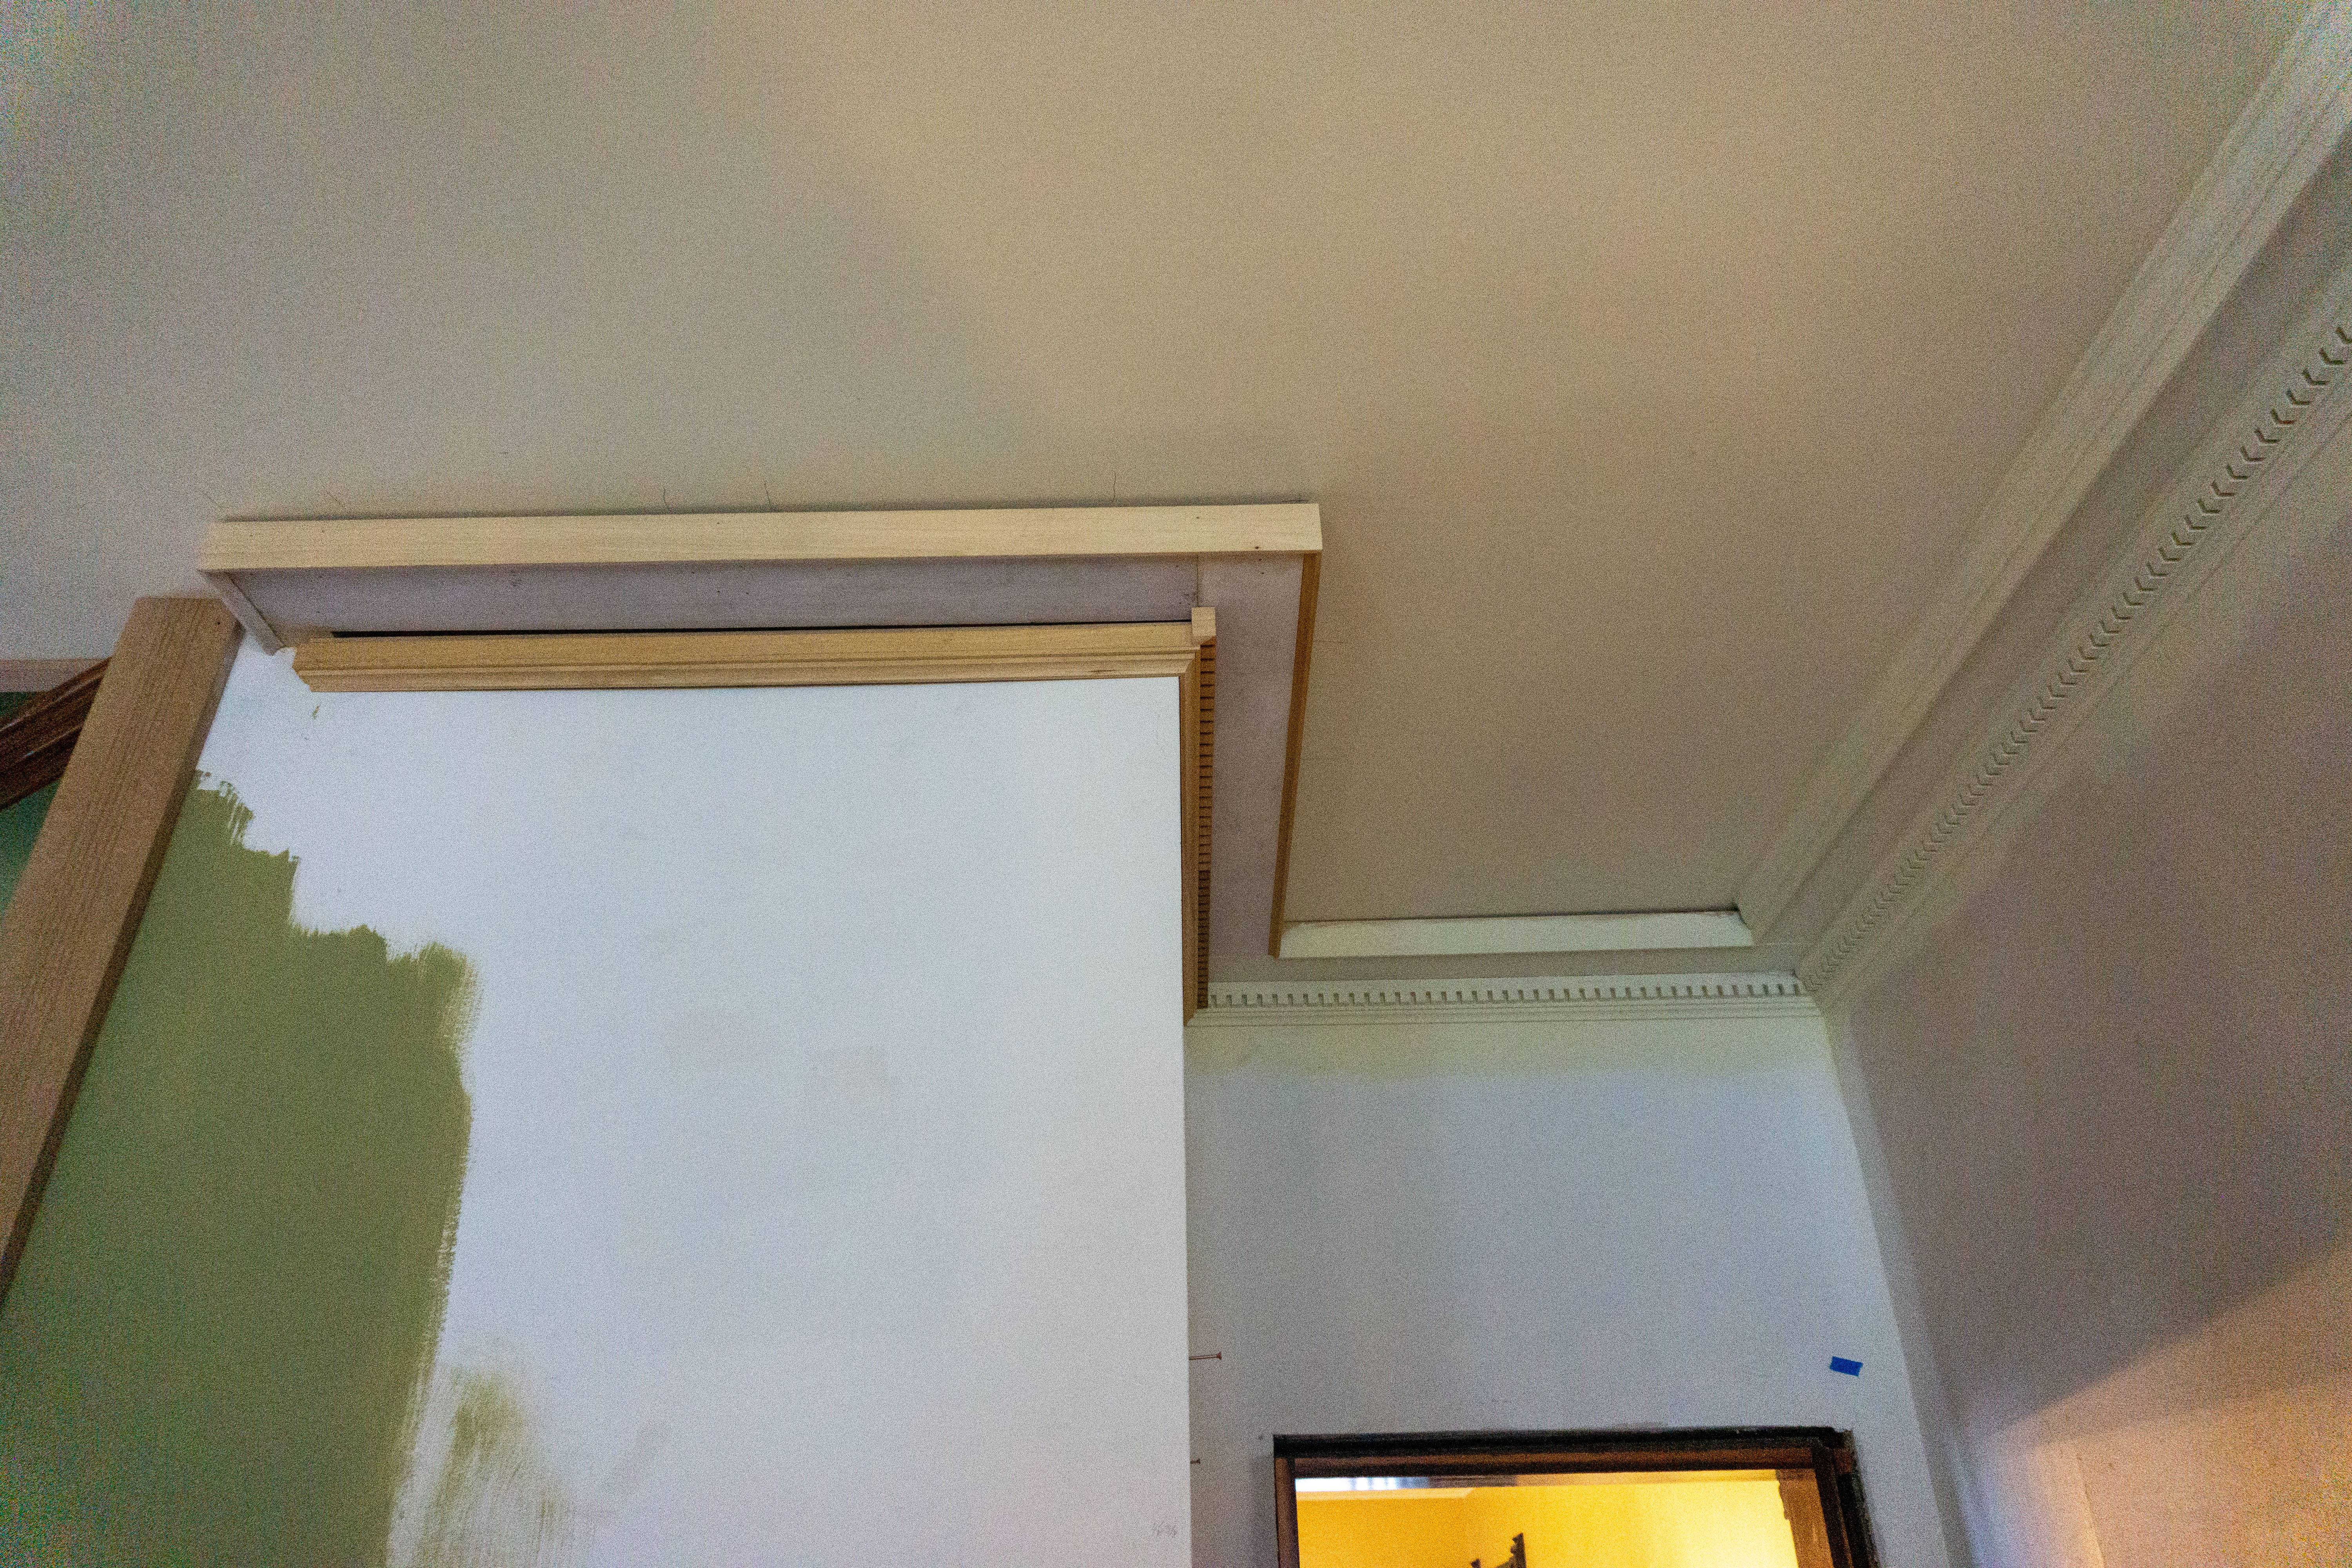
Now that the pendant is installed, I can finally return to the foyer cornice I nearly completed last year. I only have about 8 feet total of cornice to finish, but the buildup requires seven pieces of trim, and the 8 feet measurement includes an inside corner, an outside corner, and a self return, so the going is slow. I guess I’m about halfway done with the job here.
Linseed oil on the fence
Our fence isn’t so new anymore and it’s already starting to turn grey in places. I dithered for a long time about whether to finish it or not. It’s 220 feet long—not something that’s painted quickly. But seeing it turn grey guilted me into maintaining it a little bit.
So I decided this would be the ideal opportunity to test out a completely new-to-me finishing method: linseed oil paint. My friend Josh heard about this and turned me onto it early last year. (Josh is almost certainly one of the only people who will ever read this post. Hi, Josh!) The paint is simply a pigment (ground up natural color) blended into linseed oil which penetrates the wood deeply and allows the material to continue “breathing” in a way no modern paint does. When applied to bare wood, it’s supposed to form a unique system which requires very little maintenance and is physically incapable of flaking off. It sounds too good to be true, and soon I’ll find out for myself if it is.
I’m fairly well-read in historic building maintenance and so was shocked I’d never heard of this, but I think the reason is because it hasn’t really been a thing until very recently. Although linseed oil paint is extremely historic, it’s only made a comeback in Europe in the last 50 years or so, and has been virtually unknown in the US until the past few years.
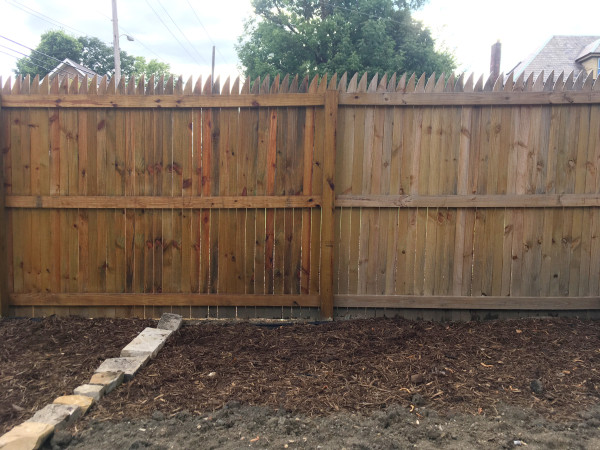
I still haven’t purchased the paint itself. I’m still trying to figure out the exact color and quantity I need. But this we took the first step toward the linseed paint dream, which is to apply a primer coat of raw linseed oil to the bare wood. A five-gallon pail of oil only got us about a third of the way. Yikes… the wood is thirsty. I am hoping the more pure oil I apply now, the less (more expensive) paint I will need to apply later. This is all new for me.
New stairs, day 8
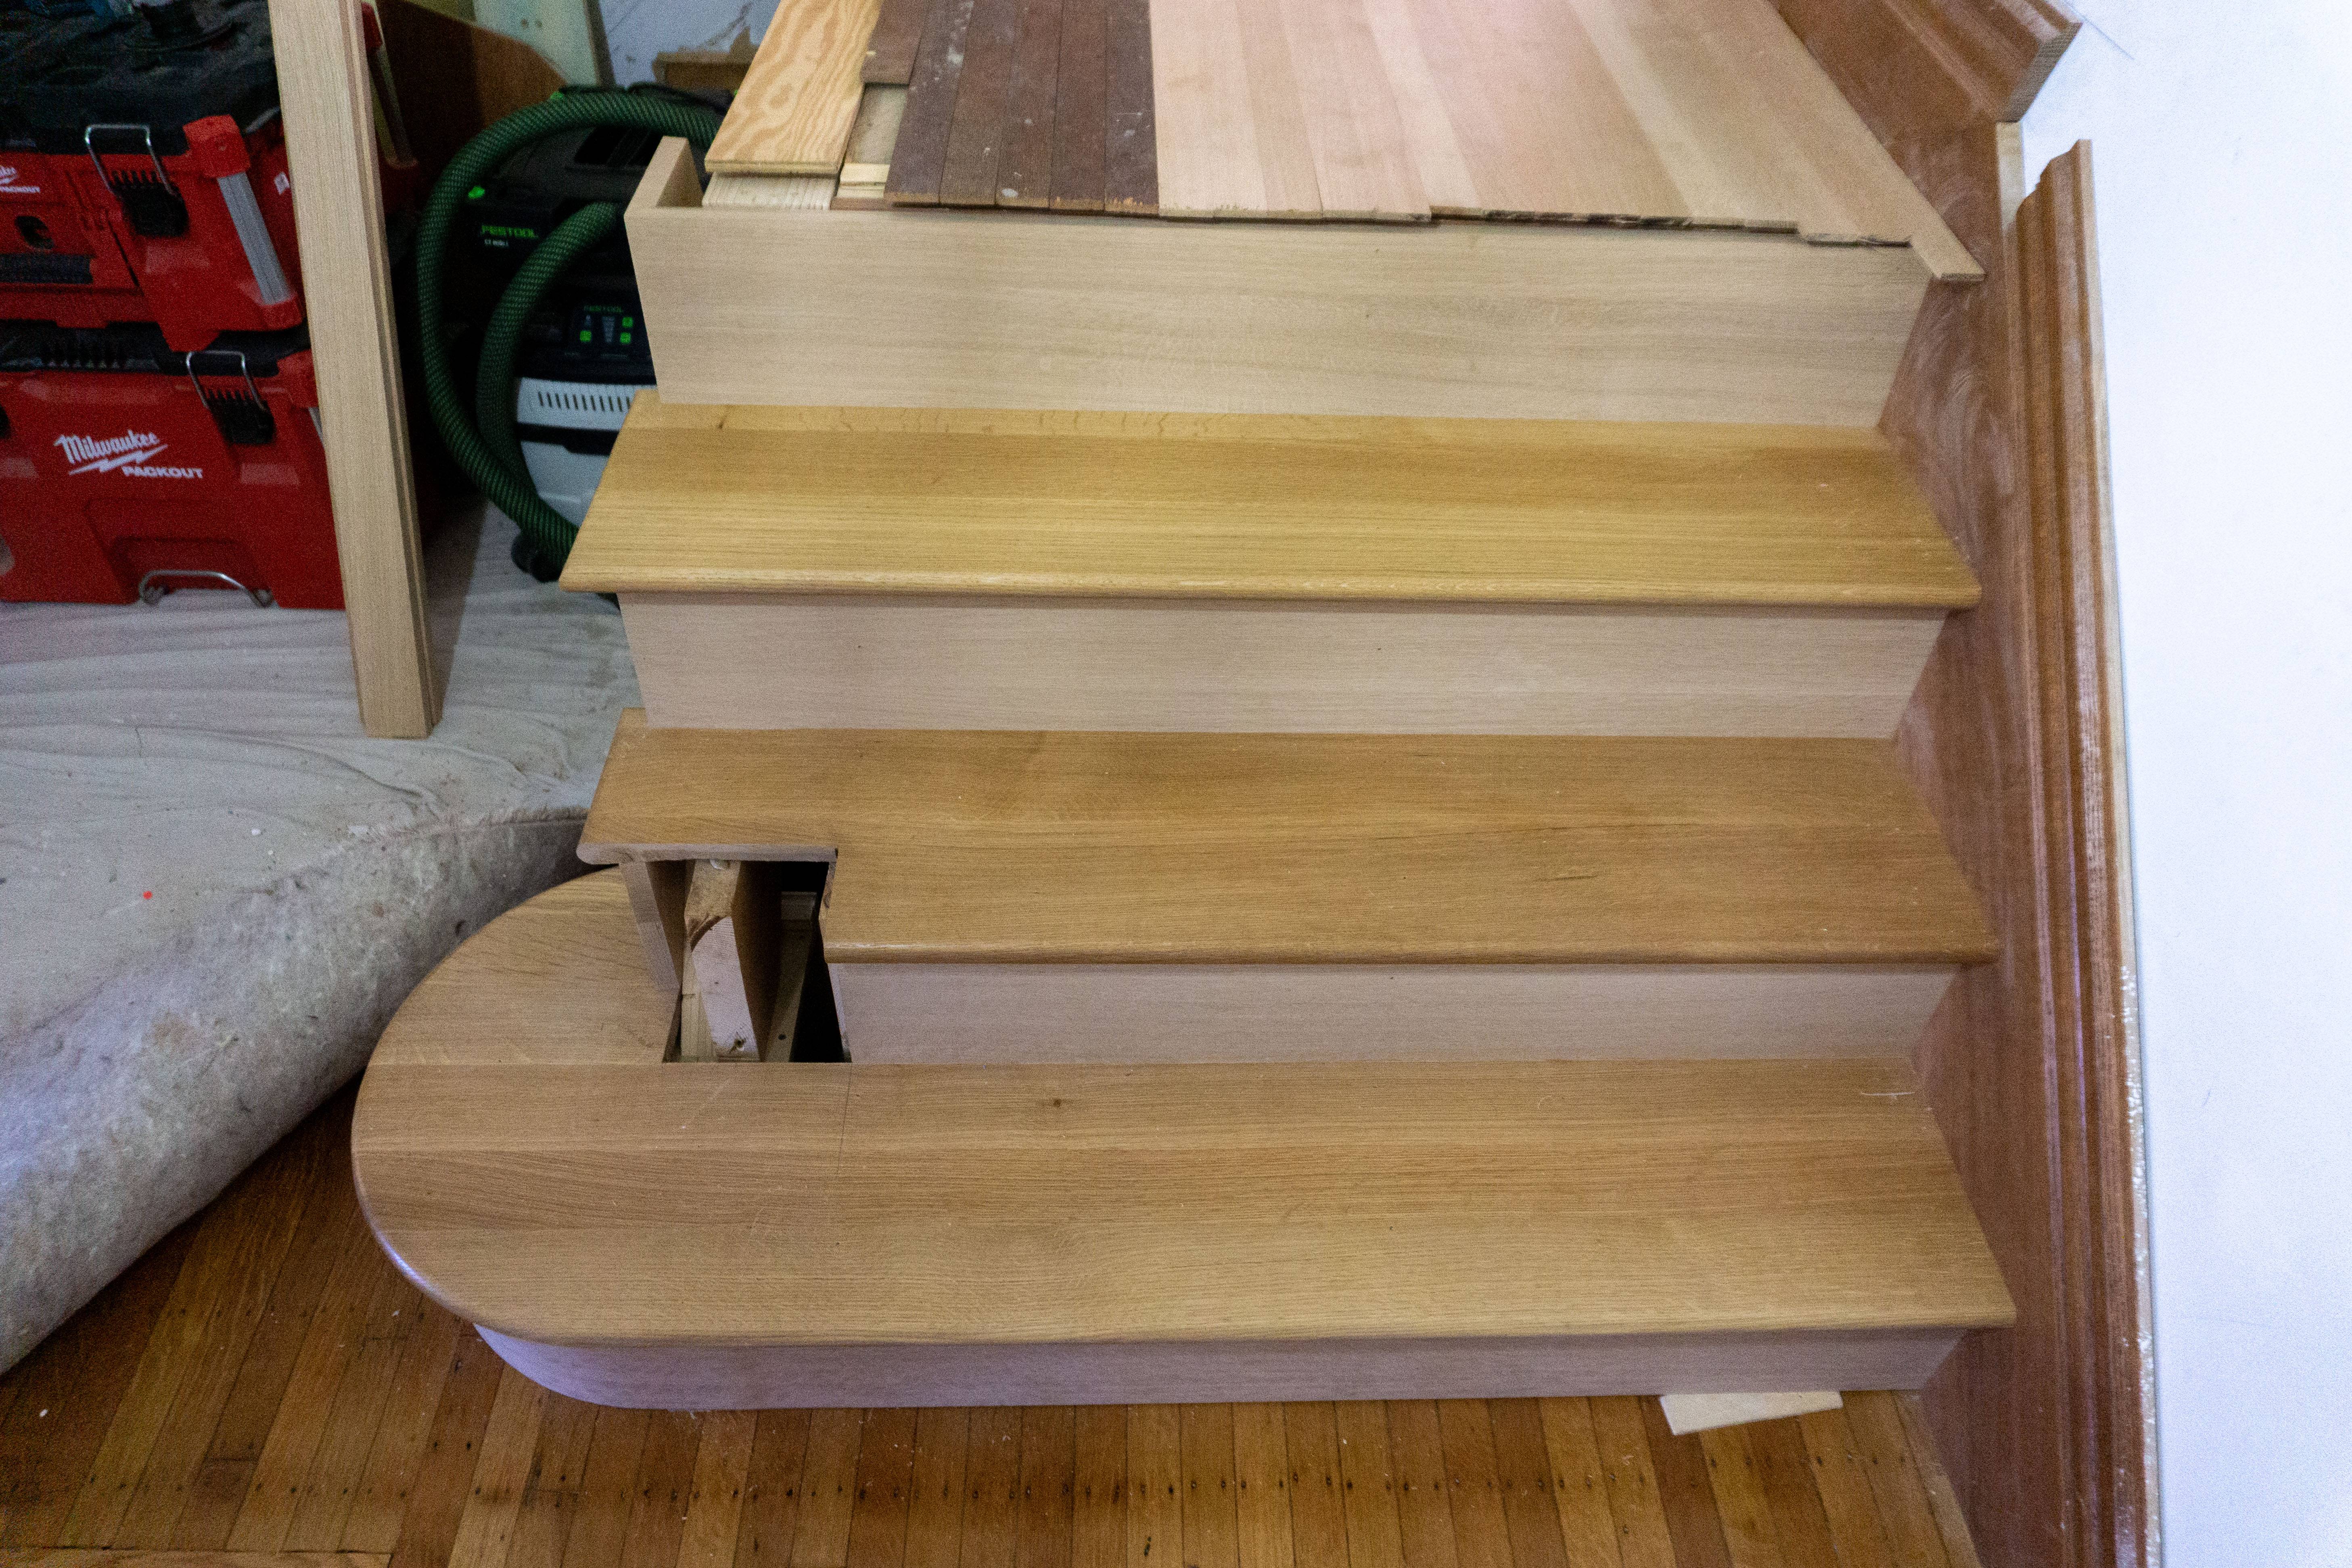
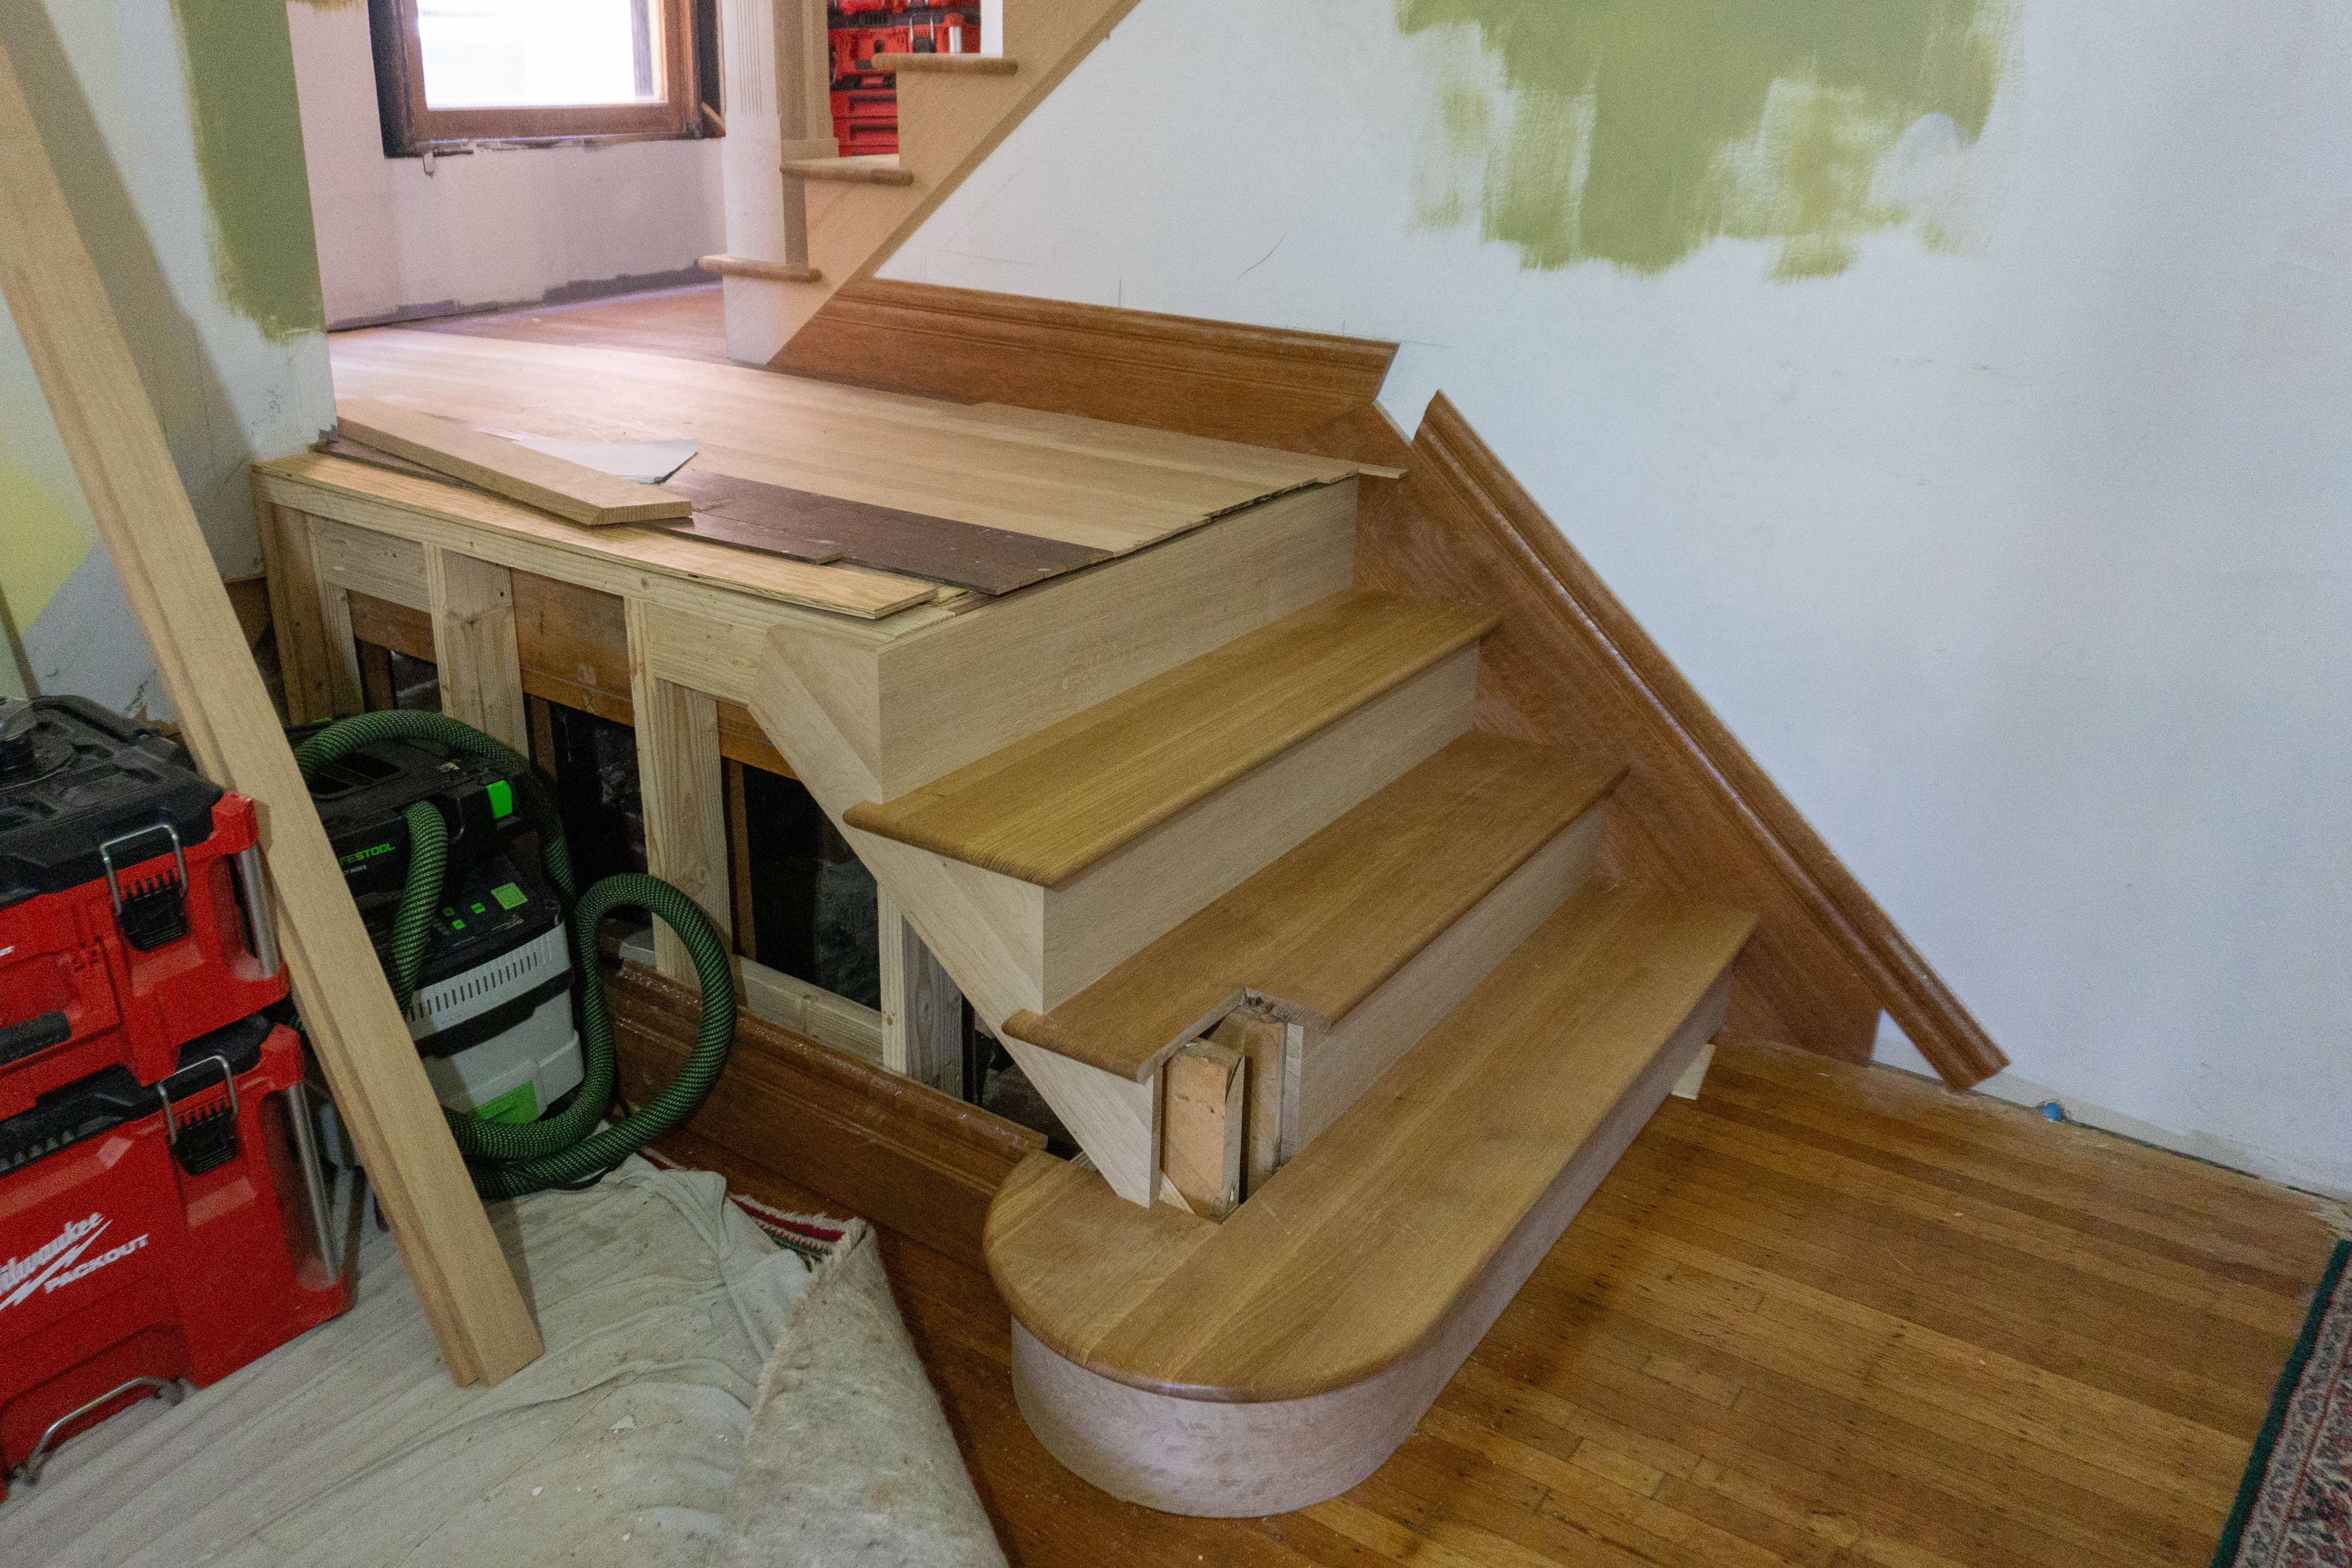
Aside from the railing, the long upper run of steps is just about done. Today Jordan focused on the lower area and got a lot done. The very first step is wider than the rest and has a big 10-inch radius on one end. The riser, which is also curved, ended up being fabricated by Jordan’s dad, who is a retired carpenter. It’s kerfed q/s white oak plywood, not a solid board. Don’t tell anyone!
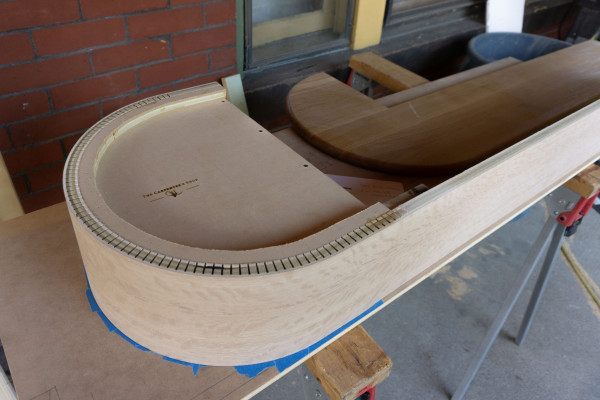
Jordan stayed late tonight to get us to a good spot with the bottom three steps. We haven’t had sturdy, dependable steps here ever since we moved in. They are long overdue. You’ll notice a gaping hole where the bottom newel post will sit. Turns out I wasn’t able to drill that hole after all, despite trying my hardest. Jordan will take it back to Hiland tomorrow; they kindly said they’d do it for me.

He’ll be back on Friday for another work day—hopefully getting to somewhat of a temporary stopping point so I can do some finishing and finalize my spindle order with Hiland.
New stairs, day 7
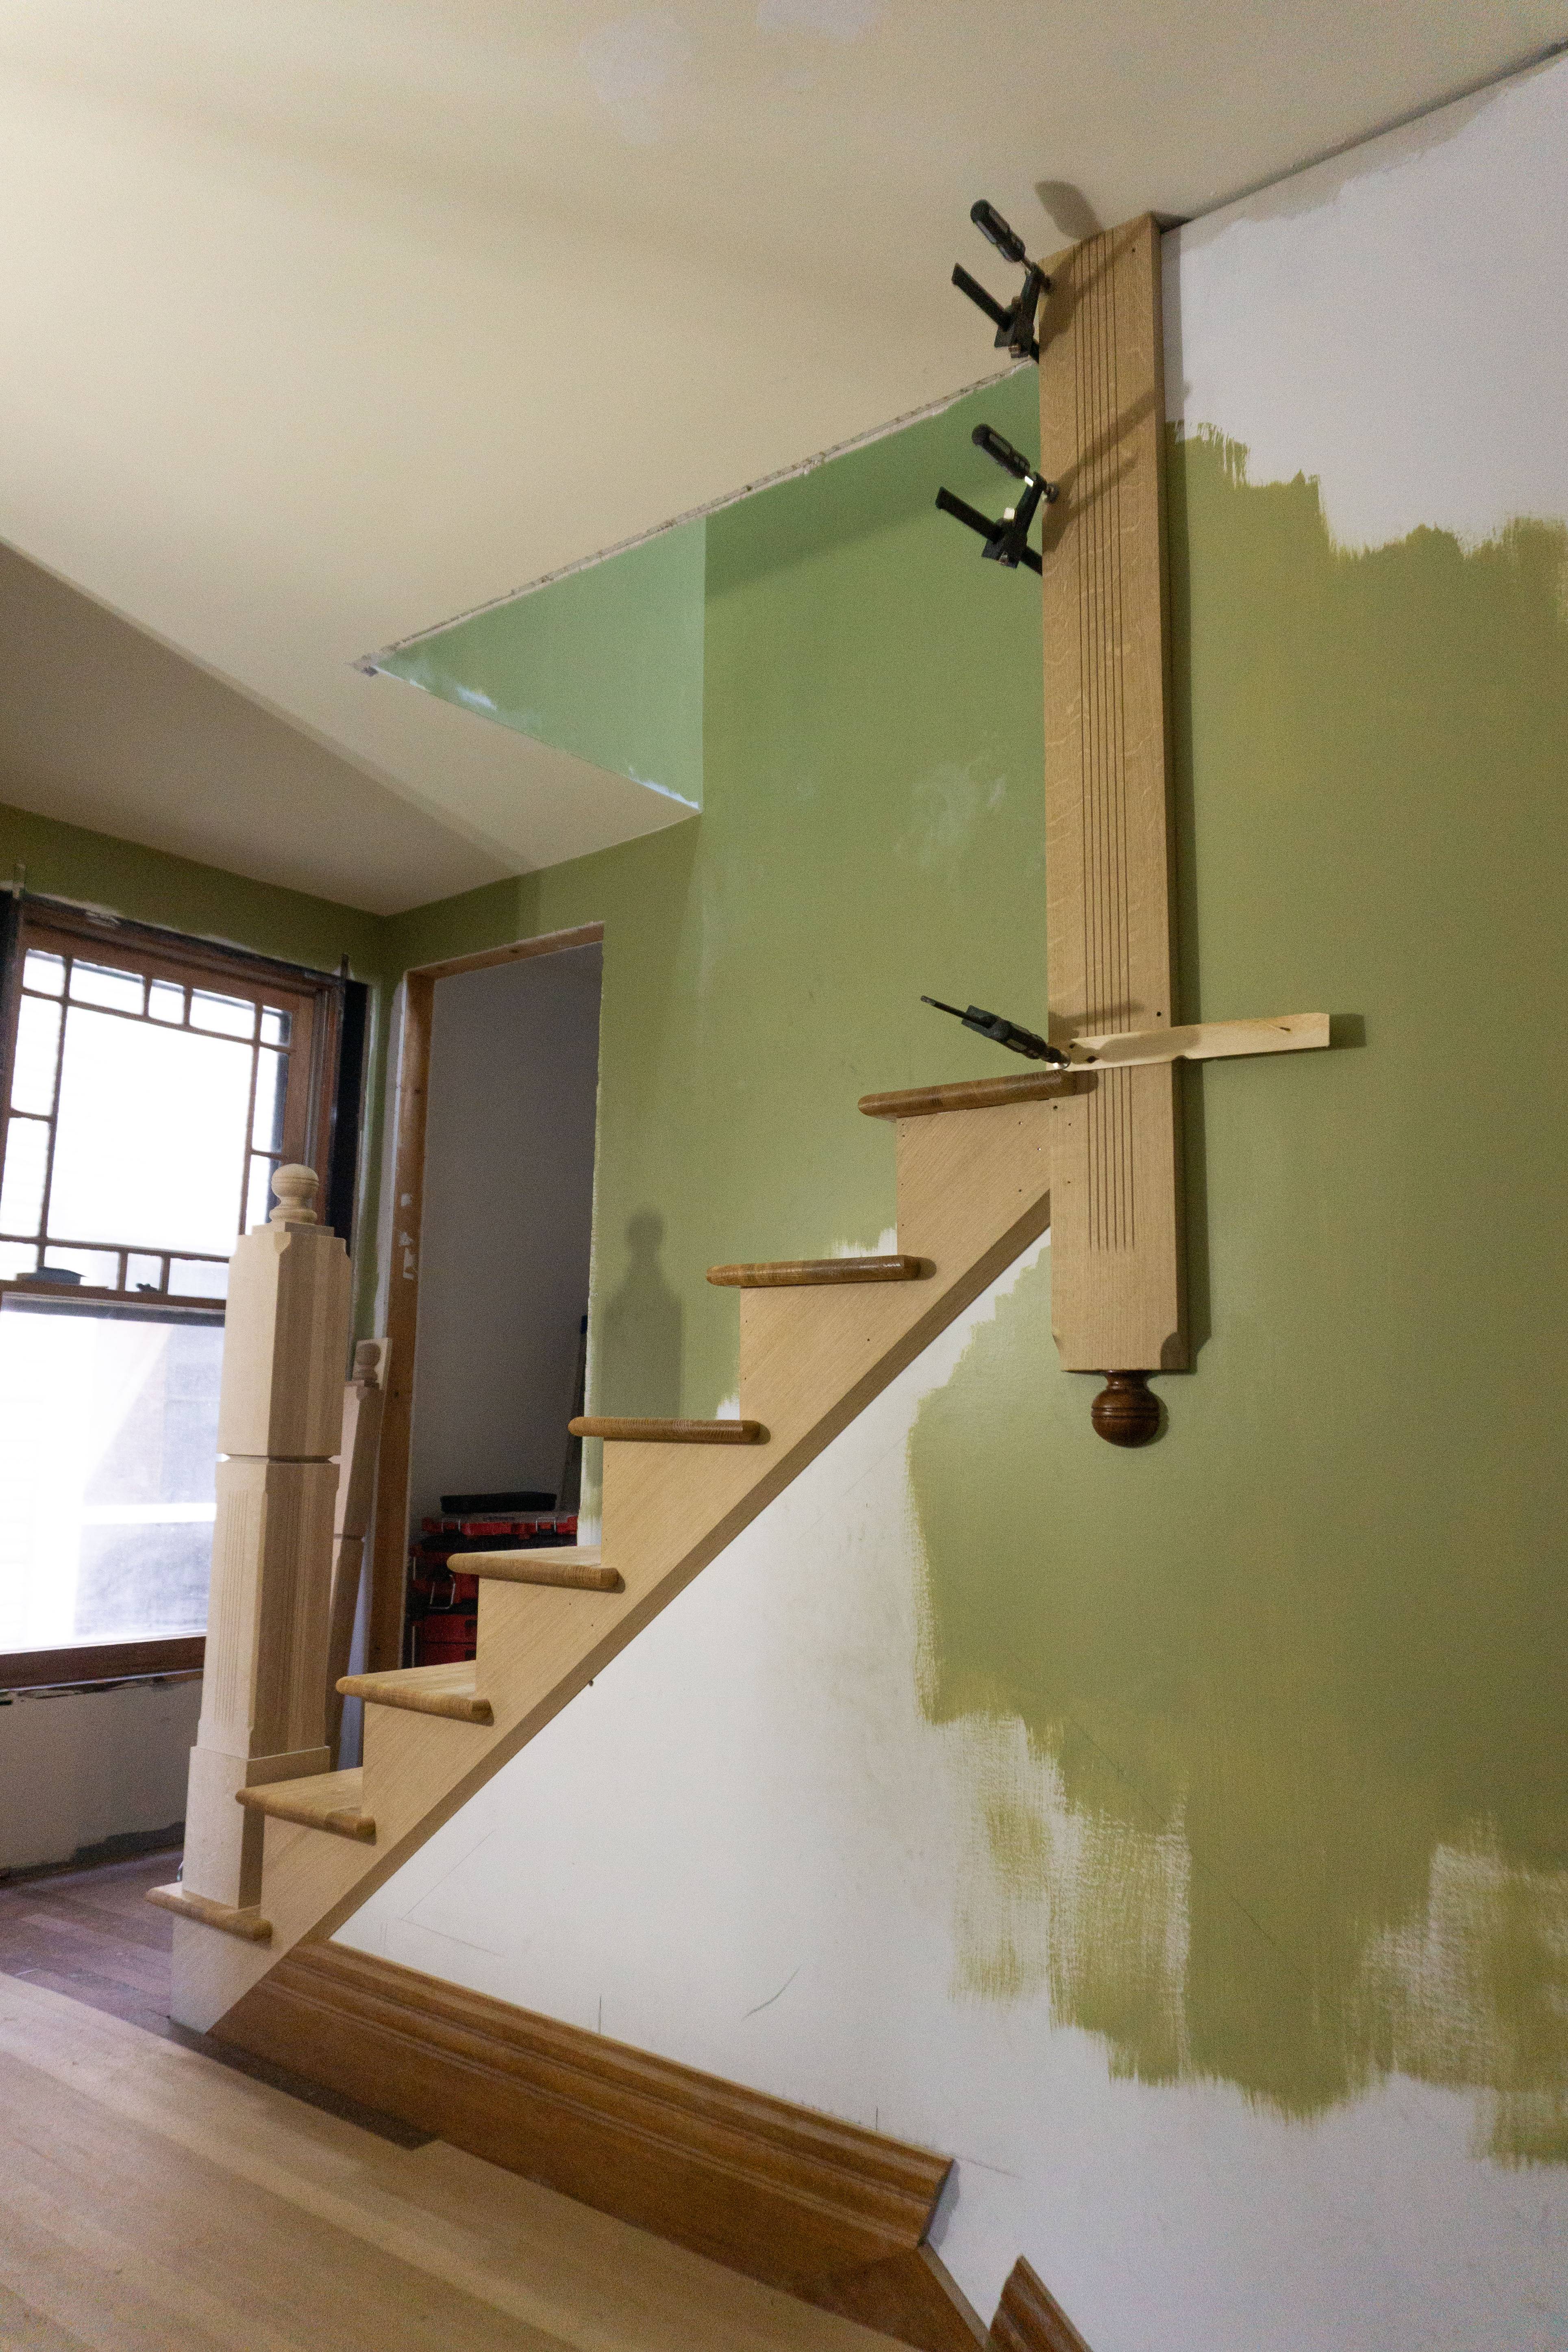

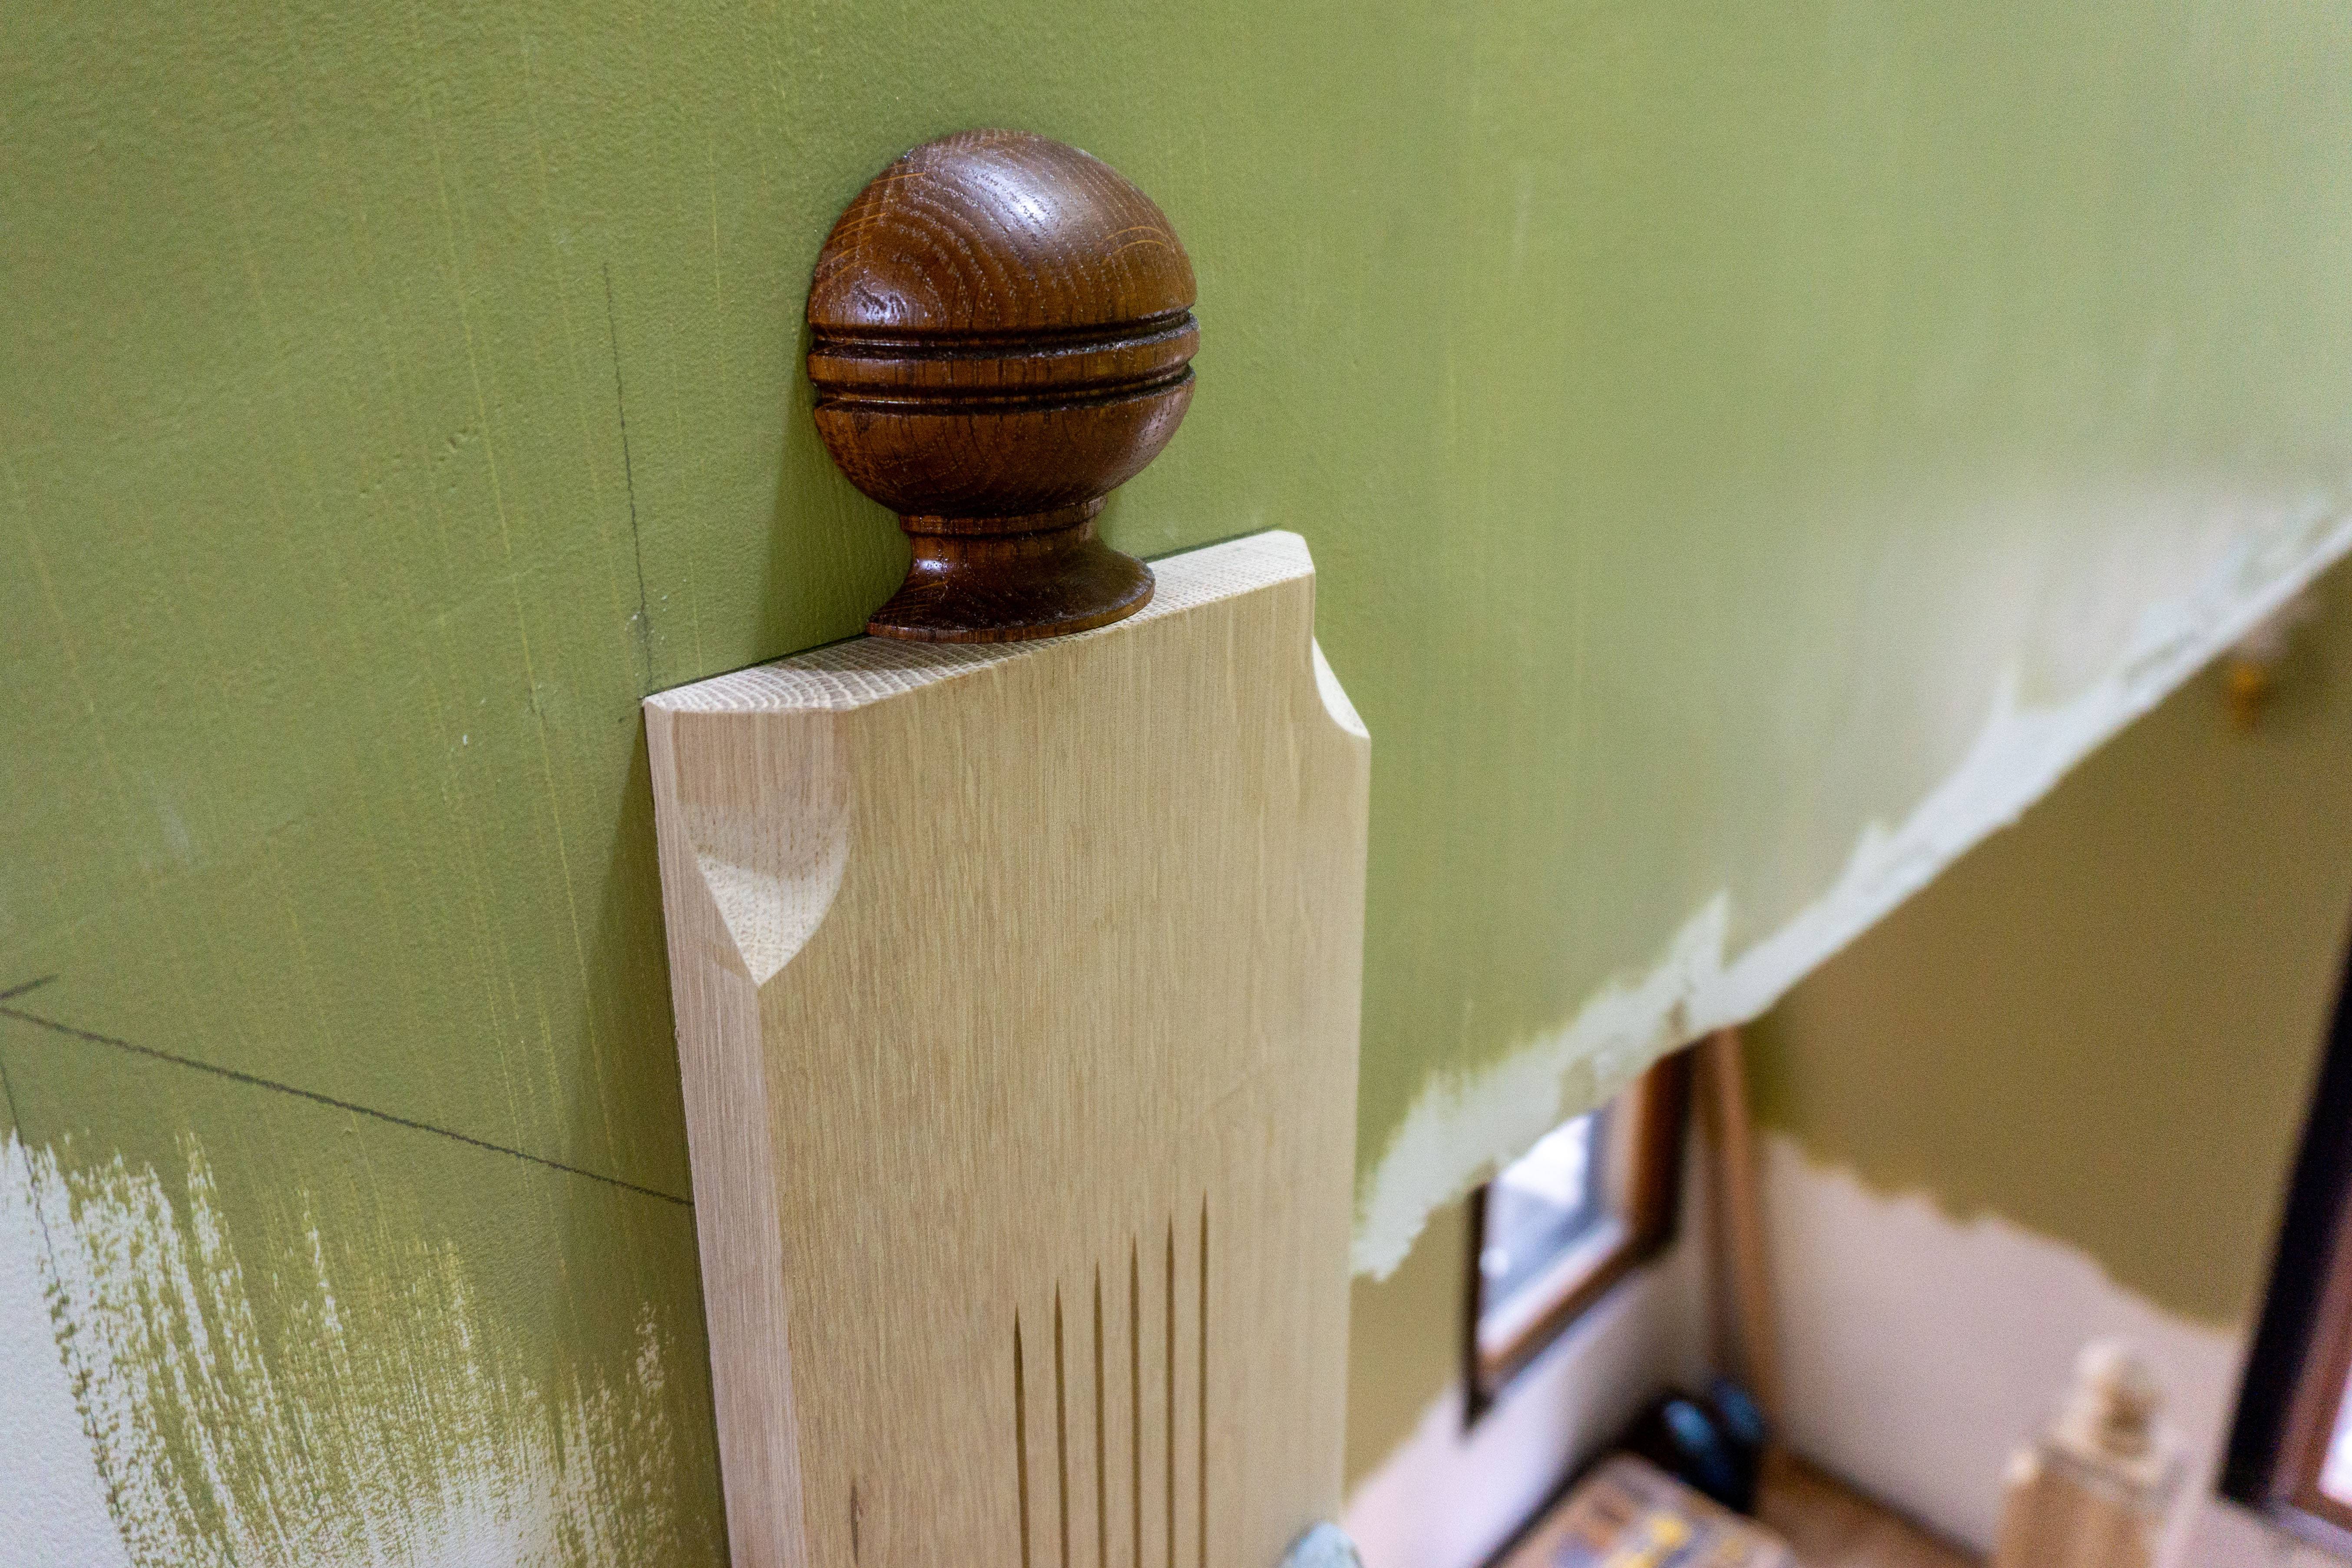
Today Jordan got the pendant fit and installed. This required several hours, since its three sides needed to be square with each other (producing a tight rectangle), and also needed to closely fit onto two walls and the ceiling. The “inside” wall, visible when at the top of the stairs looking down, was was originally extremely lumpy due to a subpar drywall finishing job. I gouged out drywall and re-finished this area over the weekend to make the wall more plumb. It was an improvement, but even so, getting the pendant to fit cleanly required adding another strip of white oak to fill the gap. The turned detail at the top of this piece also proved a real challenge to fit since it came from Hiland pre-attached to the long flat board. When the board sat flush with the wall, the turning was still about 1/8″ proud. We were able to gently remove it and I’ll reattach it directly to the wall for a cleaner look.
Once the pendant was completely installed, Jordan was finally able to get the last two treads permanently installed on this long run of stairs. A real accomplishment!
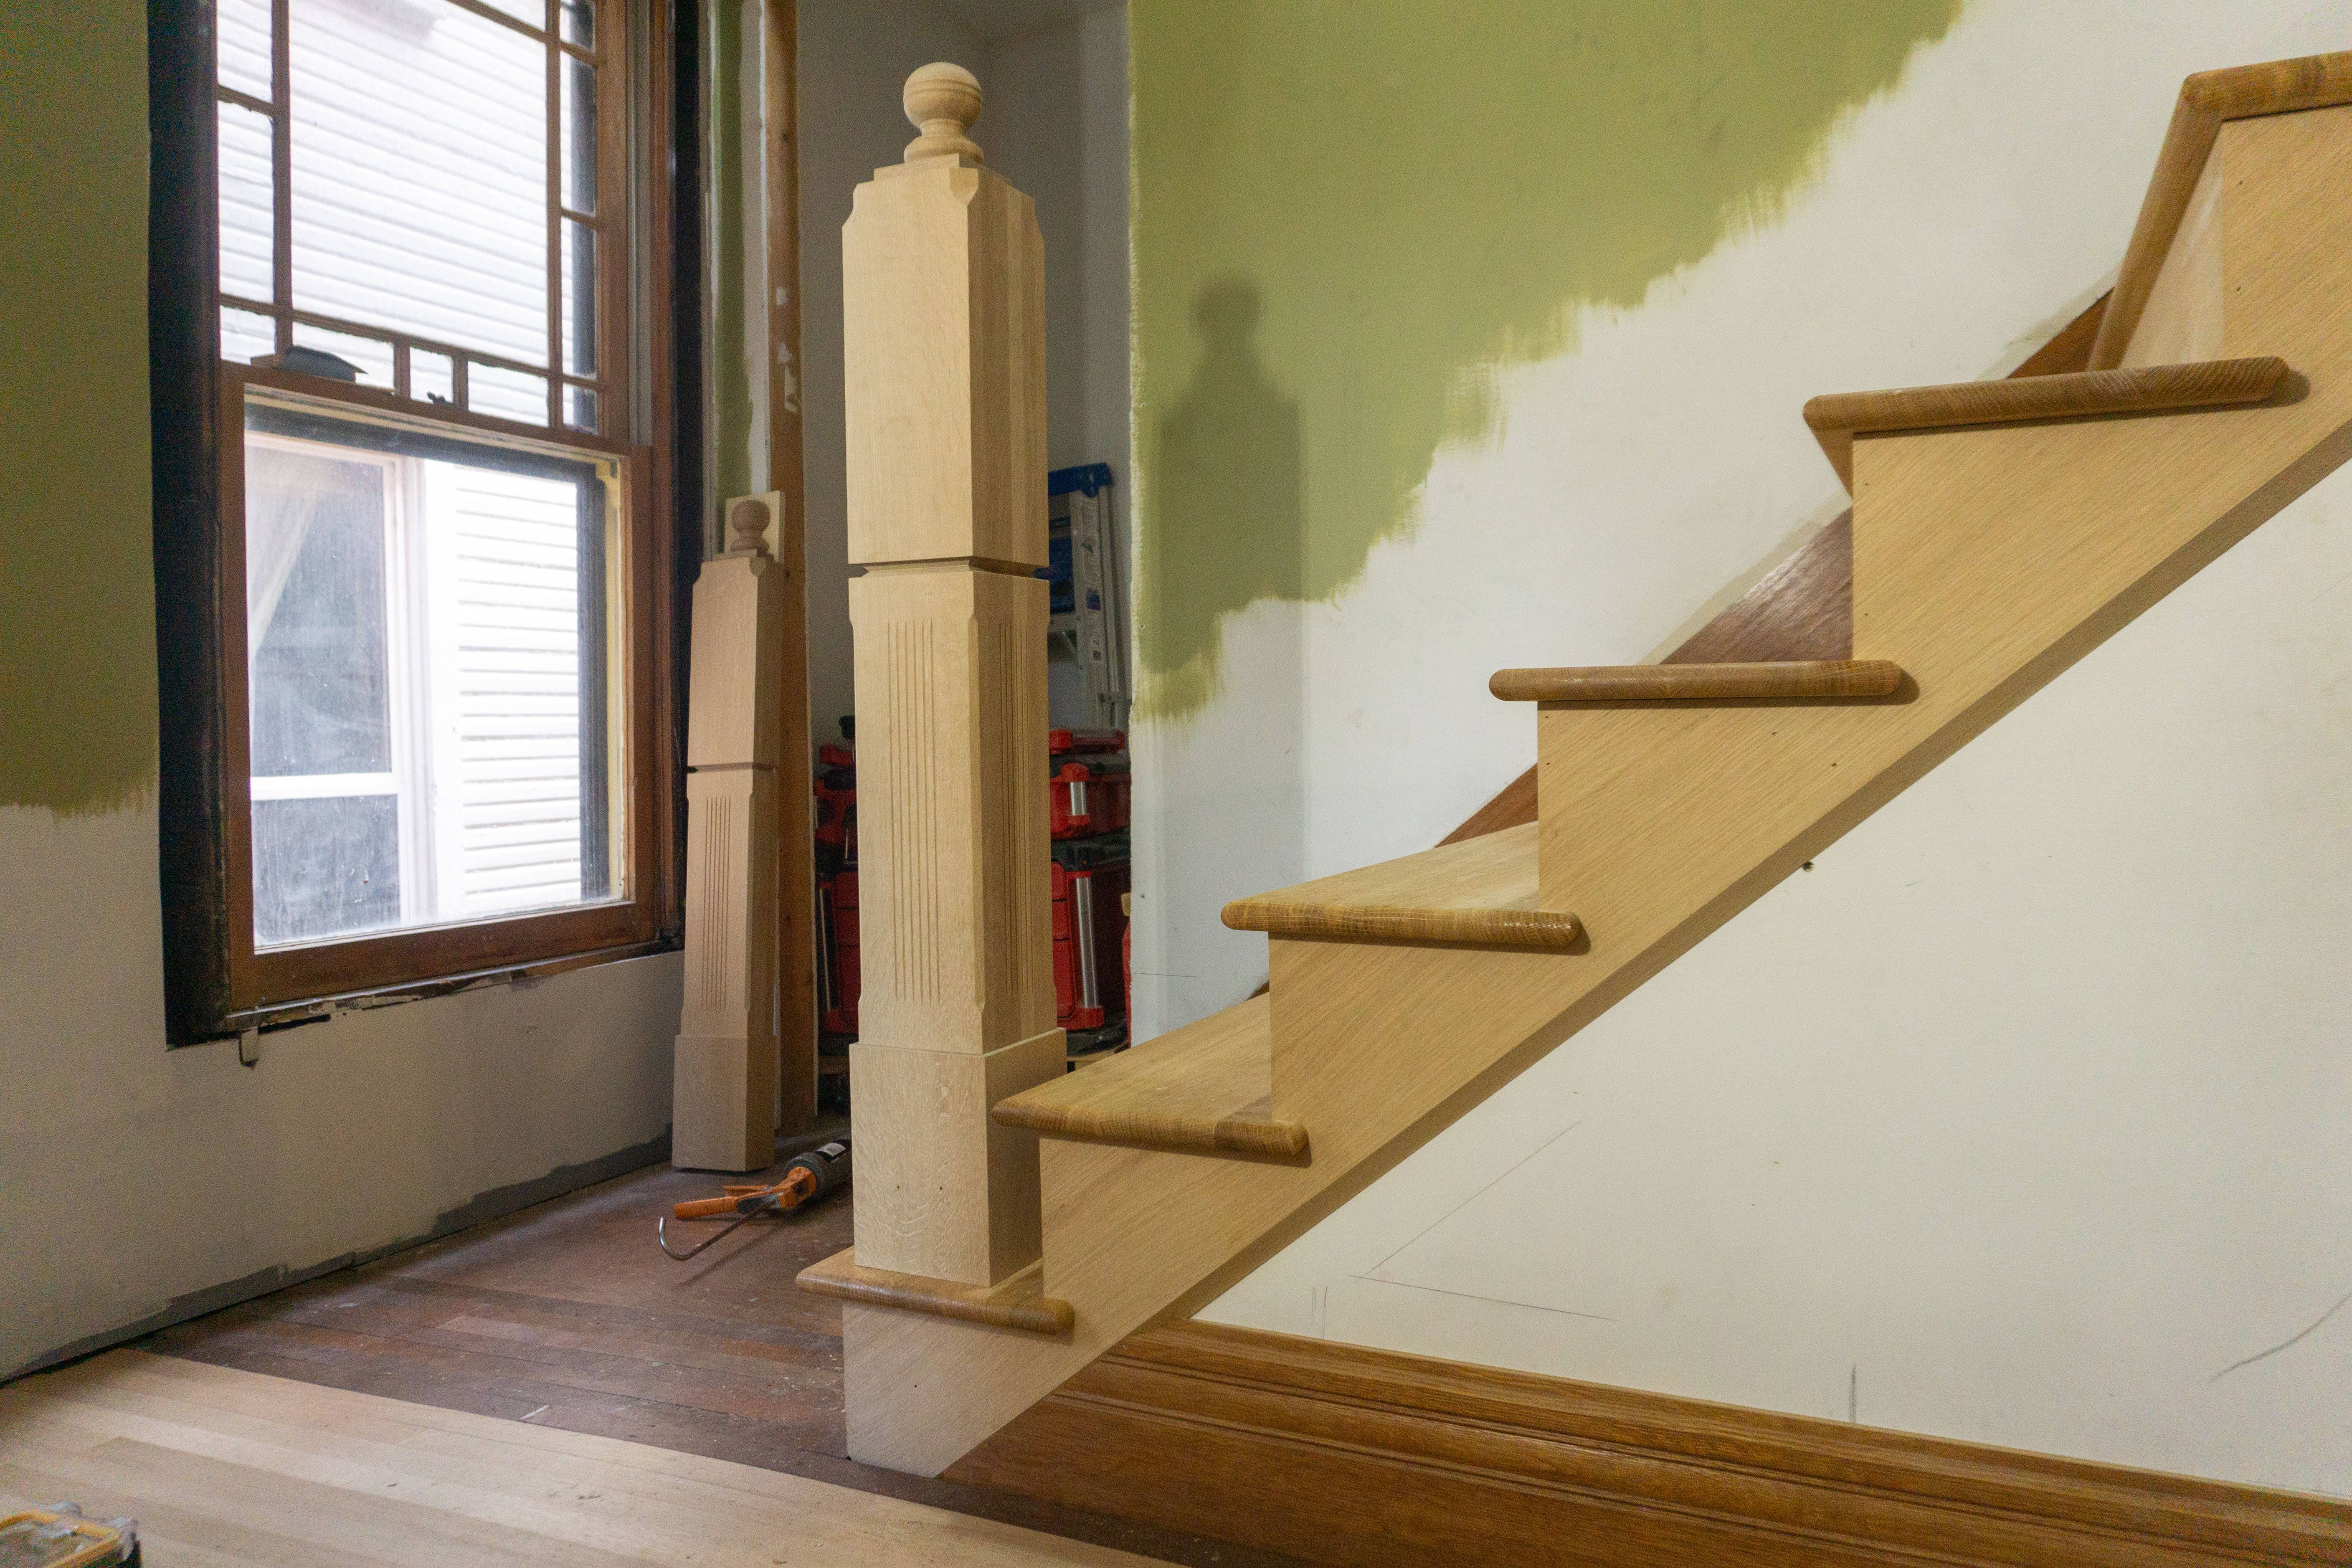

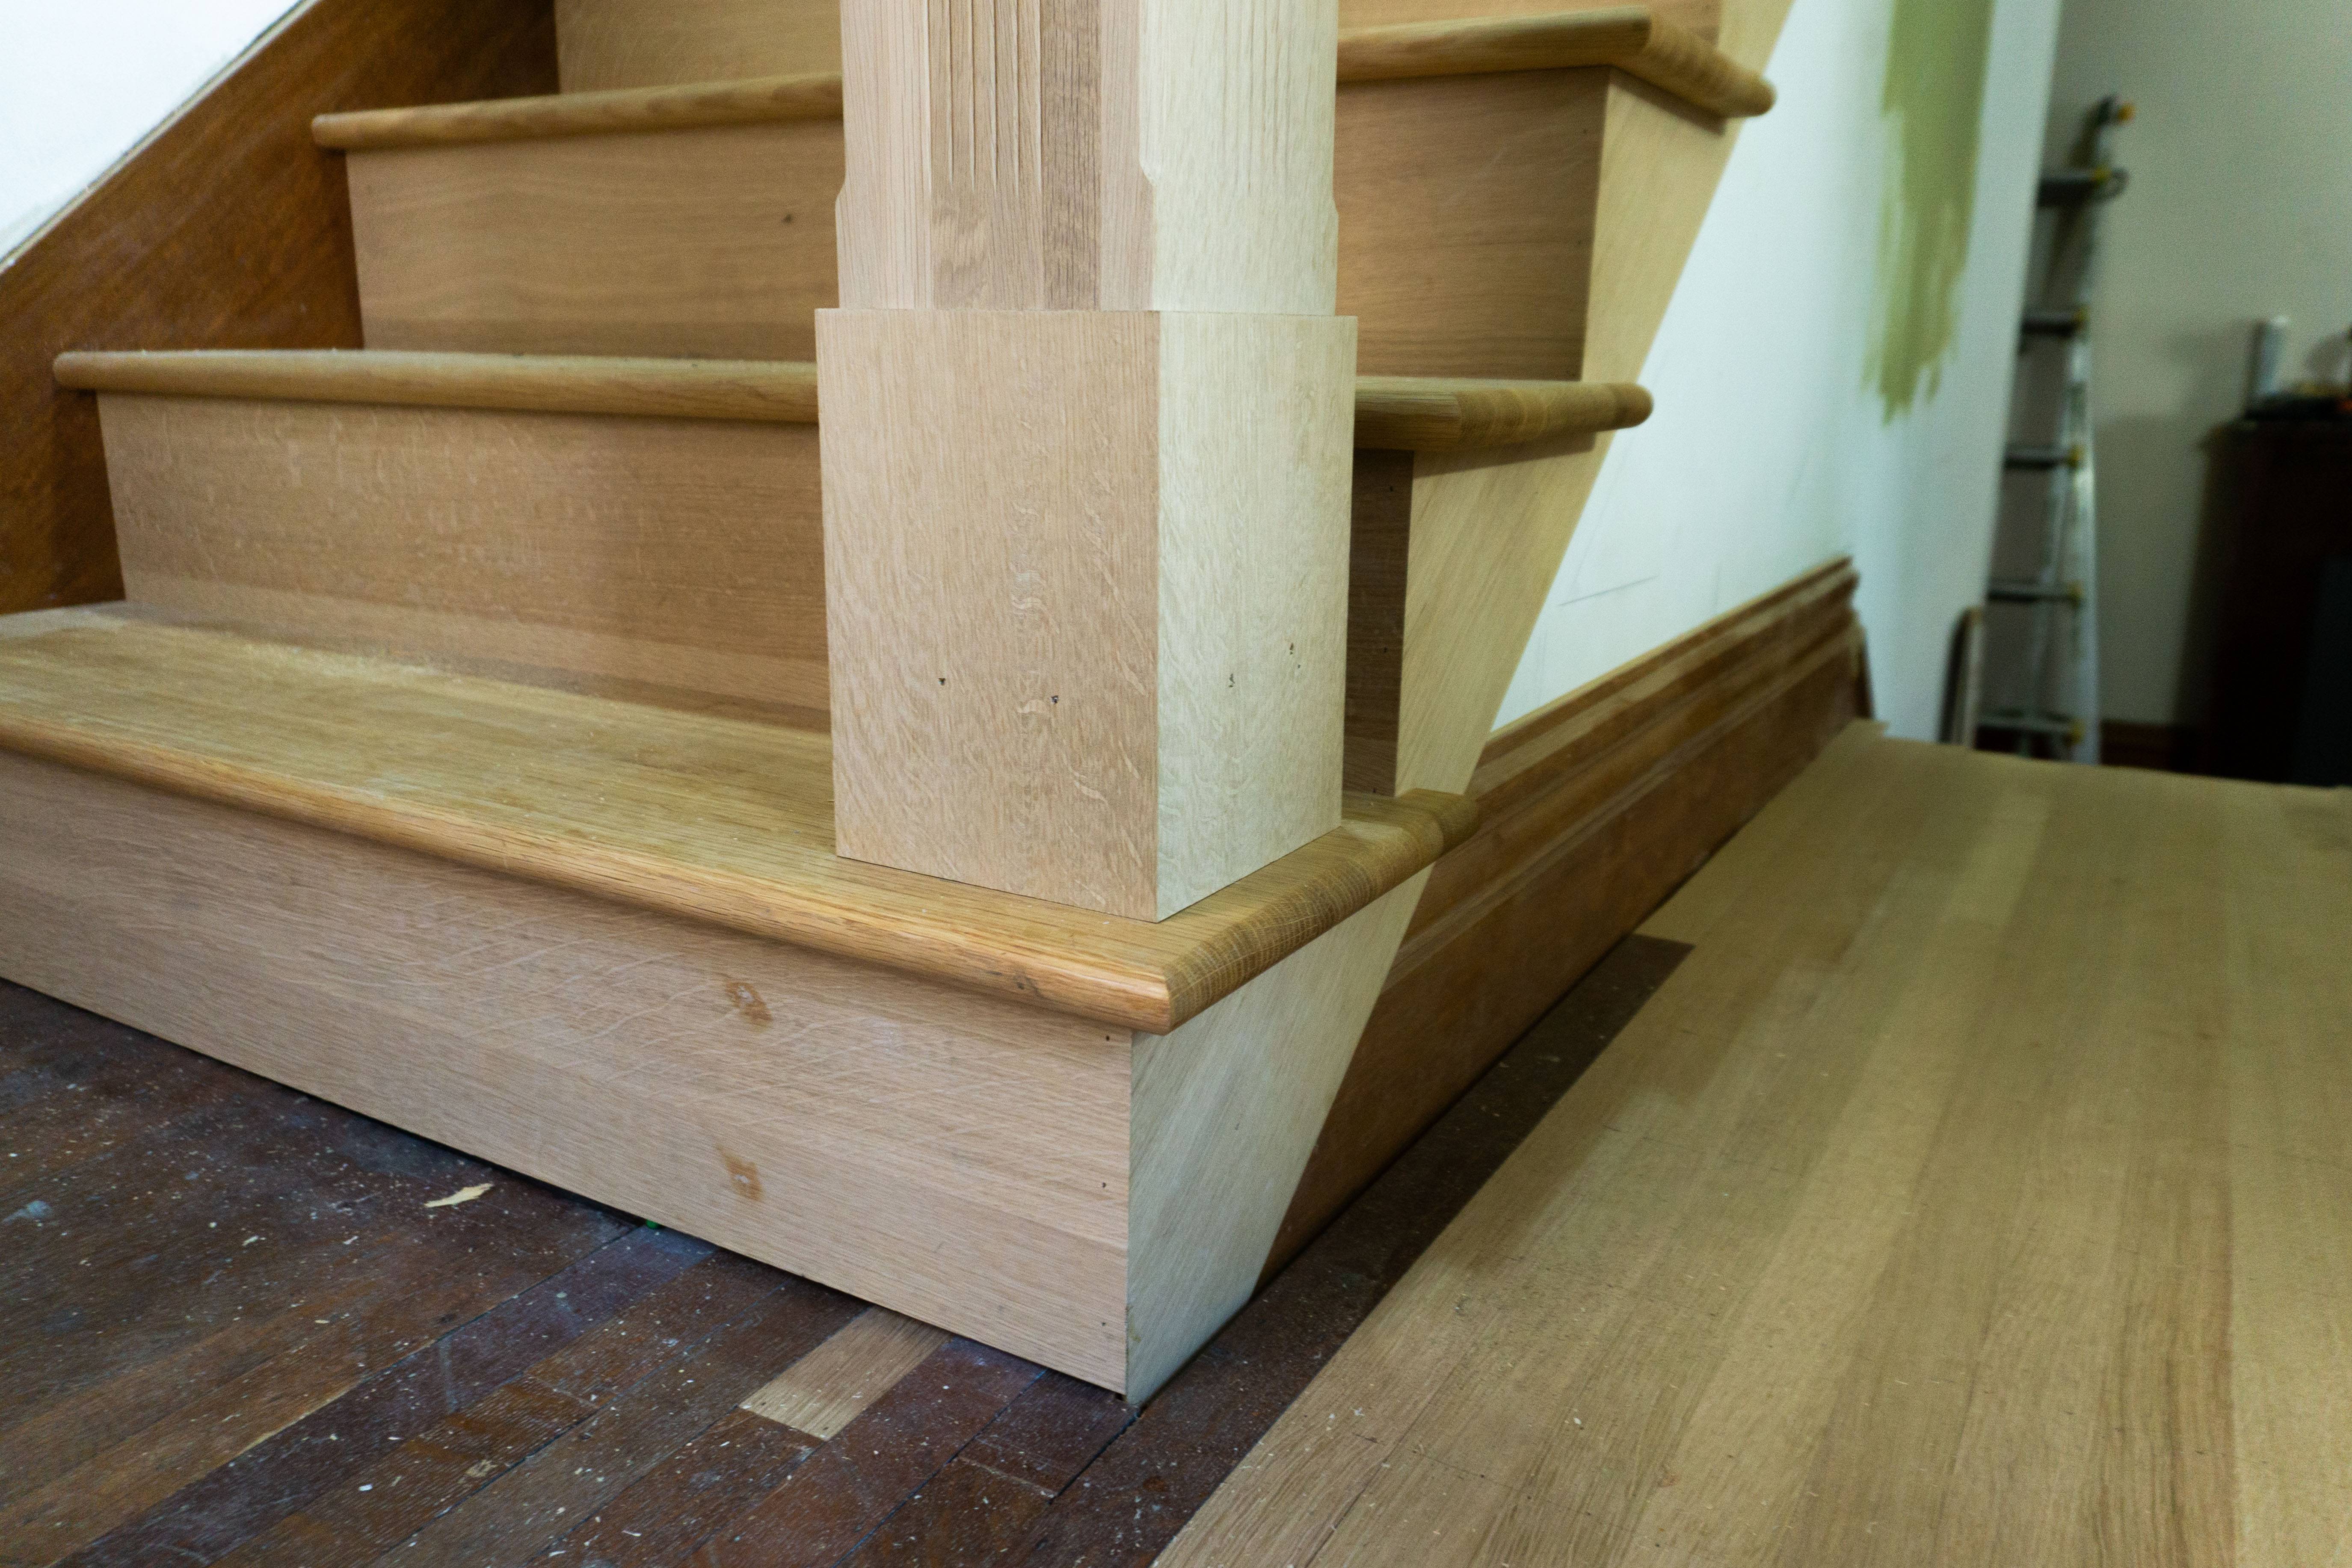
In addition to the pendant, we also got one newel in place. The plinth of the newel is hollow, with walls about 1 inch thick, so Jordan built up a tall block of 2×4s on the step and glued everything together. Once the construction glue sets up, he’ll be able to get this run of handrail installed as well.
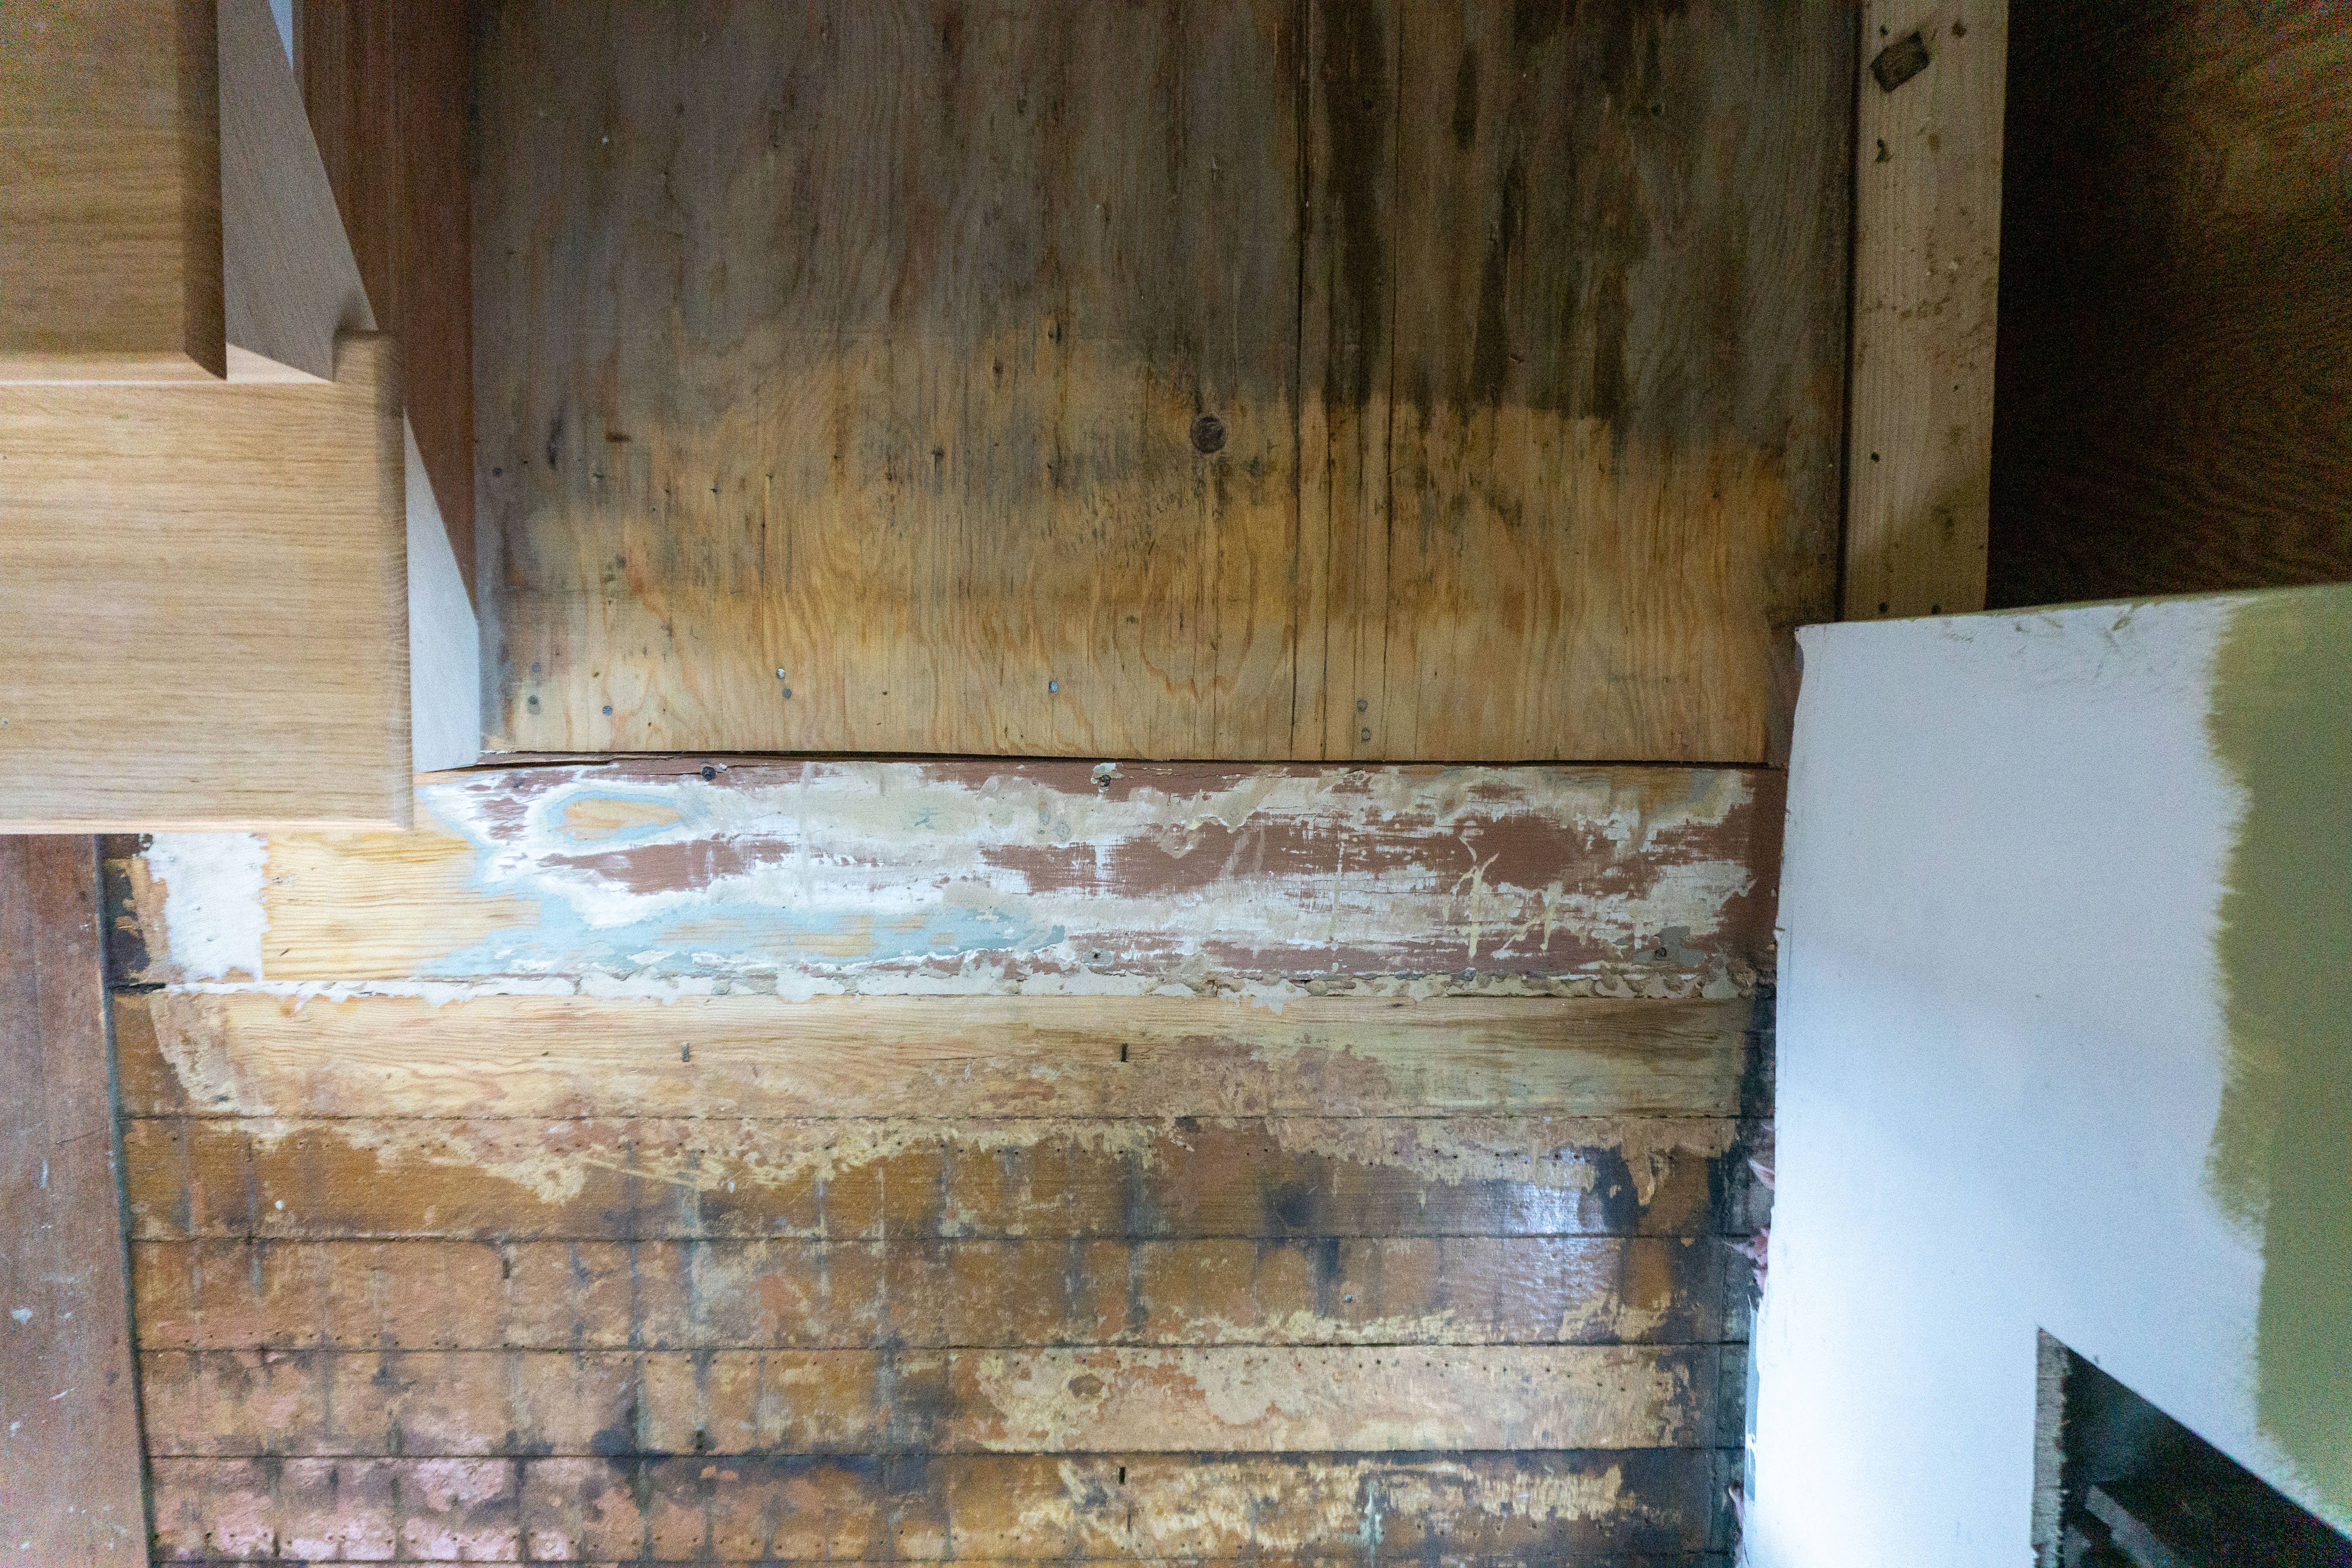
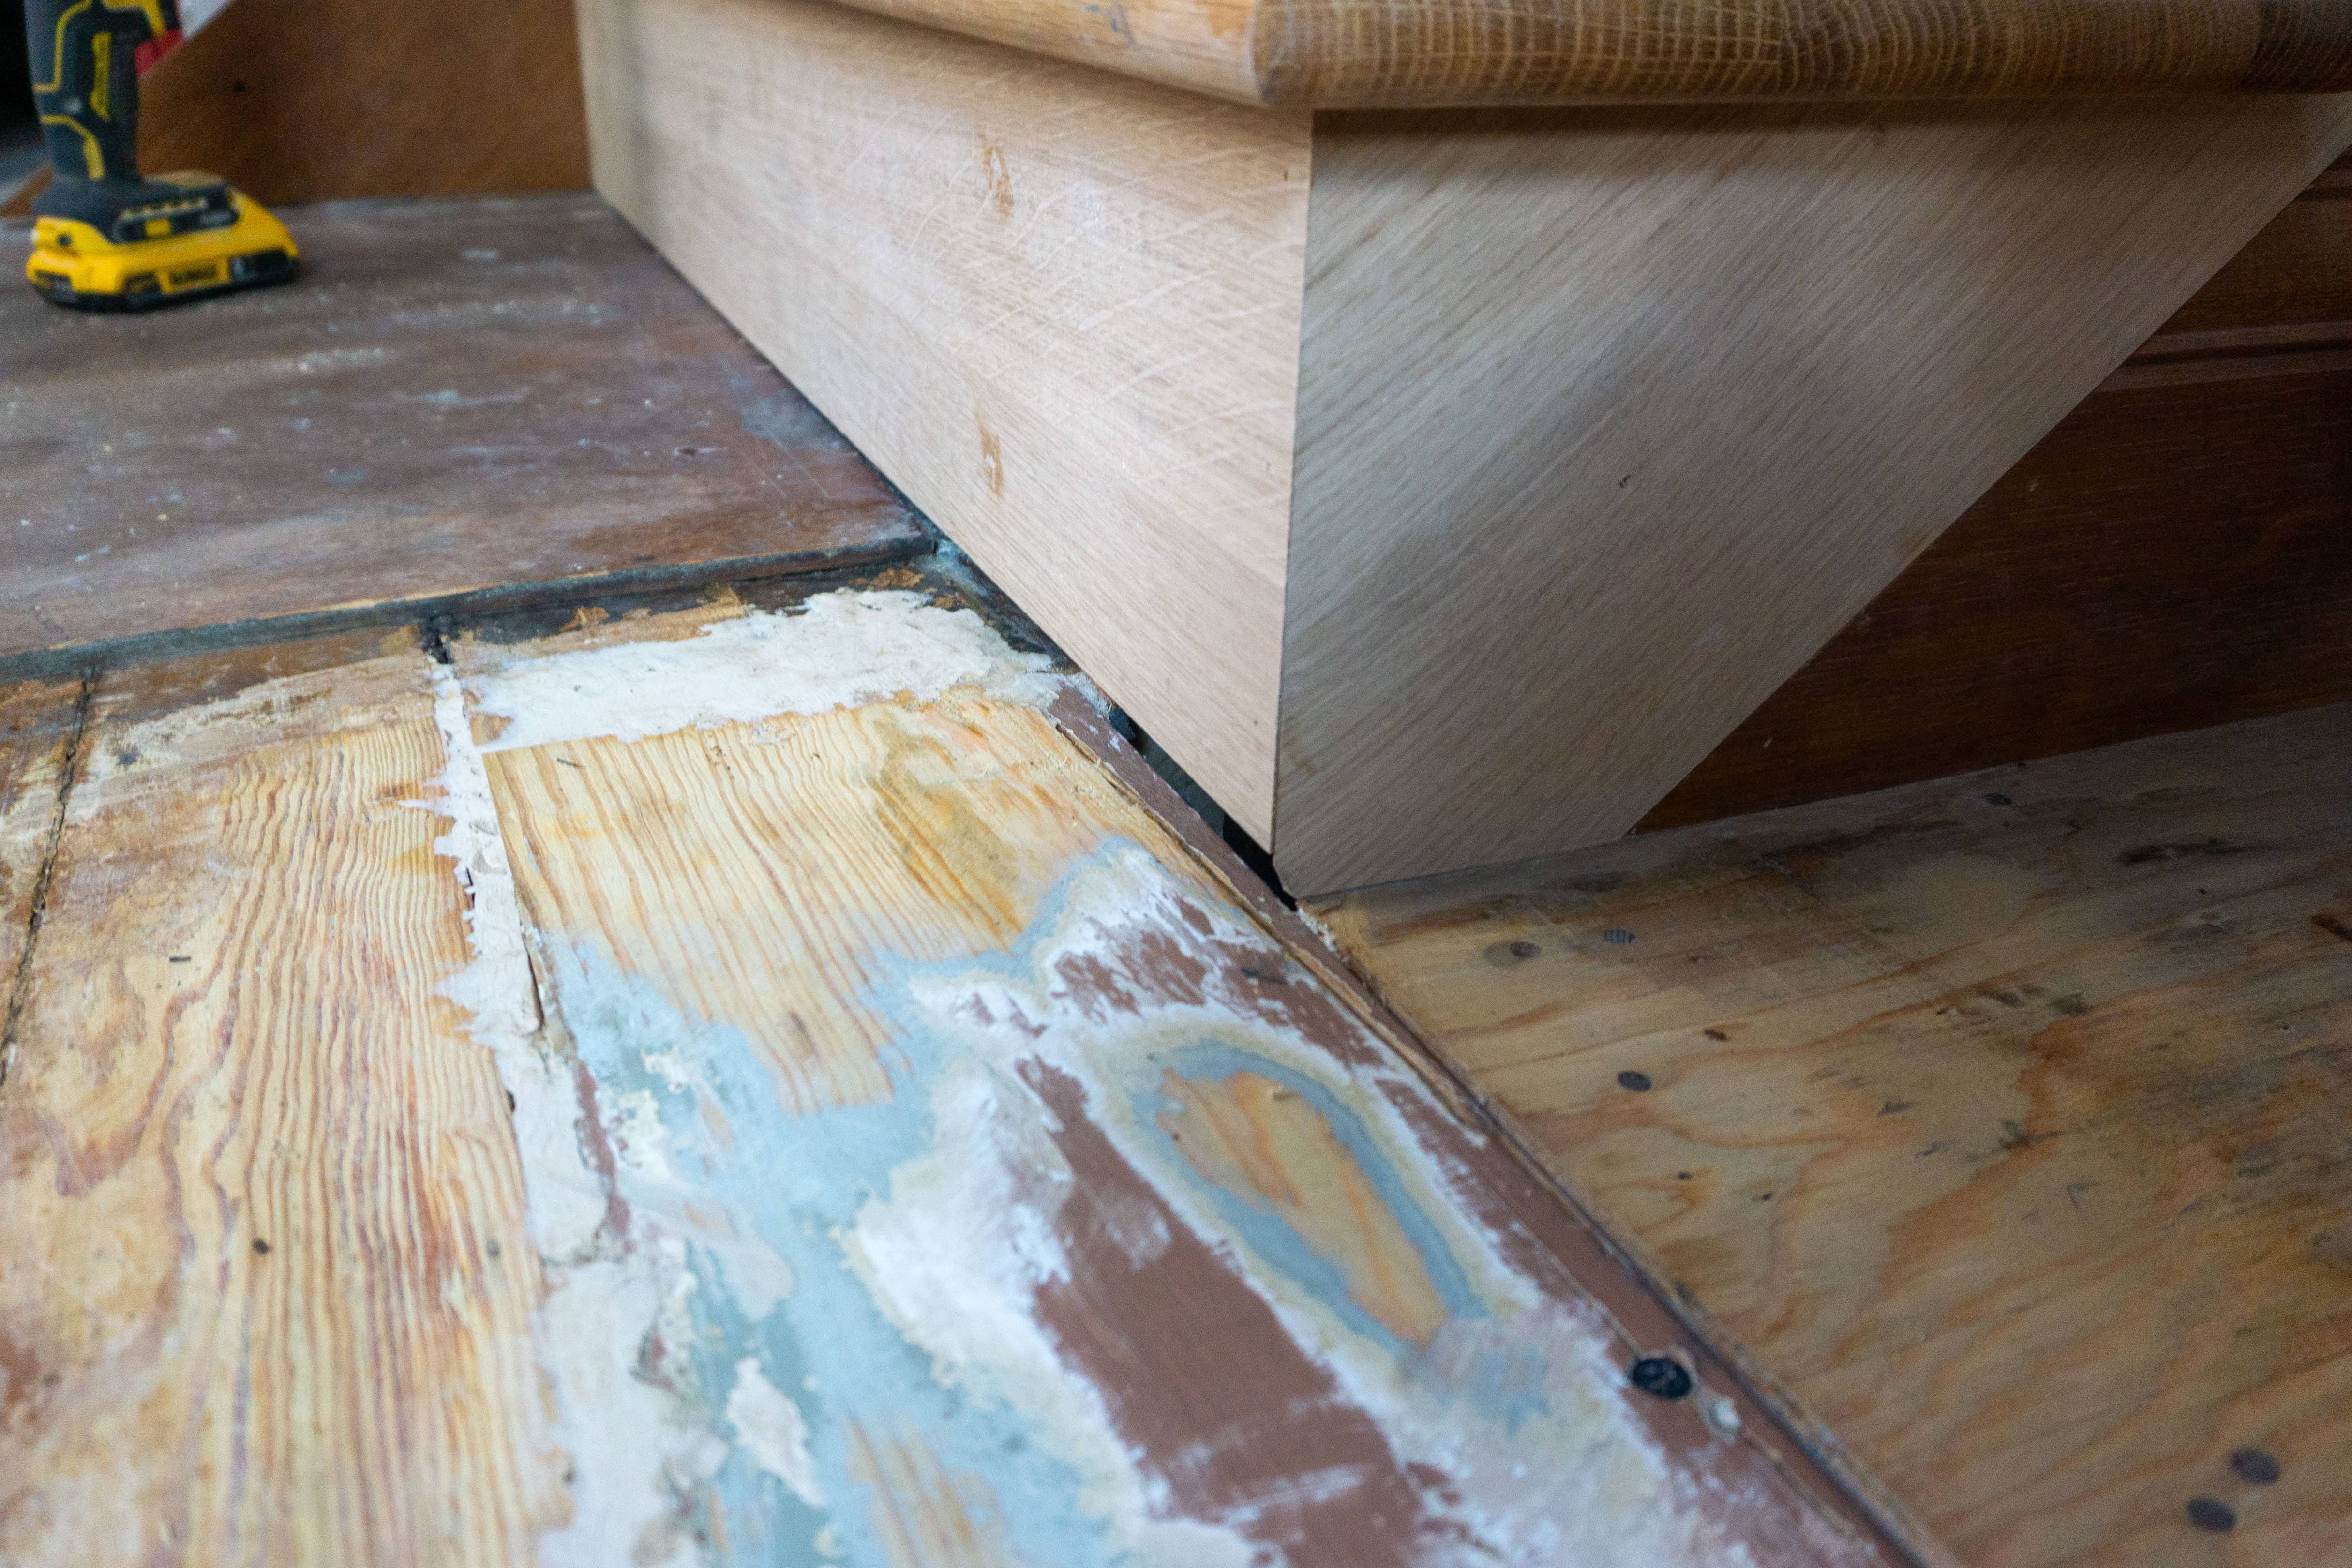
I ended up removing two heart pine floorboards where the pop-out sagged away from the house and installing a 6″ wide plank in place to span the gap between house and pop-out. It’s impossible to know how it will hold up as the seasons change, but I’m confident that Bonebrake has already done the vast majority of its settling, so I’m optimistic the new board will go the distance (no pun intended). It took some belt sanding and a bit of epoxy, but I managed to get the whole area suitably flat. Of course, the pop-out still noticeably slopes away from the rest of the house, but stuff like that is what owning an old house is all about.

I pulled all the nails out of the salvaged oak floor boards and lightly sanded the backs to remove splinters.
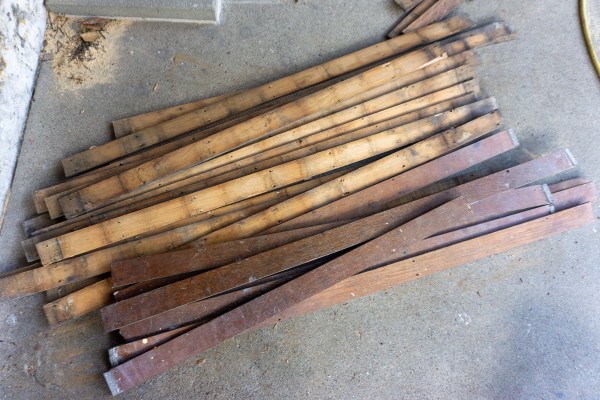
Then it was just a matter of installing the oak flooring back in. Since this is S4S—no tongue and groove to worry about—it’s deceptively easy. Just squeeze everything together as tightly as possible, ensure it’s sitting in a straight line, and nail it down. Every board is nailed down twice every six inches. I went through an unconscionable amount of 18-gauge brads with my pneumatic nailer. I can’t imagine how time-consuming it was to set each nail by hand when these boards were first installed over a hundred years ago.
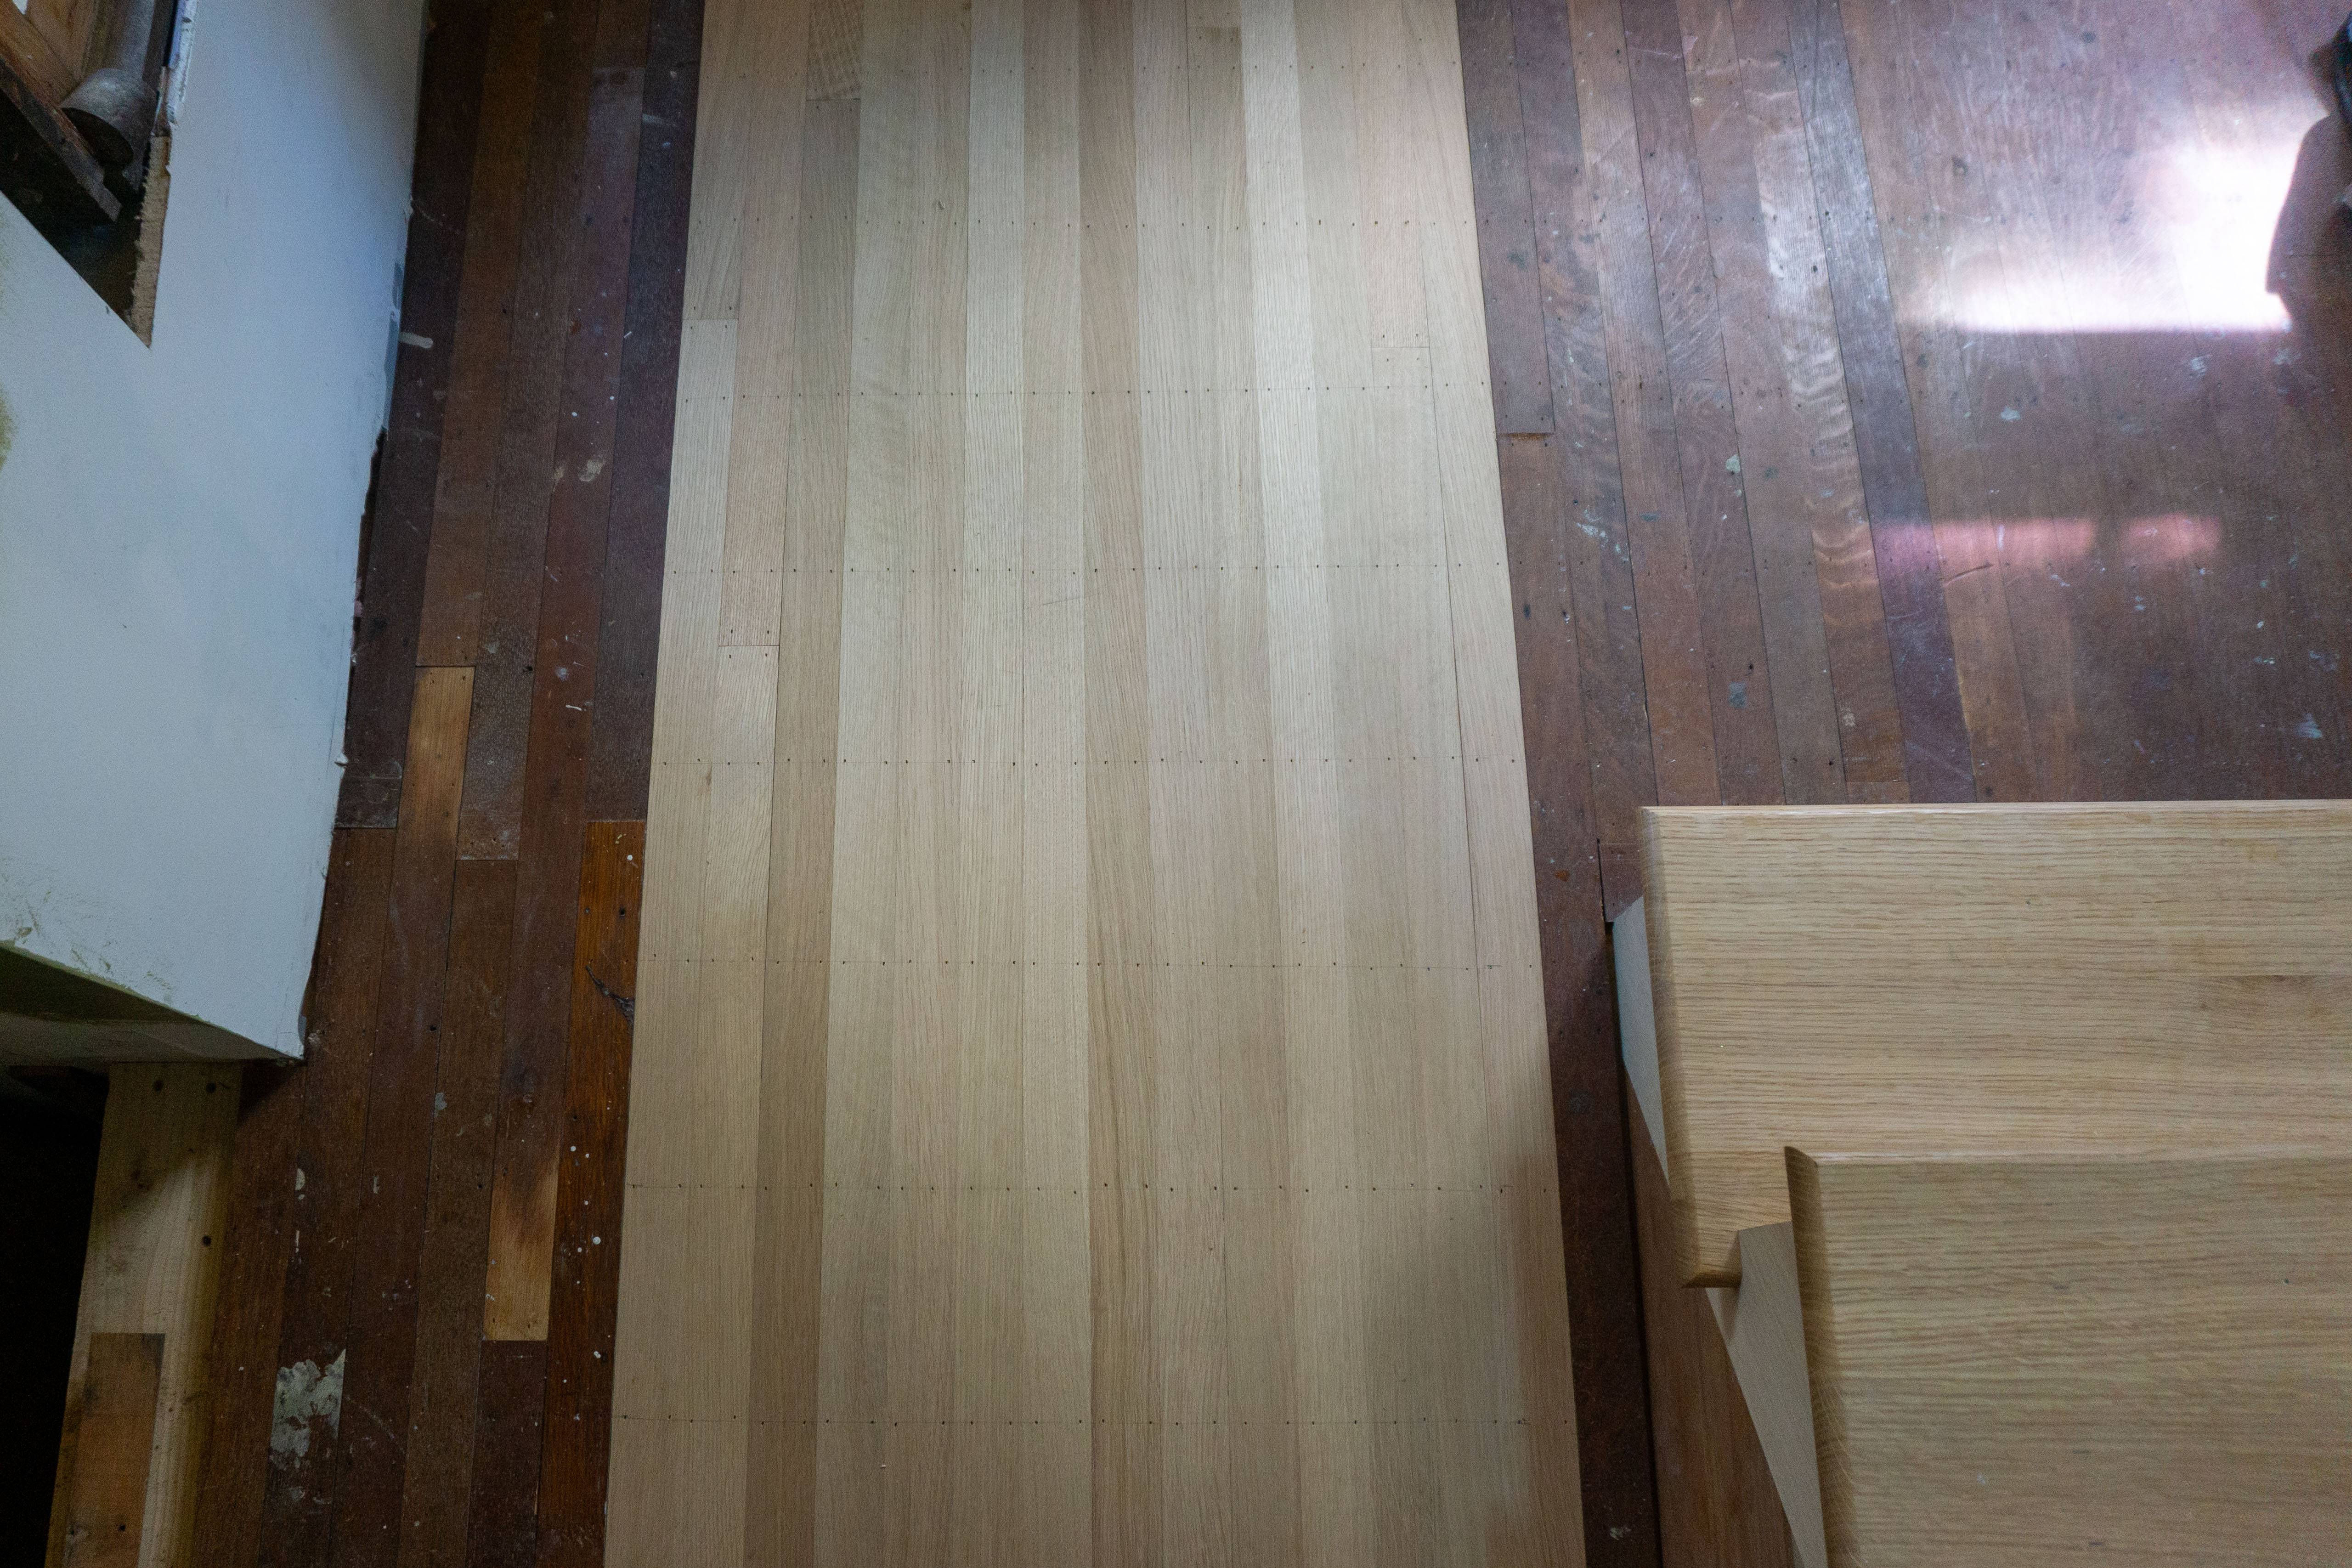
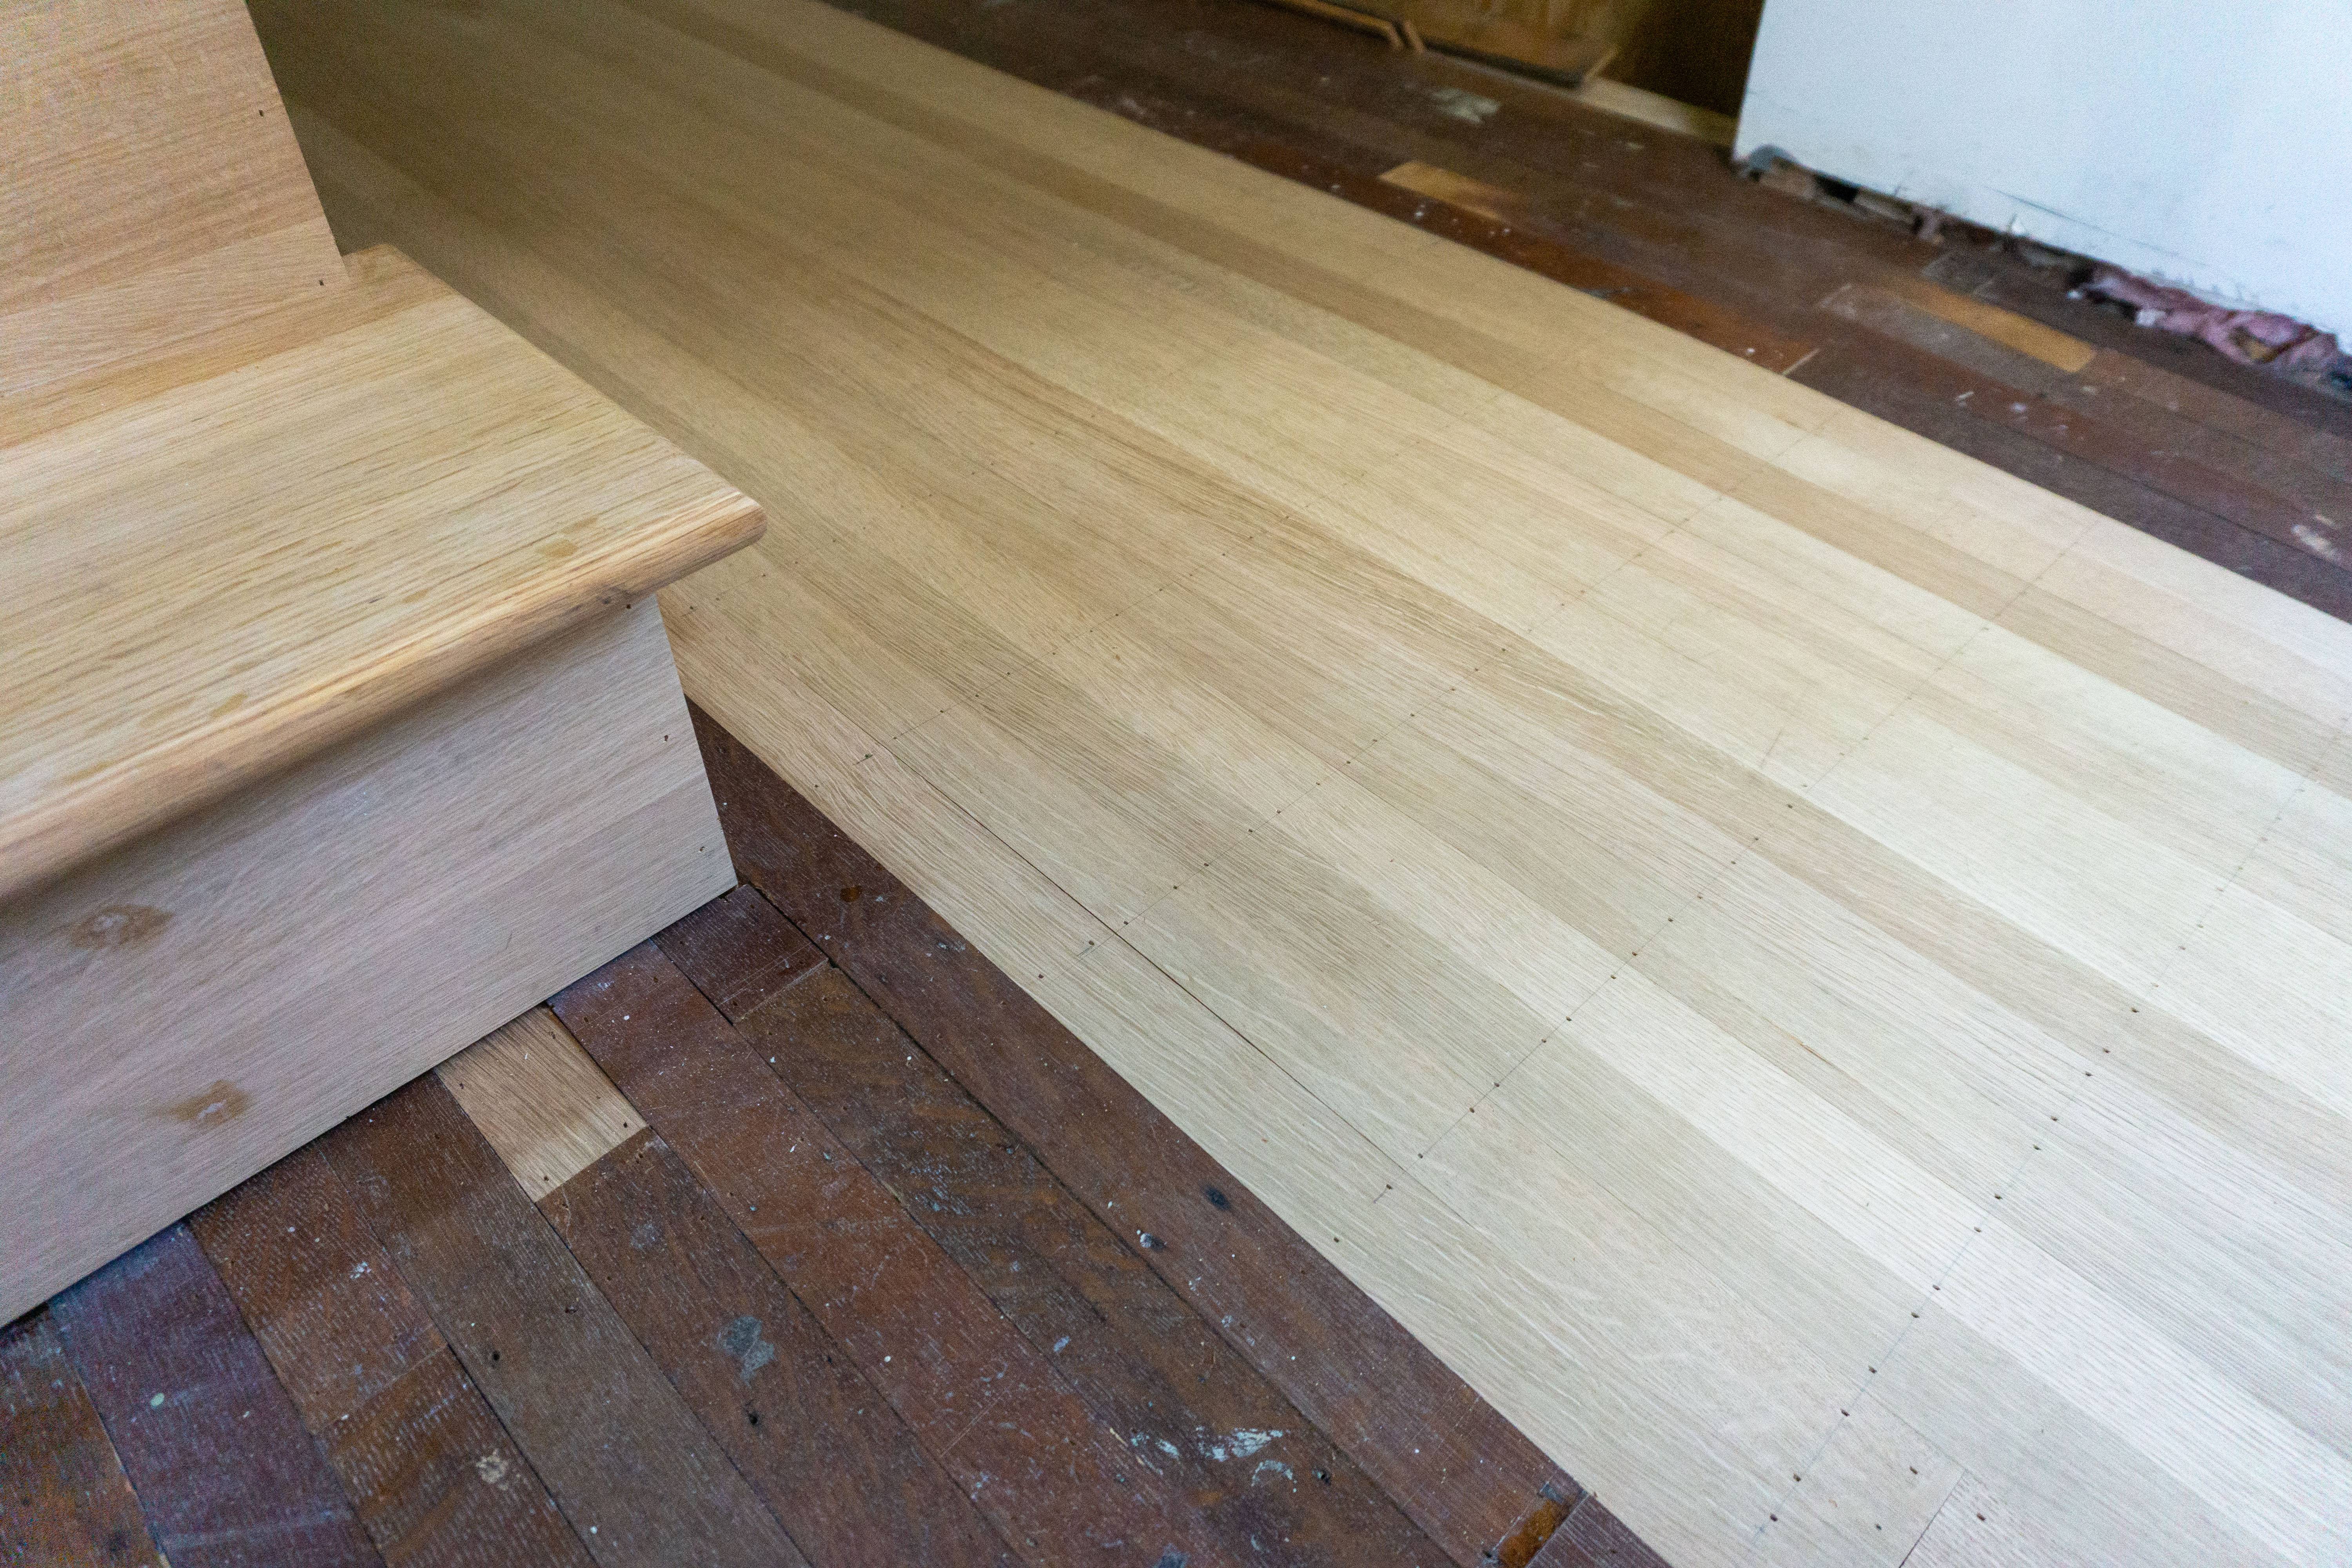

I’m proud to say I re-used virtually everything I salvaged. I filled in with new quarter-sawn white oak S4S boards I ordered from Hiland. As you might expect, it was much easier to work with the long, straight, and consistently sized modern boards—and tempting to give up re-using the old ones. I did end up using new boards for the main long area of platform floor, but worked in the remaining salvaged boards on either side. Keeping the old boards and new boards segregated like this should make it easier to color them to match, should that end up being necessary once everything is sanded.
I’ll have to put a couple more boards in once Jordan finishes up his framing, but besides that, all that’s left now is to sand everything down smooth and finish it. I’ll wait for that until the very end of this project.