Tag seersucker


It’s been two weeks since my last shirtmaking post, mostly because I had some trouble with my patterns which took time to resolve. More on that later. The first shirt here is a seersucker “fun shirt”—something I’ve wanted to make for a while now. I used leftover grey seersucker from the shirt I made a few weeks ago, along with 1.5 yards each of red and green seersucker from Jo-Ann’s. I had no idea how much fabric to buy since I knew I’d be using three different colors instead of just one piece—turns out, I probably could have gone with just 1 yard each. The shirt is a popover, i.e, it’s got a front placket like a polo shirt that’s about 11″ long.
Fit-wise, trying to make a popover was tough enough—I shouldn’t have complicated it by using seersucker, which is notoriously stretchy and difficult to measure. The shirt turned out alright, but the center front. Cutting a popover really showed me that my pattern wasn’t as good as it could be, especially around the neckline. After this realization, I spent almost a whole week just working on a new pattern. I went back to my favorite shirt draft and drew everything out from scratch. You can’t really tell, but I dramatically altered both the neckline shape and the armscye. On my old pattern, the armscye was 21″ around—on my new pattern, it’s only 18″. It takes a little longer to put on my new shirt pattern, but the higher armhole means it fits better and gives me more flexibility. I cut three new shirts from my new, improved pattern.
There’s a short-sleeved shirt in red, white, pink, and cool grey fabric from Sew to Speak. I thought the colors looked very nice for summertime, which is ironic because the fabric itself has scarves on it. Nothing too special; just a better fit!
I also made a long-sleeved shirt out of Kaffe Fassett “shot cotton” from Sew to Speak. The fabric is wild and glorious—it’s as light as a feather, yet perfectly opaque, and it’s brilliantly-colored. I used bright yellow cotton thread to do all the stitching, instead of the typical white, and I think it gives the shirt a little character. The sleeves are gathered into the cuffs, a technique I still really enjoy.
Finally, I made a casual shirt out of grey fabric with foxes on it, again from Sew to Speak. It’s got a straight hem instead of shirt tails, designed to be worn untucked! It’s some of the coolest fabric I’ve ever seen.

I wasn’t planning to make more shirts this week, but after a trip to Jo-Ann Fabrics on monday, I got excited to use some new stuff. I ended up with three shirts.
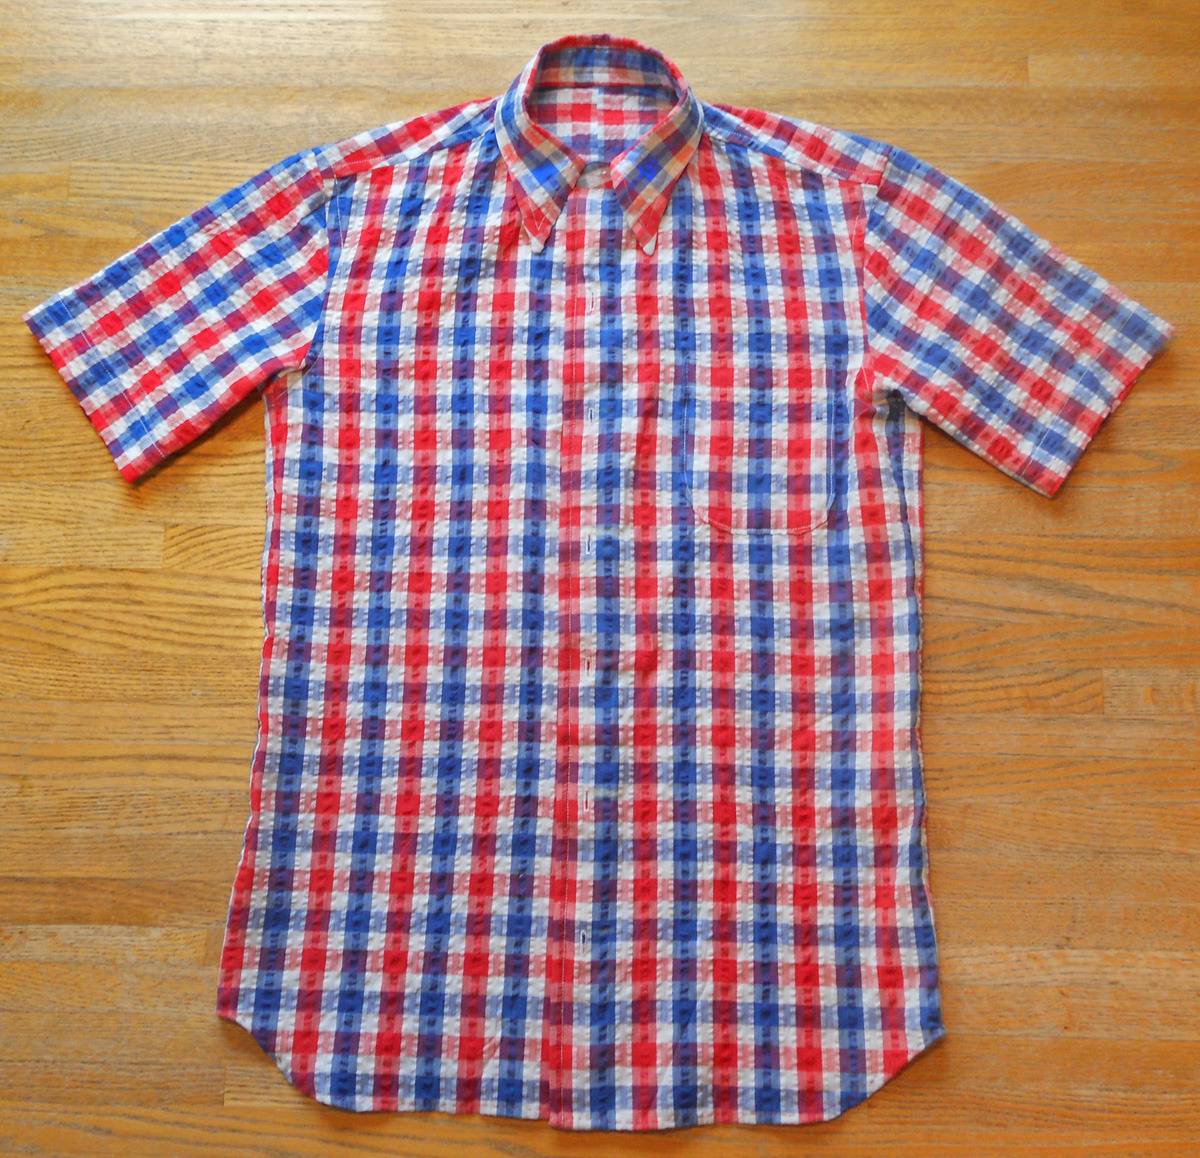
The first one is a generic short-sleeved shirt in red, white, and blue seersucker plaid. I didn’t use any interfacing in the collar! I put plastic buttons on it, in contrast to the usual. It’s fun!
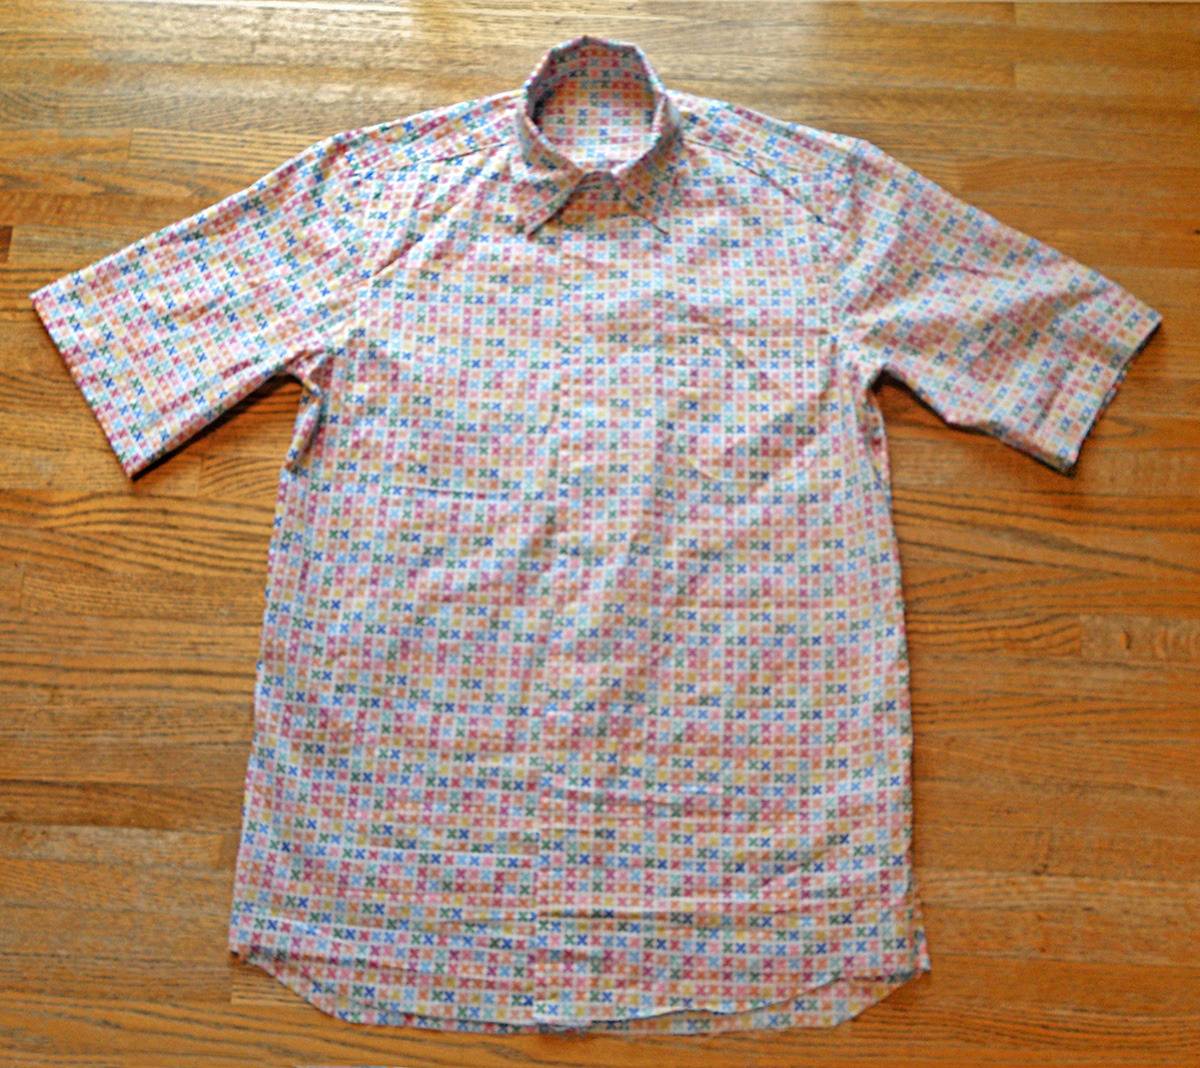
The second shirt is really lame, made from “Lisette”-brand fabric on sale at Jo-Ann. I managed to make this shirt with 1.8 yards, which is a pretty good feat. But the shirt itself isn’t good. The fabric is too sheer; it was a pain to work with, and not in a good way. The pattern is cool and interesting from close-up, but from far away it looks muddy and gross. I don’t know how much I’ll end up wearing this one. But it was a good learning experience.
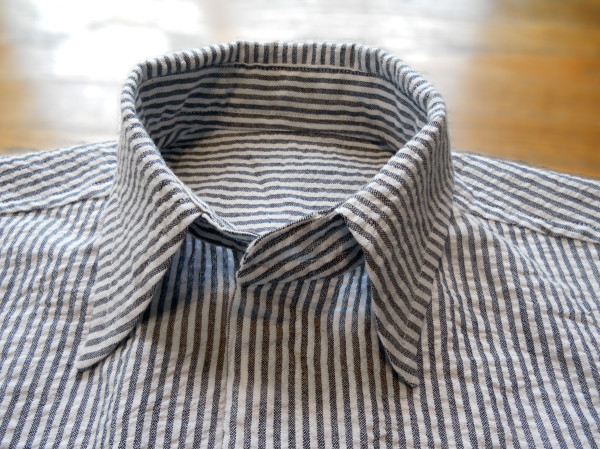
I’m really proud of this week’s last shirt, which is a long-sleeved shirt with barrel cuffs and gathered sleeves made from really beautiful white-and-grey cotton seersucker. It feels great, fits great, and looks really nice. The best part is the collar, which I cut perpendicular to the normal way. The grey stripes were so compelling that I really wanted to highlight them. Cutting the stripes this way helped make them more dominant! I think it turned out really well.
Currently I’m about halfway done with a short-sleeved “fun shirt”, so that ought to be done for next weekend’s roundup. Beyond that, who knows?

Yellow seersucker from Jo-Ann Fabrics. Cheap stuff; annoyingly thin. I imagine that’ll be good for . I made a bunch of corrections to last week’s terrible, awful draft, and it is dramatically improved. However, the neck is still about 1” too big. As you can see, I have yet to sew on the buttons… but I will do that soon. I’m actually going to wear this one. And I’m taking what I learned and applying it to next week’s shirt! Onwards!